Another writeup from me that's about two - three weeks late! Catching up slowly
 (On another note I have 50 pages of my thesis written now
  ).
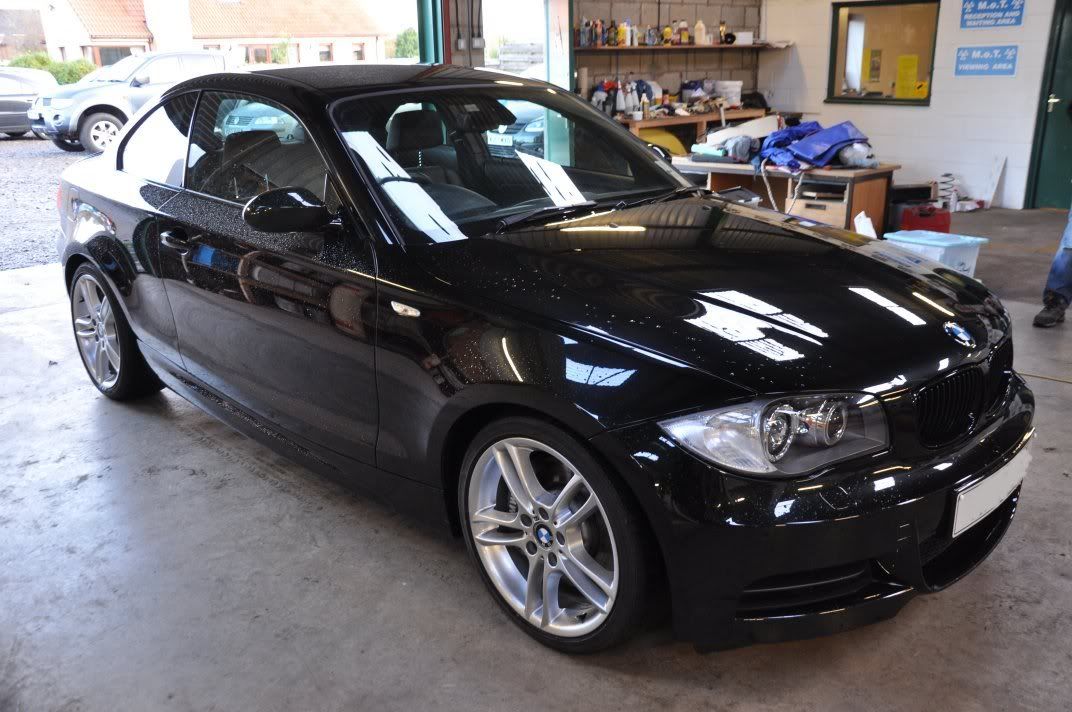
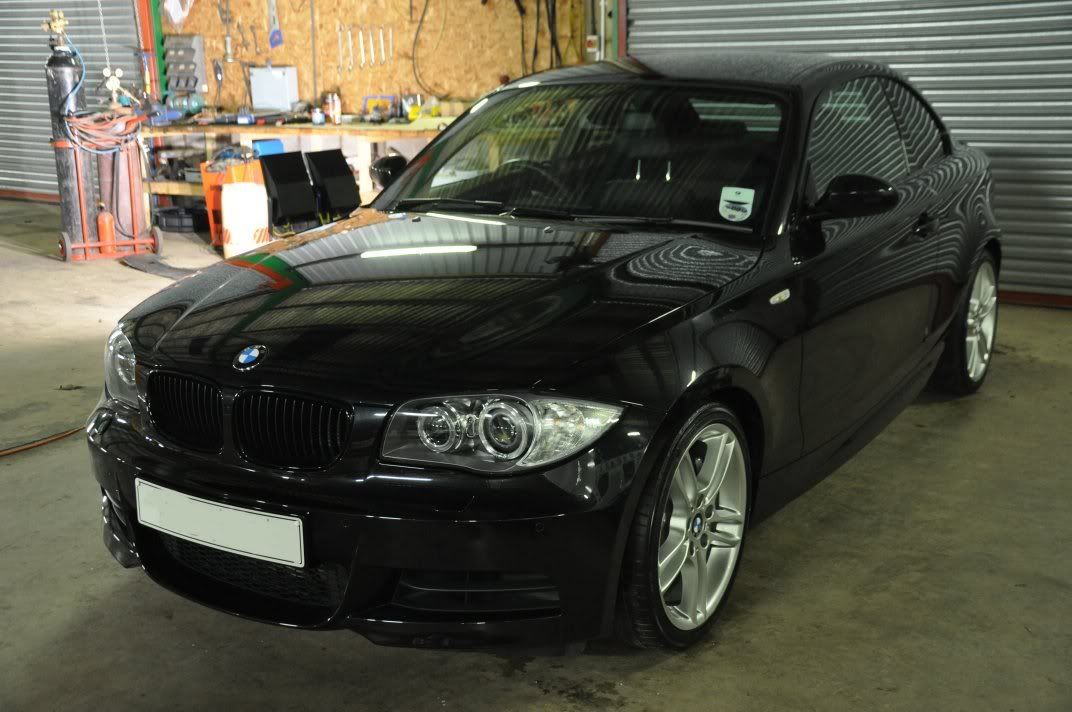
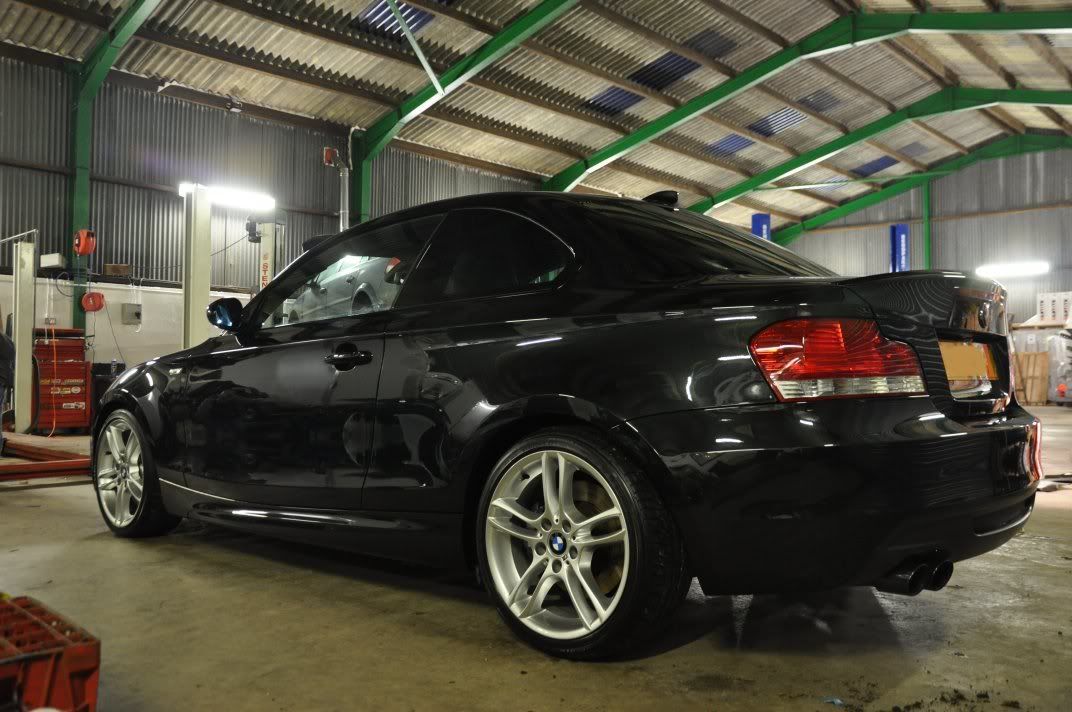
). After completing a successful machine polishing tuition day on the Saturday before, Gordon and I packed out cars and headed down to the Scottish borders for an overnight stay near Berwick to allow for a nice early start on this car on the Sunday morning. The car in question was a sapphire black BMW 135i - the owner had his own machine polisher and fastidiously cared for his car, but was looking to take his finish to the next level by machine polishing. So we went for a tuition detail, to allow the owner to learn machine polishing on his own car and take part in its detail.
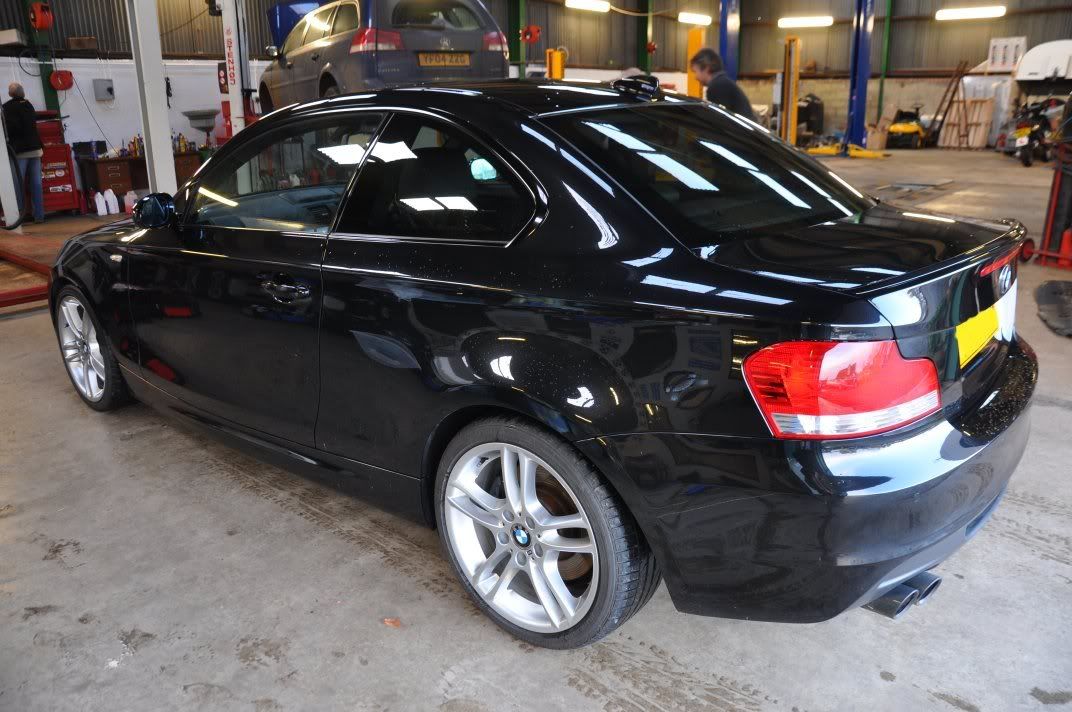
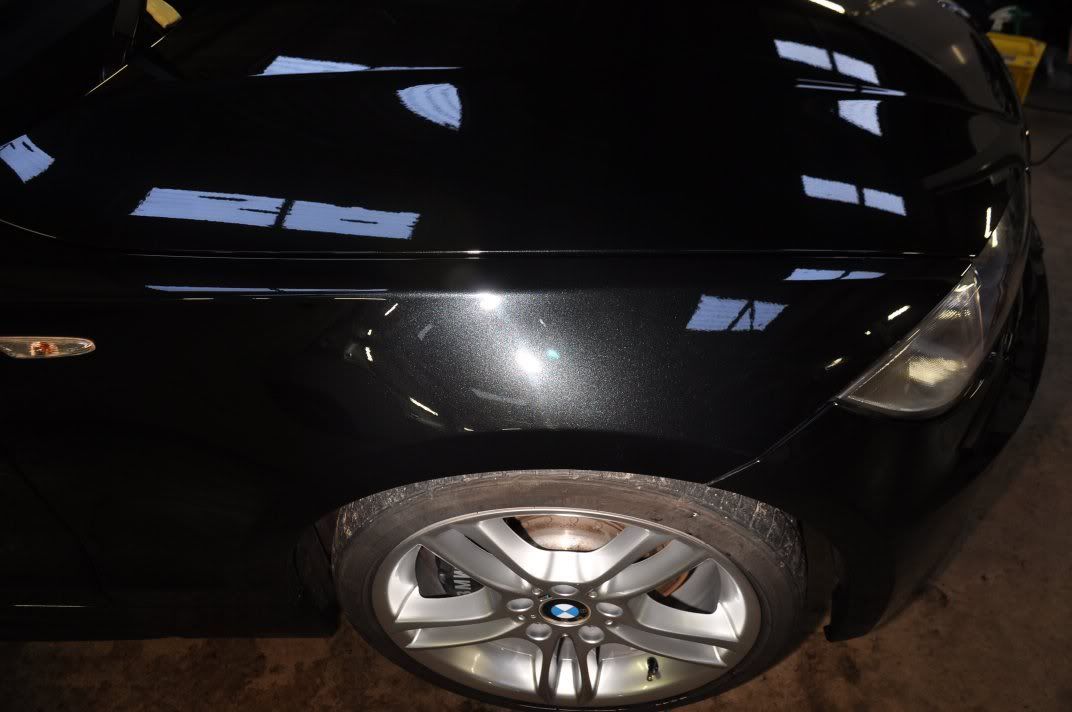
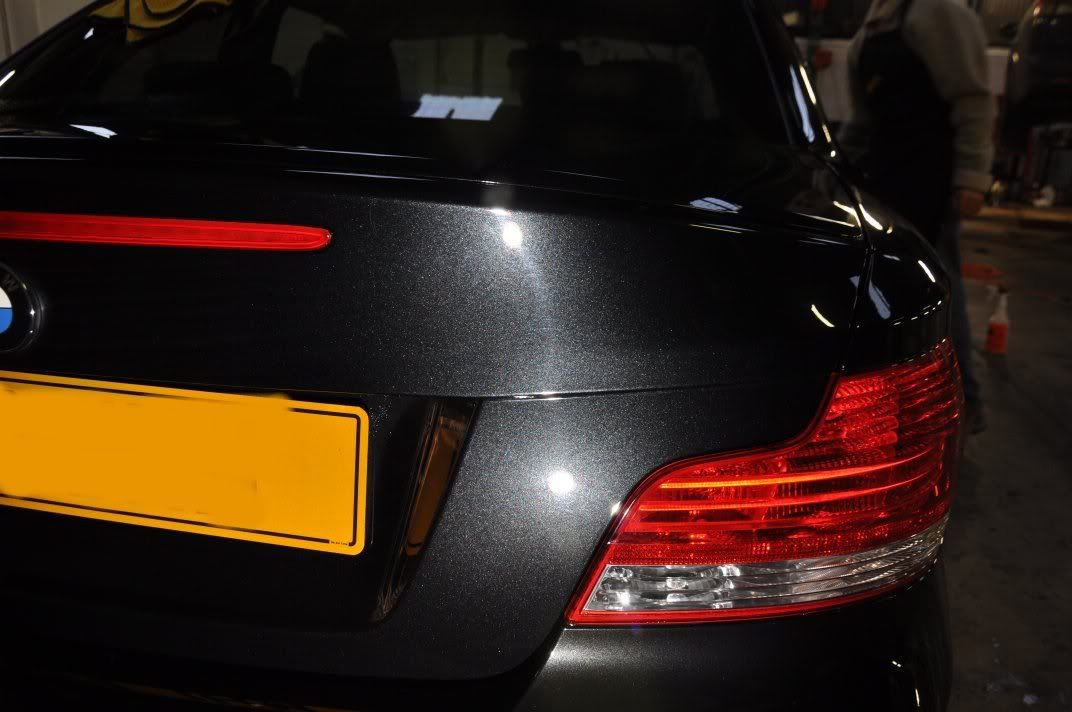
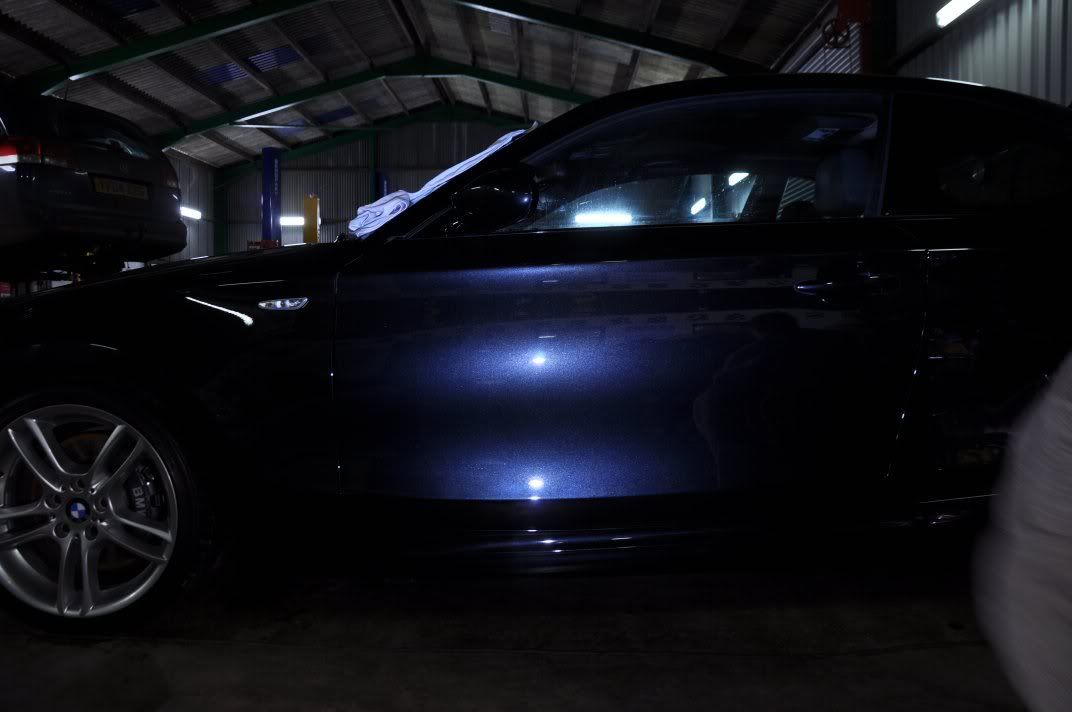
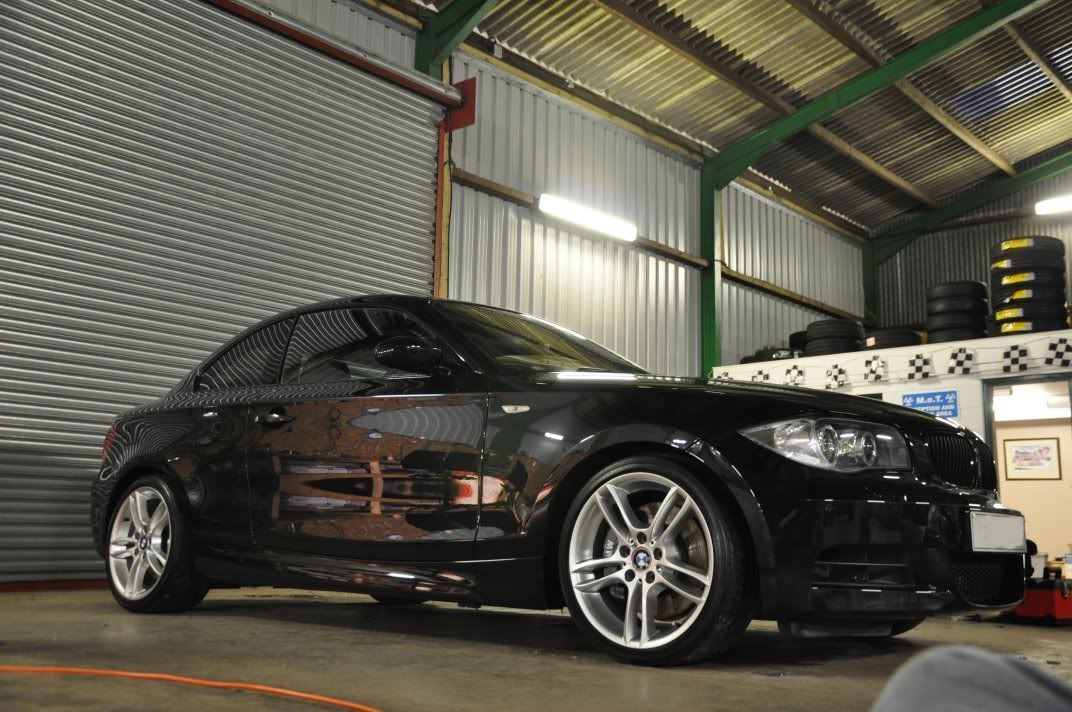
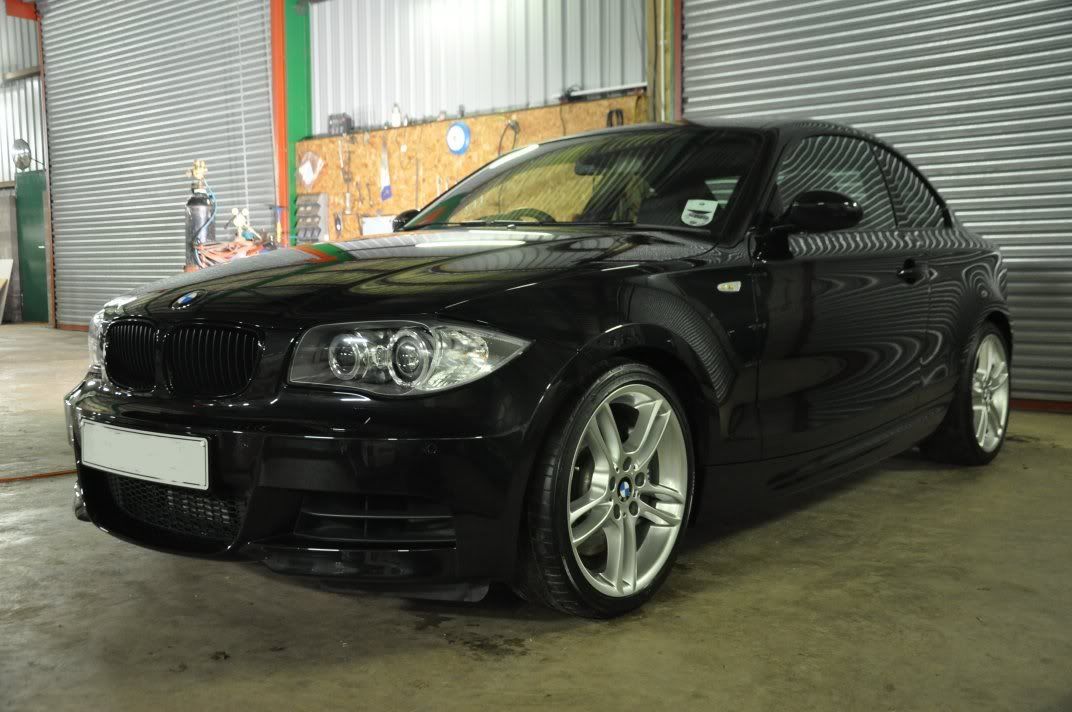
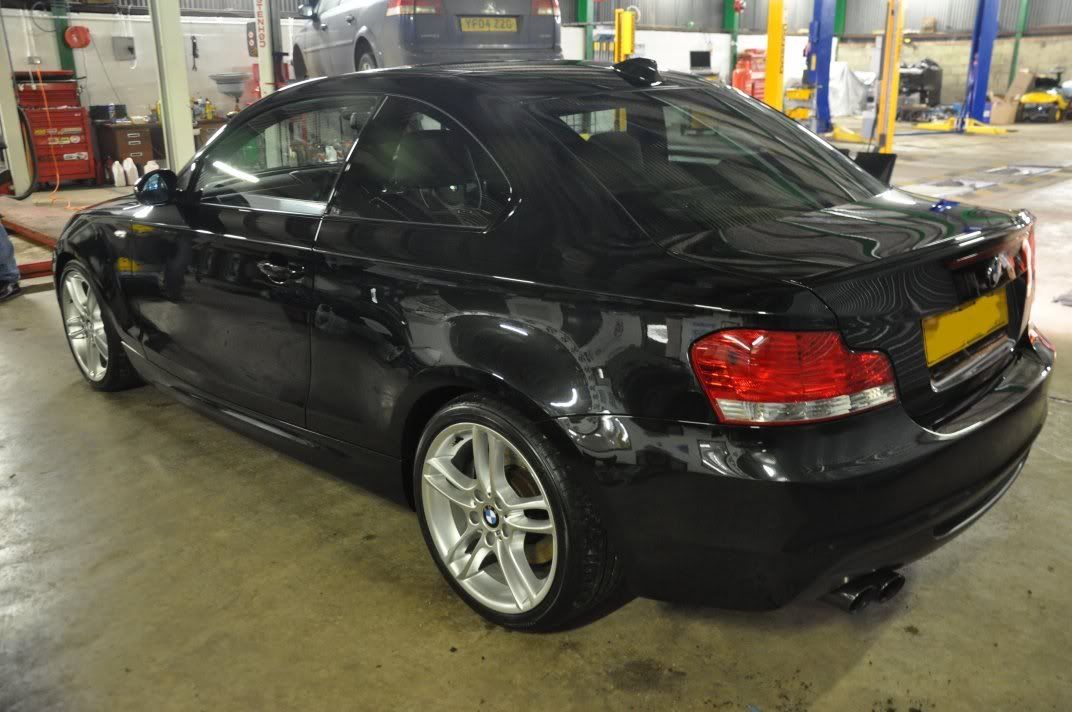
The car itself was in very good condition when we arrived, a credit to its owner. It had been cleaned ready for us the day before, and you can see it looking already clean in the befores...
Although very clean, a light dust on the car meant we cleaned it again ourselves as well - using ONR. We followed this by claying with polyclay, readying the car for the paint correction stage.
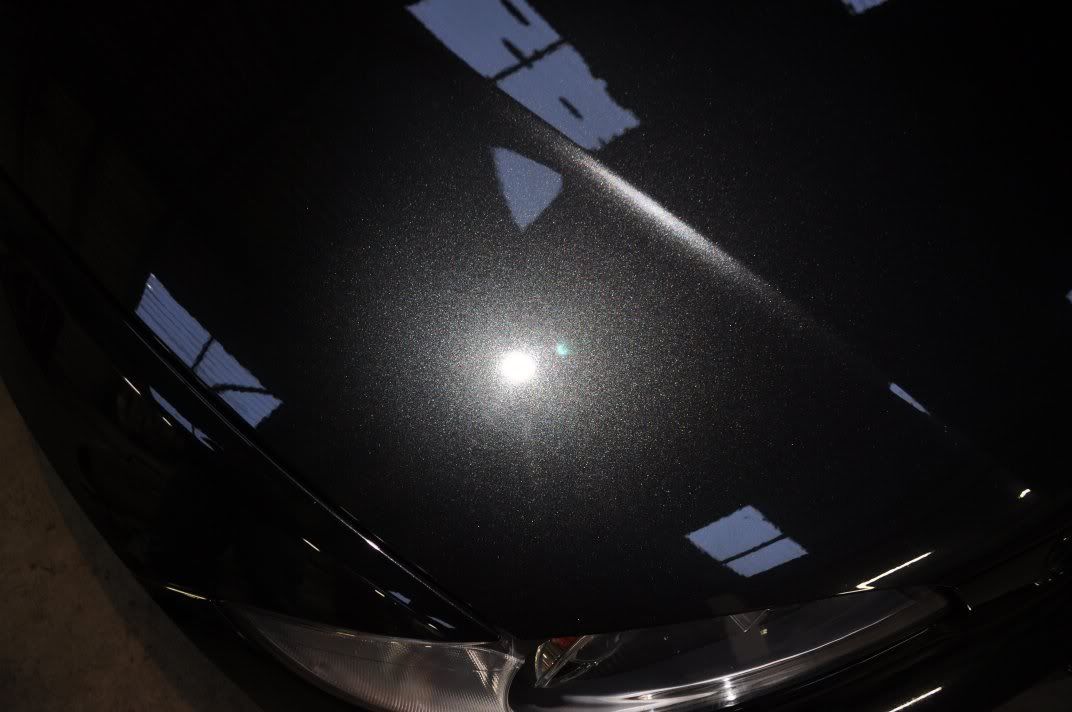
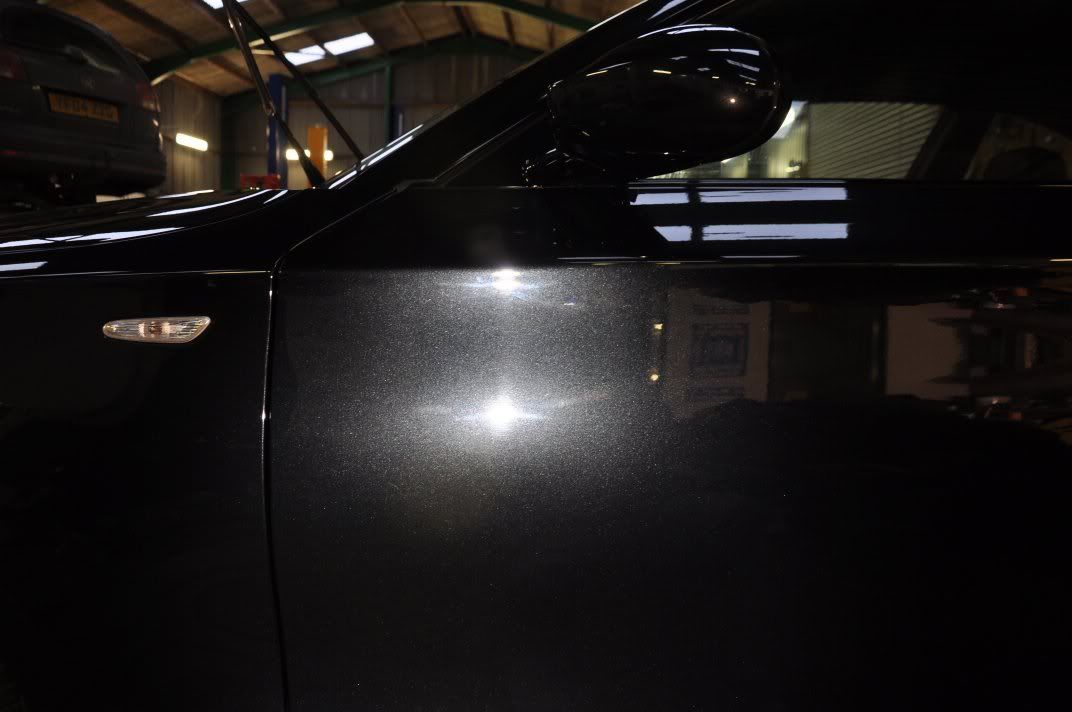
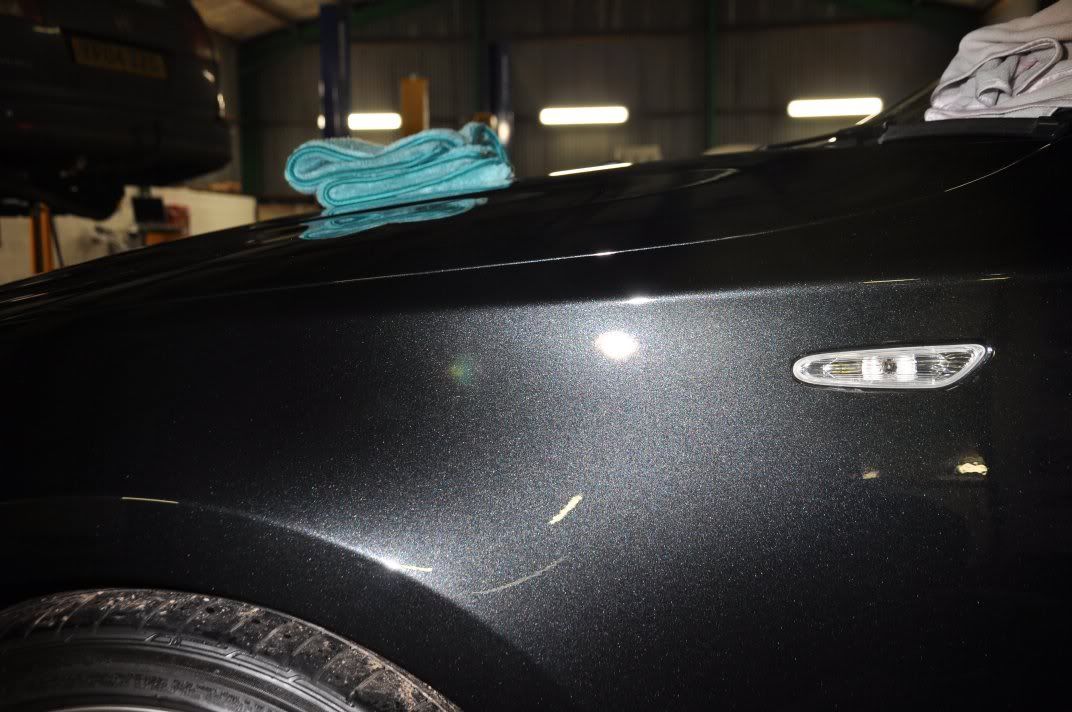
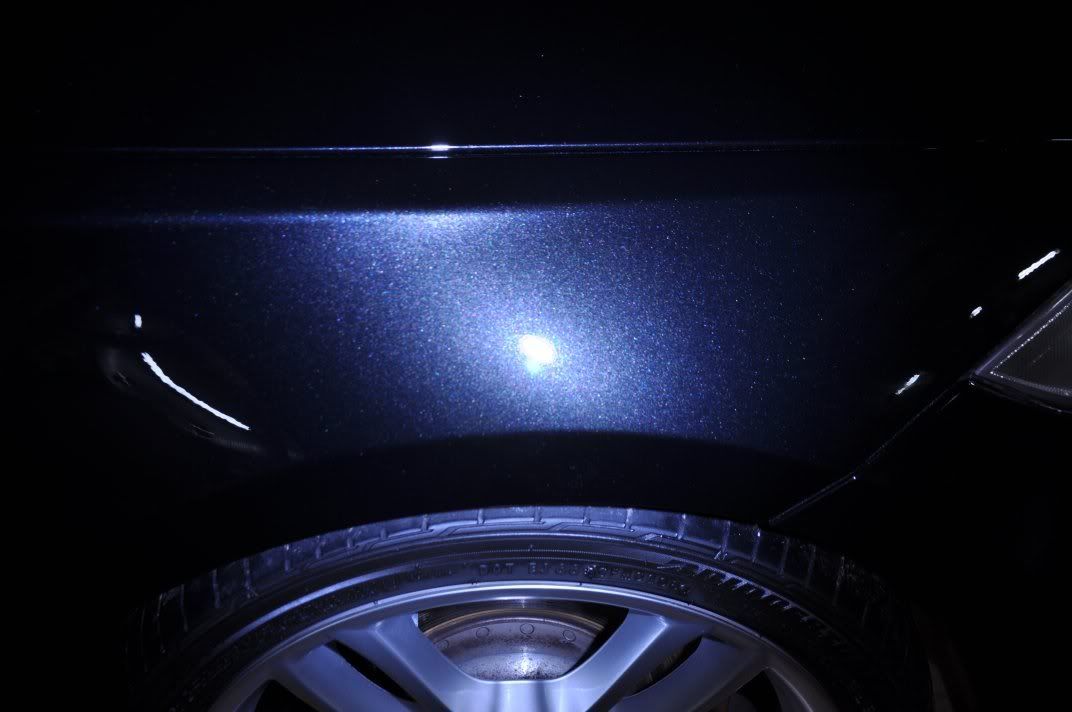
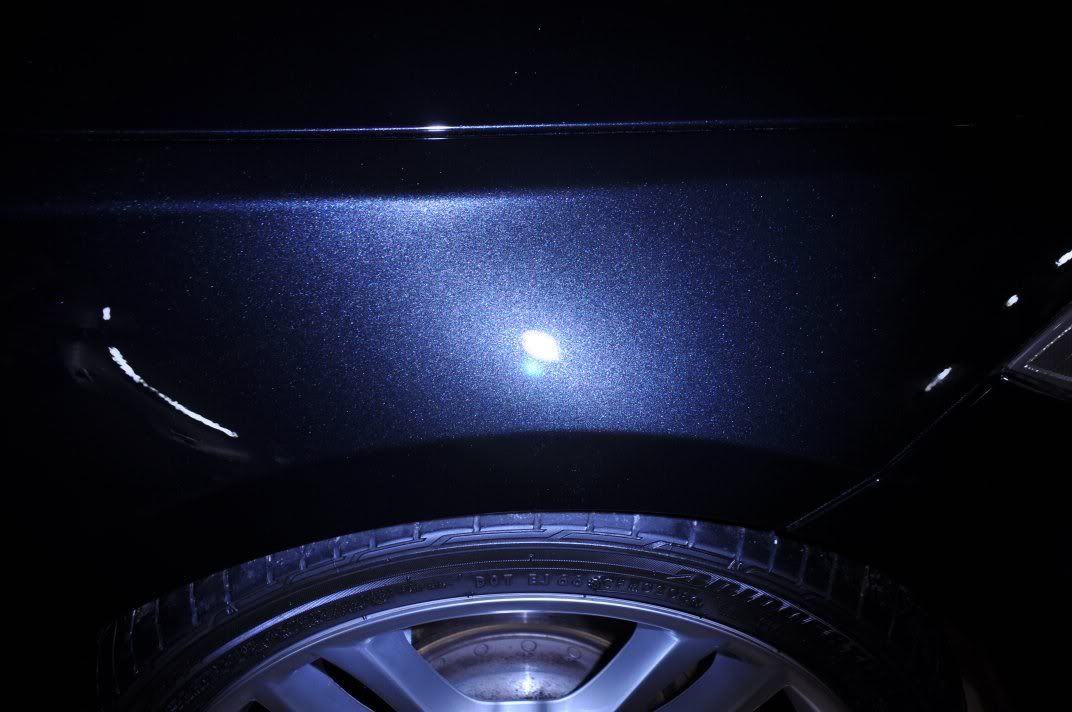
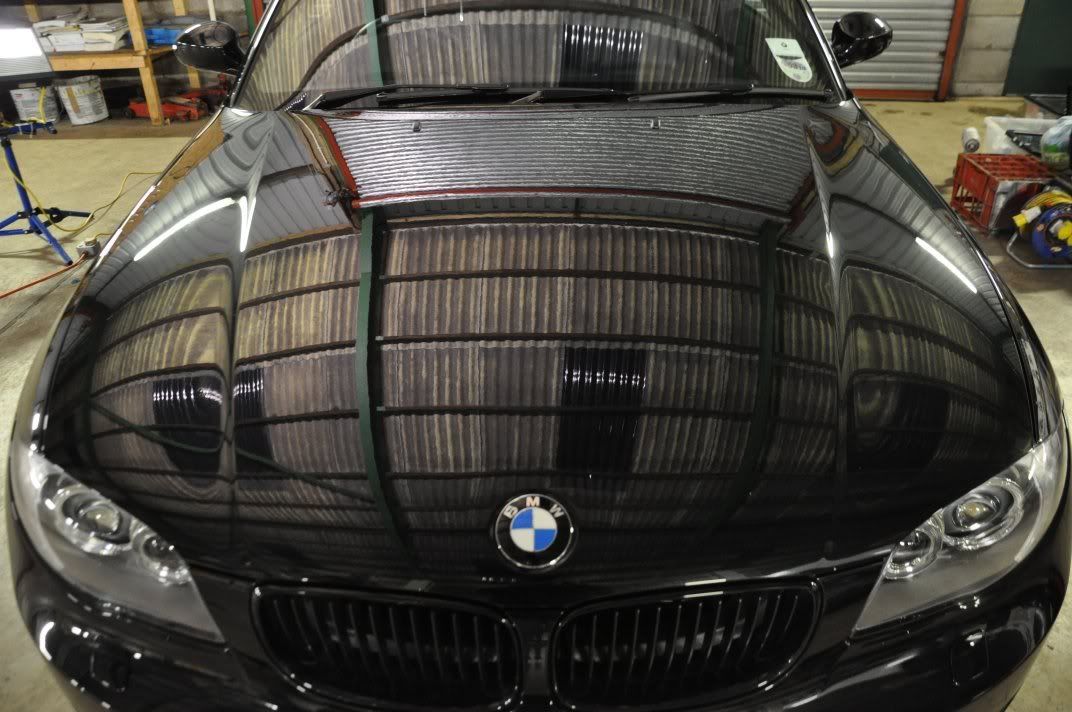
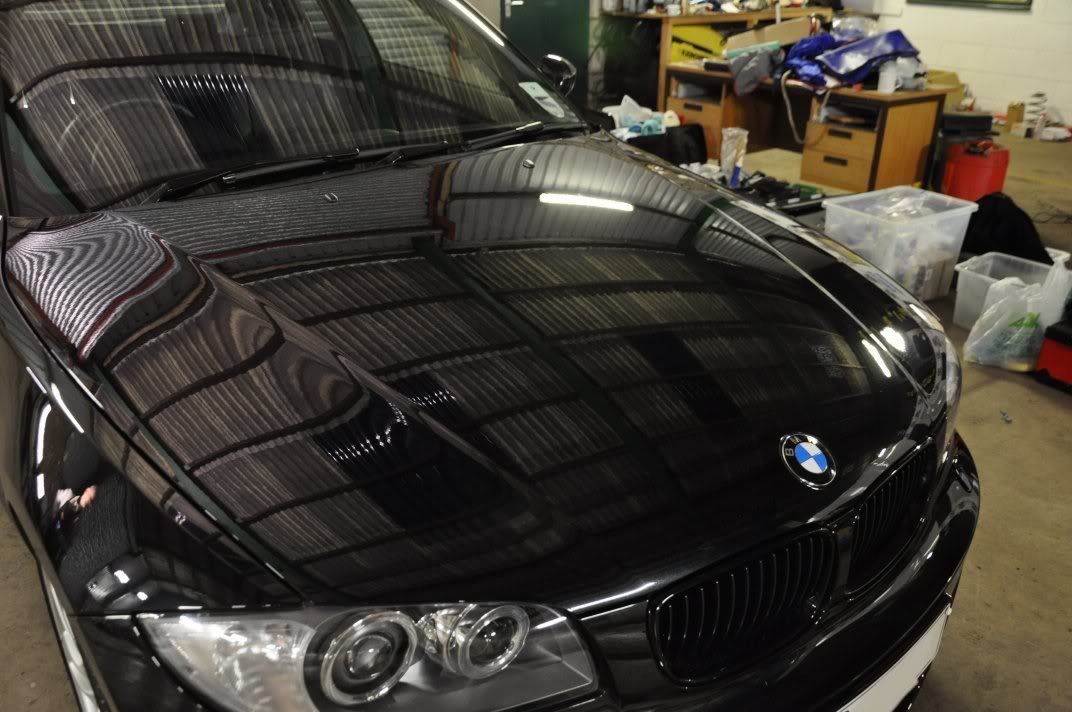
You can see in the before shots that this car was already in very good condition, with very little in the way of swirls... the bonnet was looking pretty clear of marks:
Likewise the front wing and doors were also looking in very good condition with only light marring present...
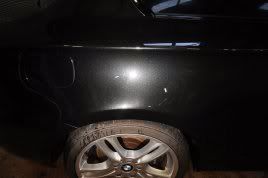
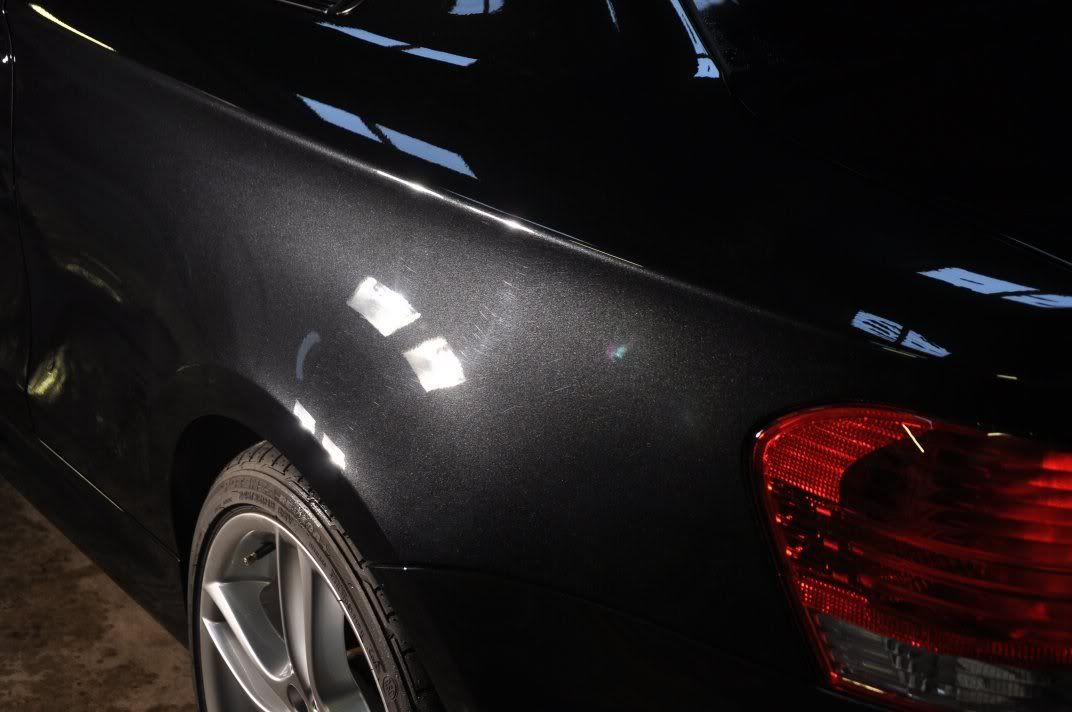
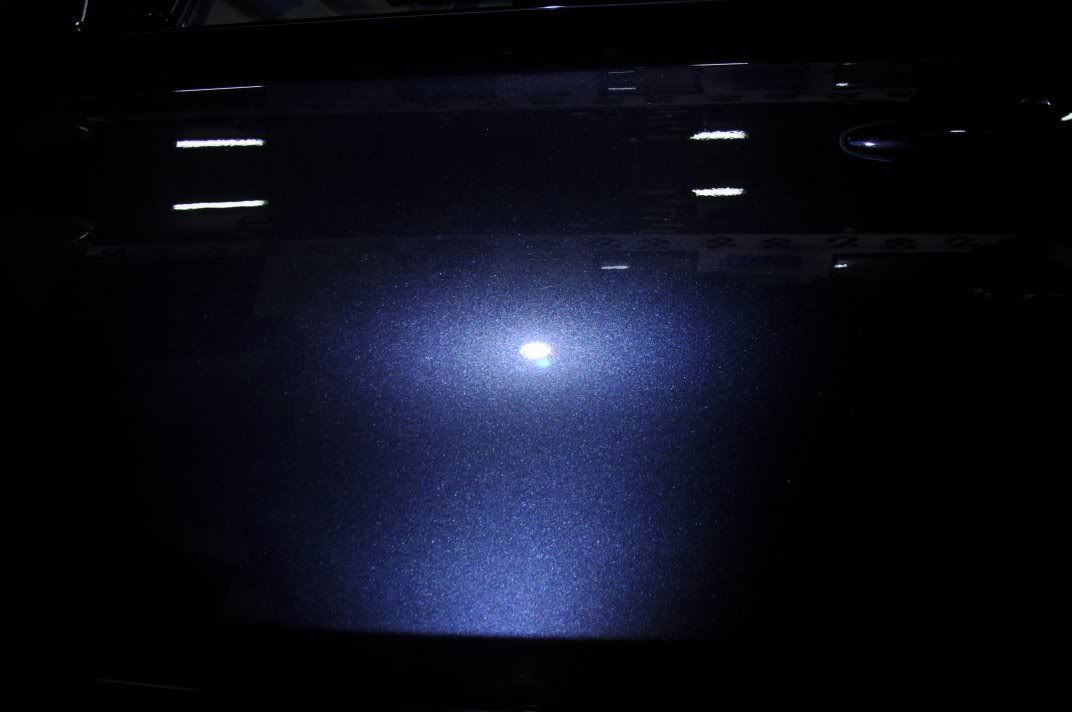
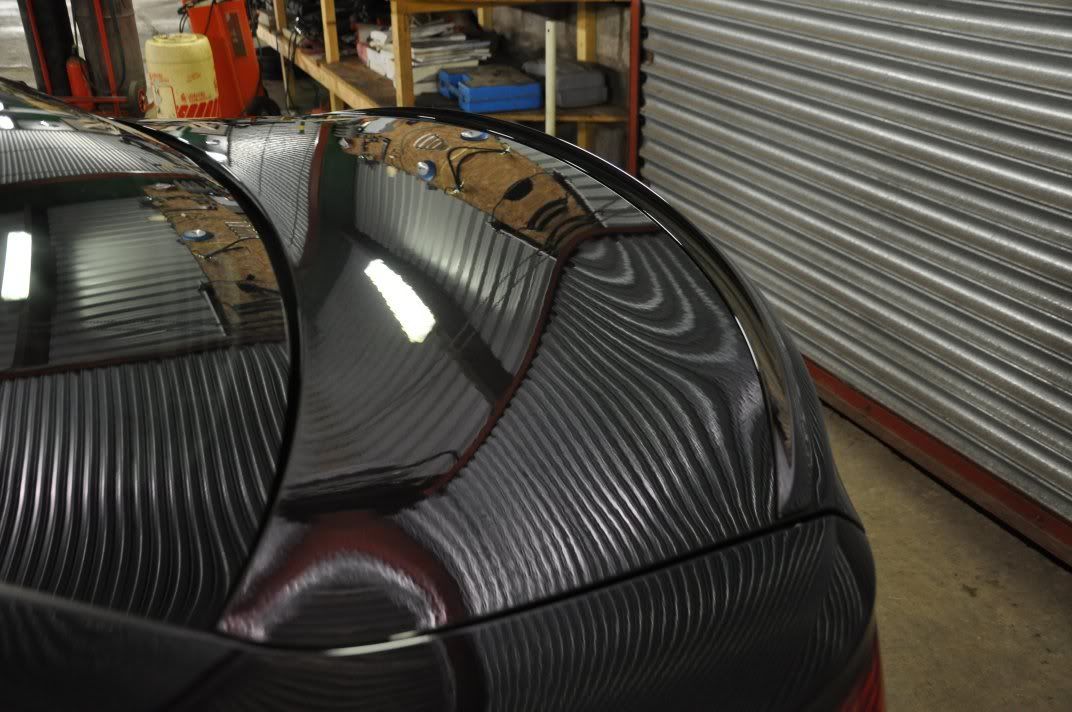
Rear bootlid was showing a little more in the way of marring - being a dirtier panel, it can be more susceptable to light wash marring...
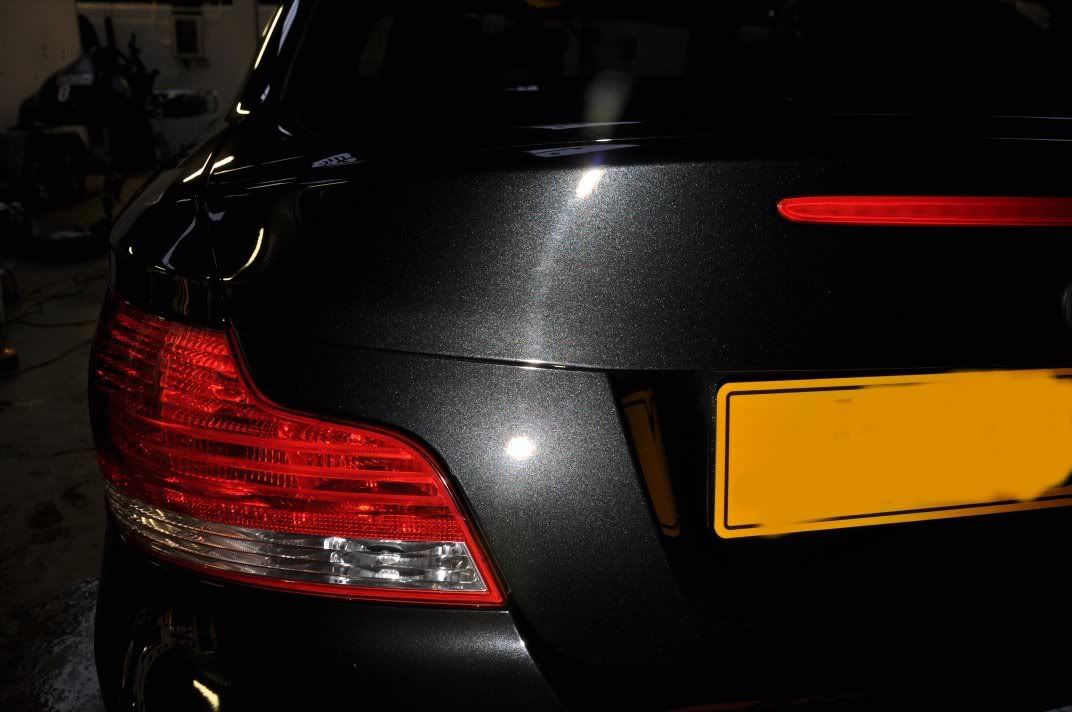
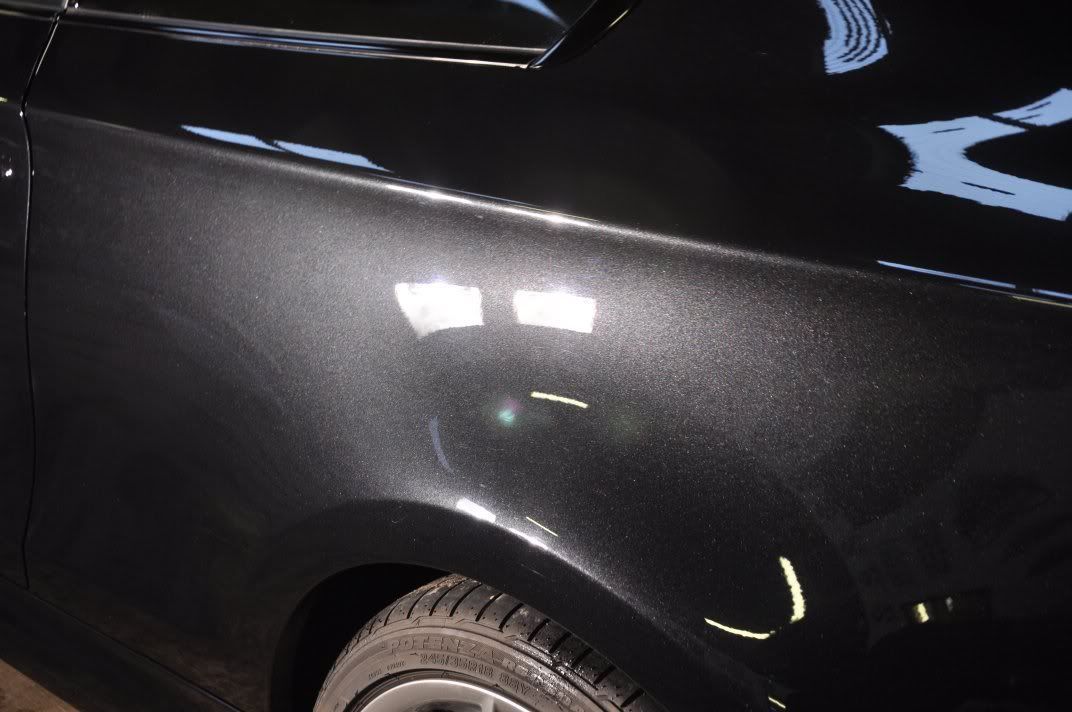
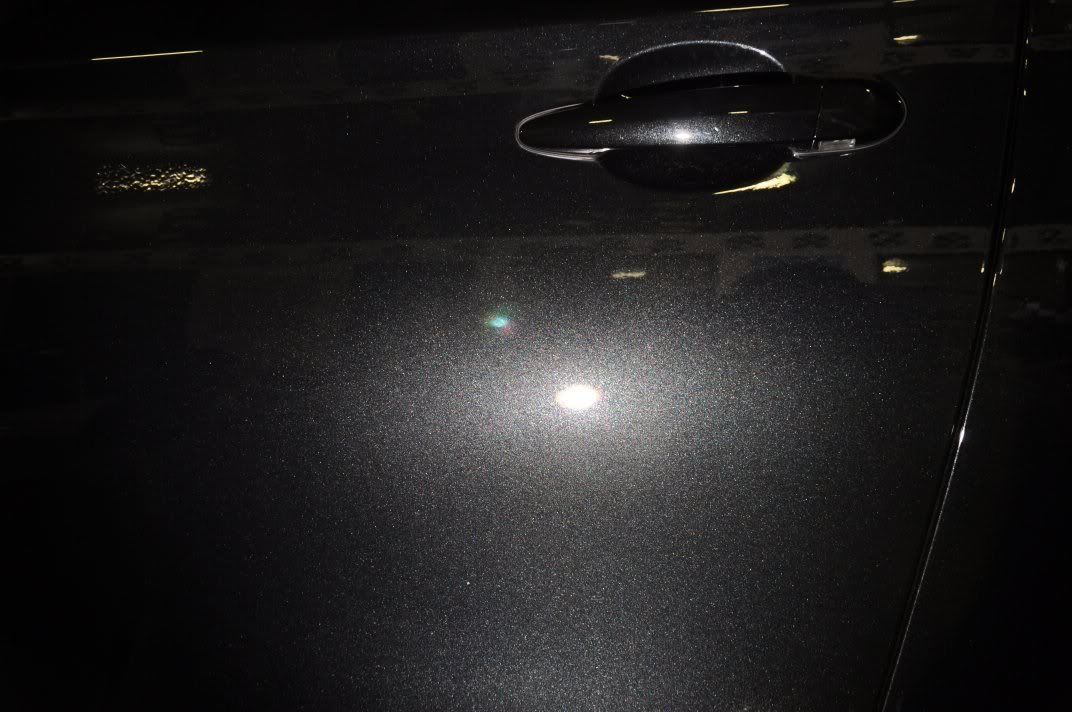
The passenger side was showing a llittle more in the way of swirls, but certainly nothing major!
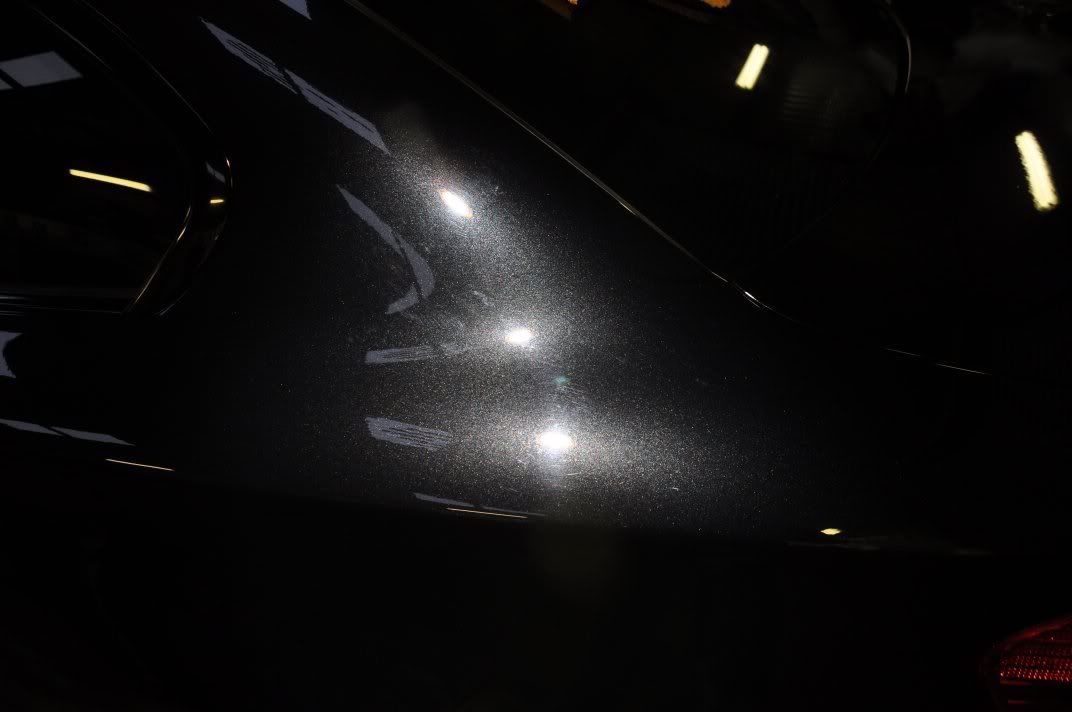
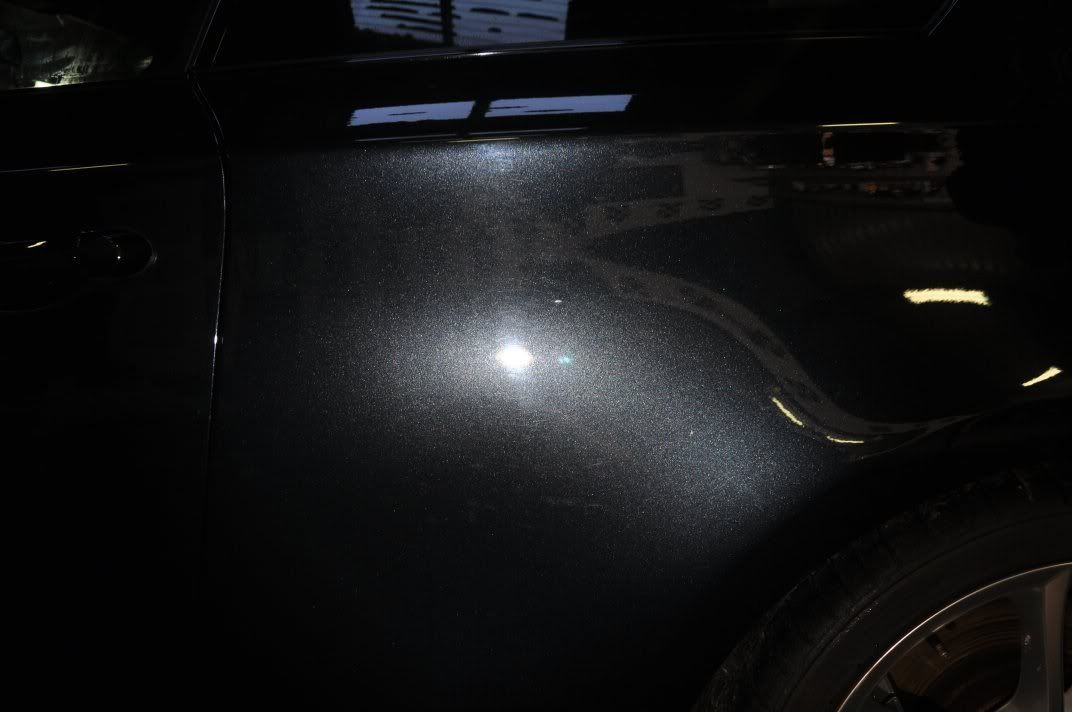
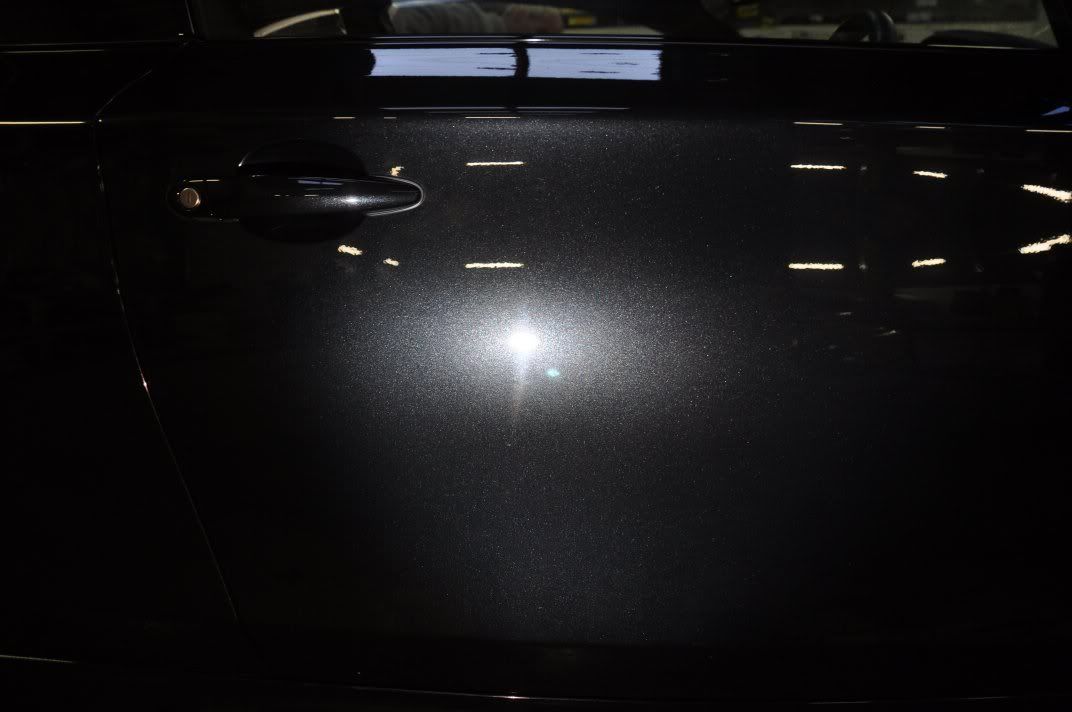
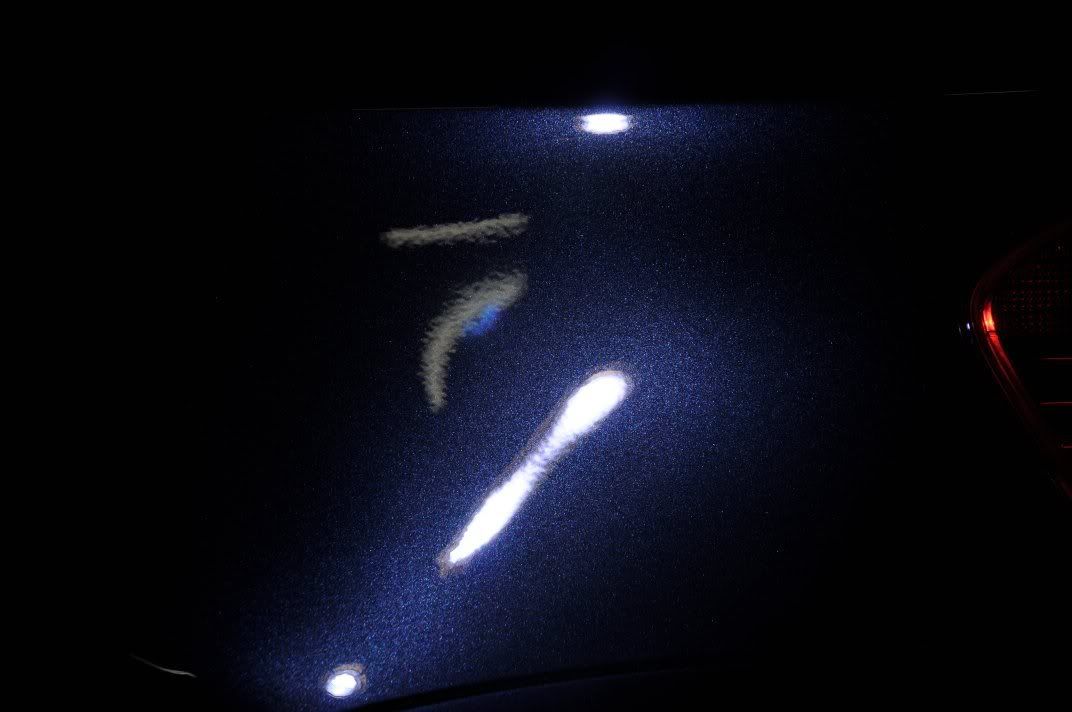
The passenger door had been repaired for a scratch, and was showing machine polishing holograms from the repair work...
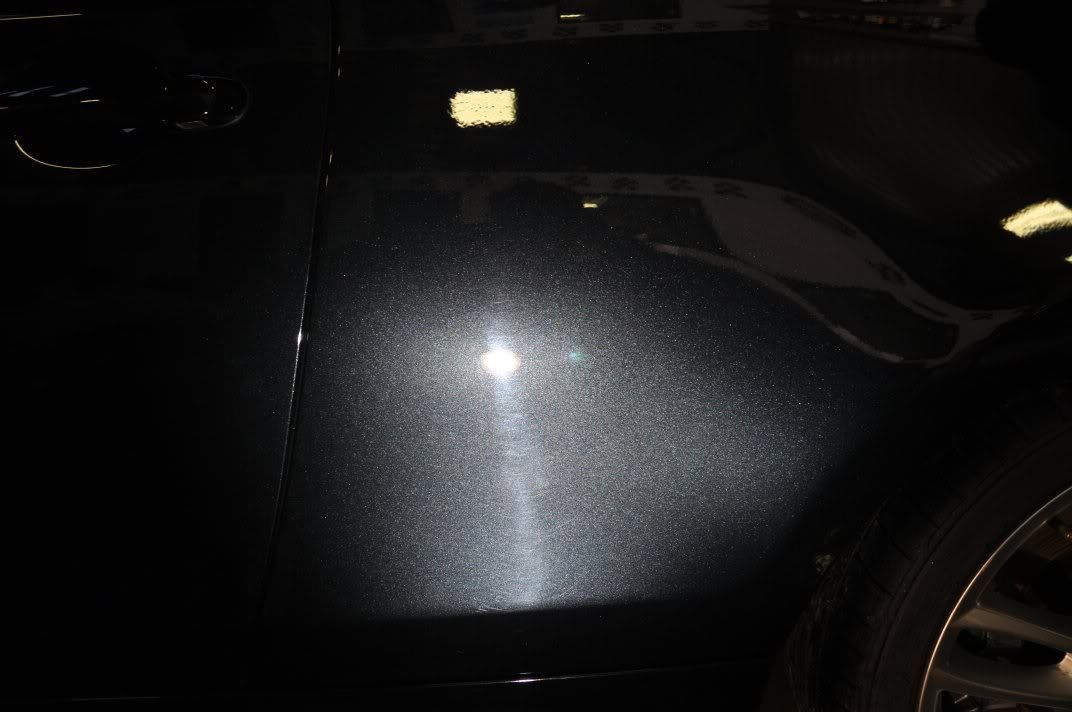
The hologramming was showing up a little better using the metal halide lights...
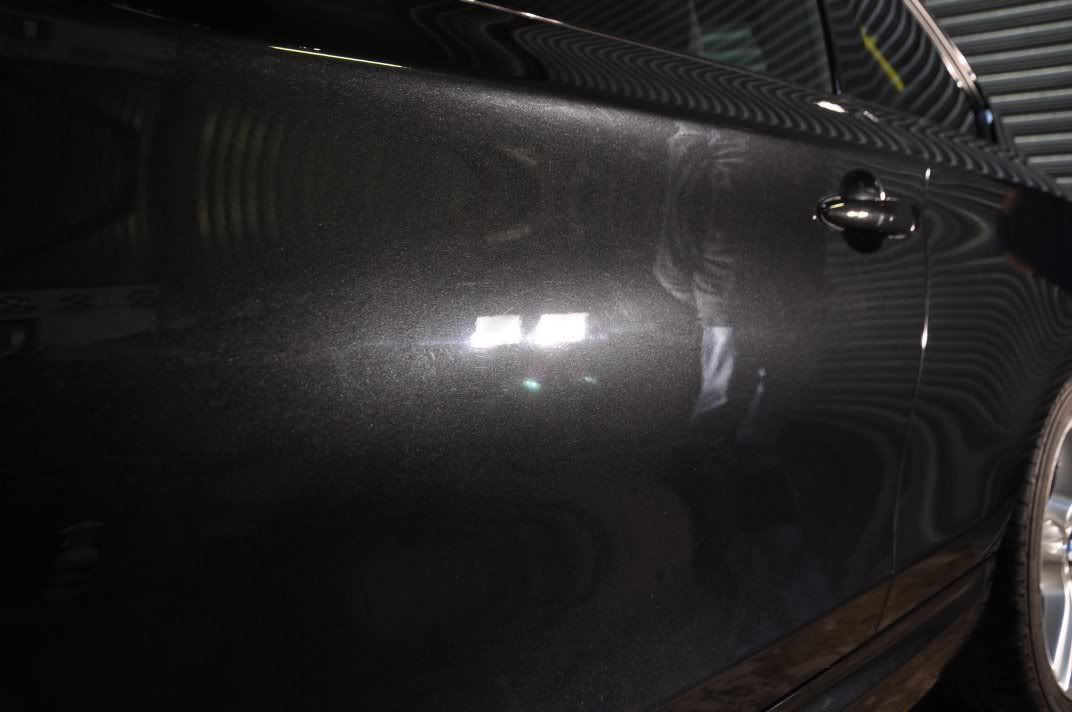
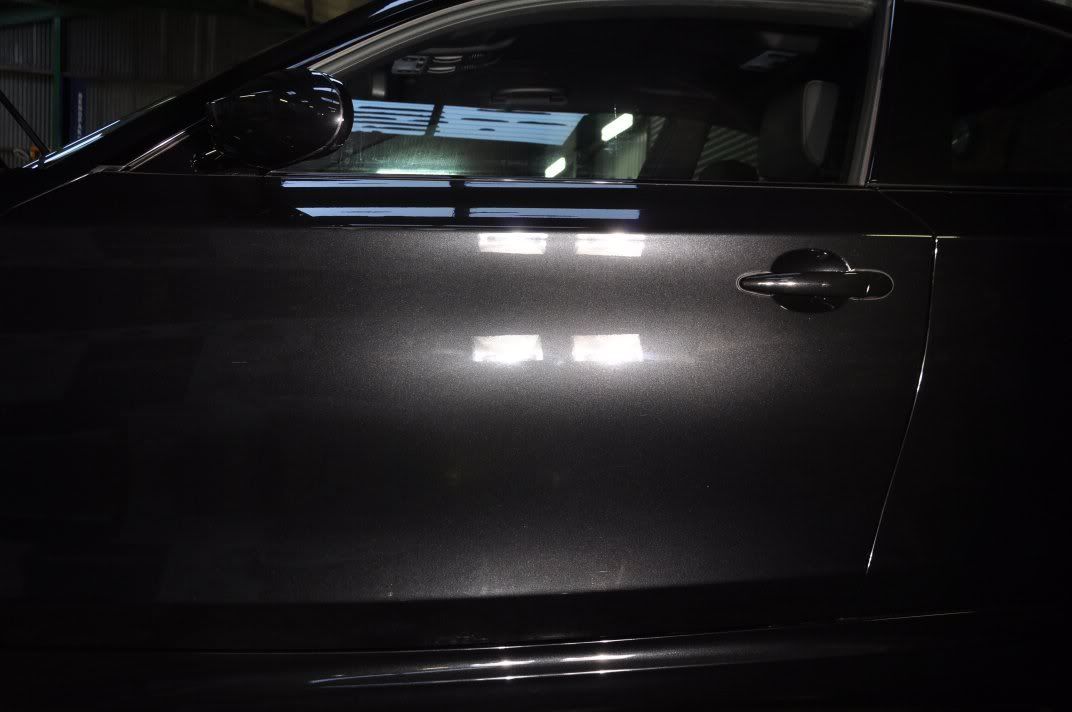
Using the halides to see the marring on the passenger side...
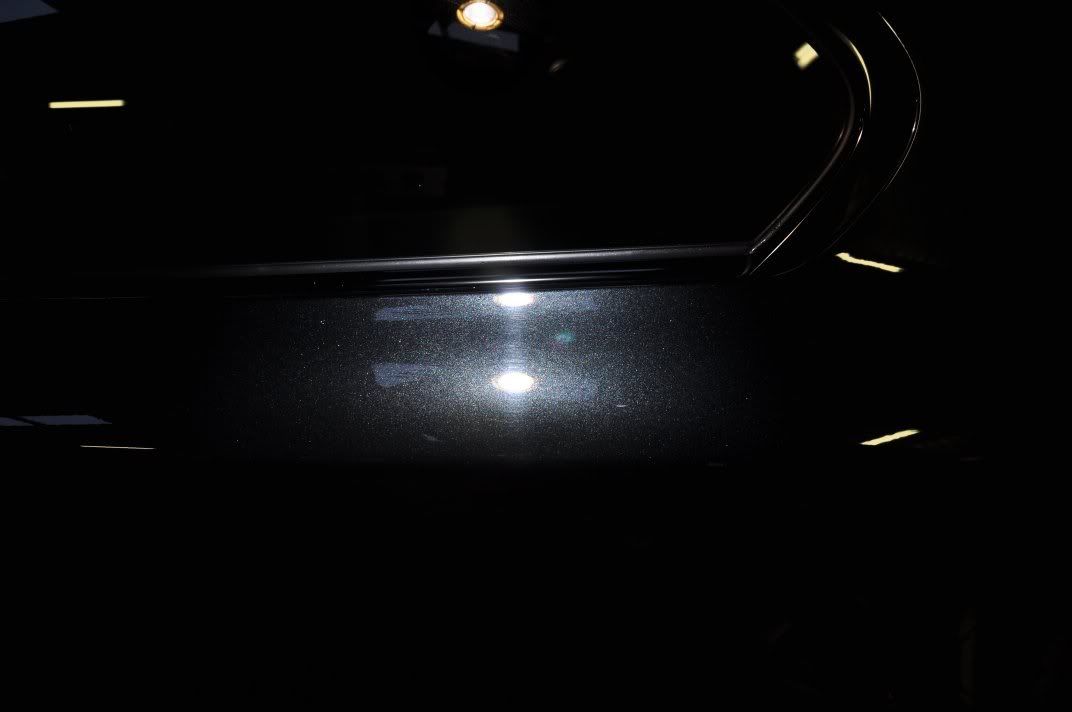
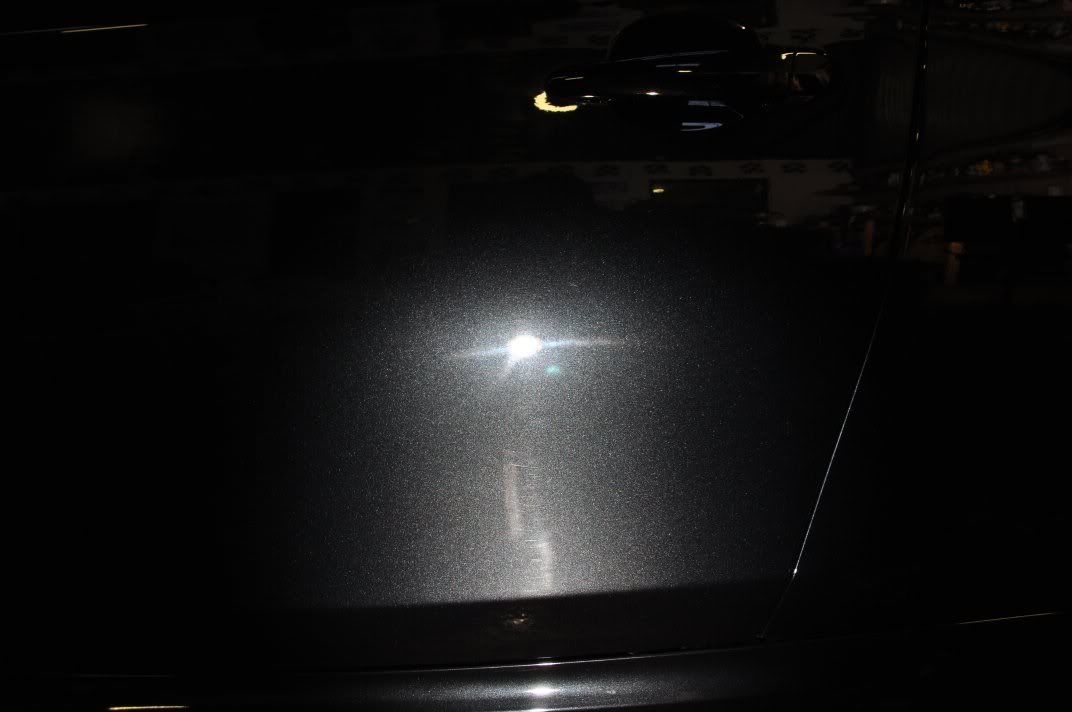
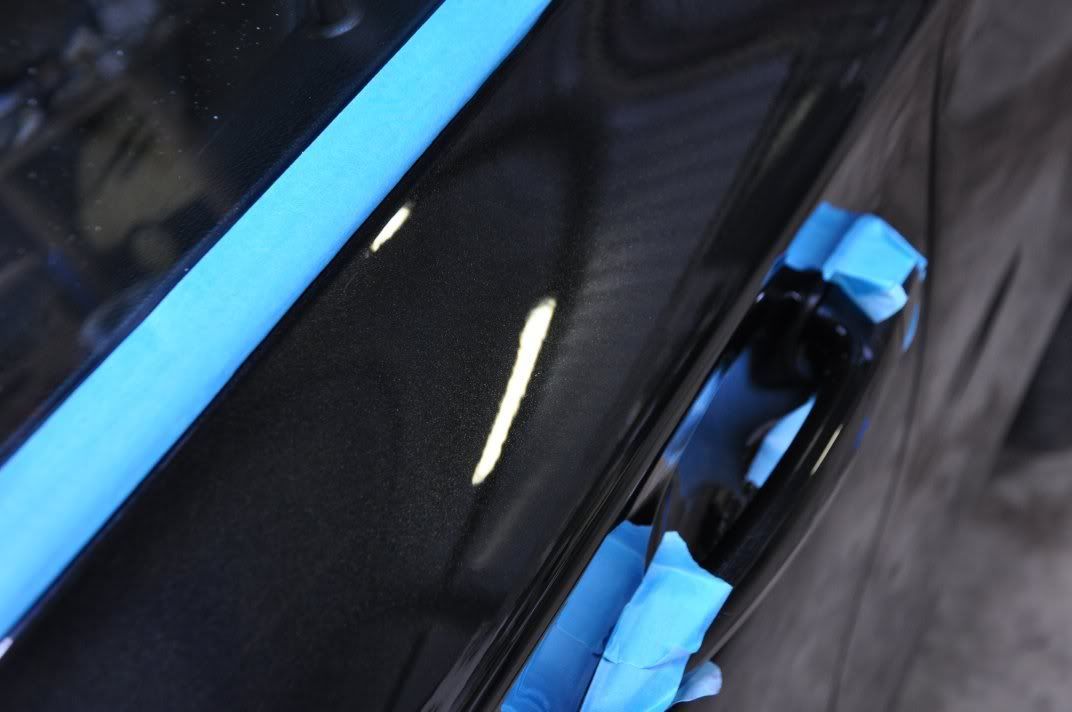
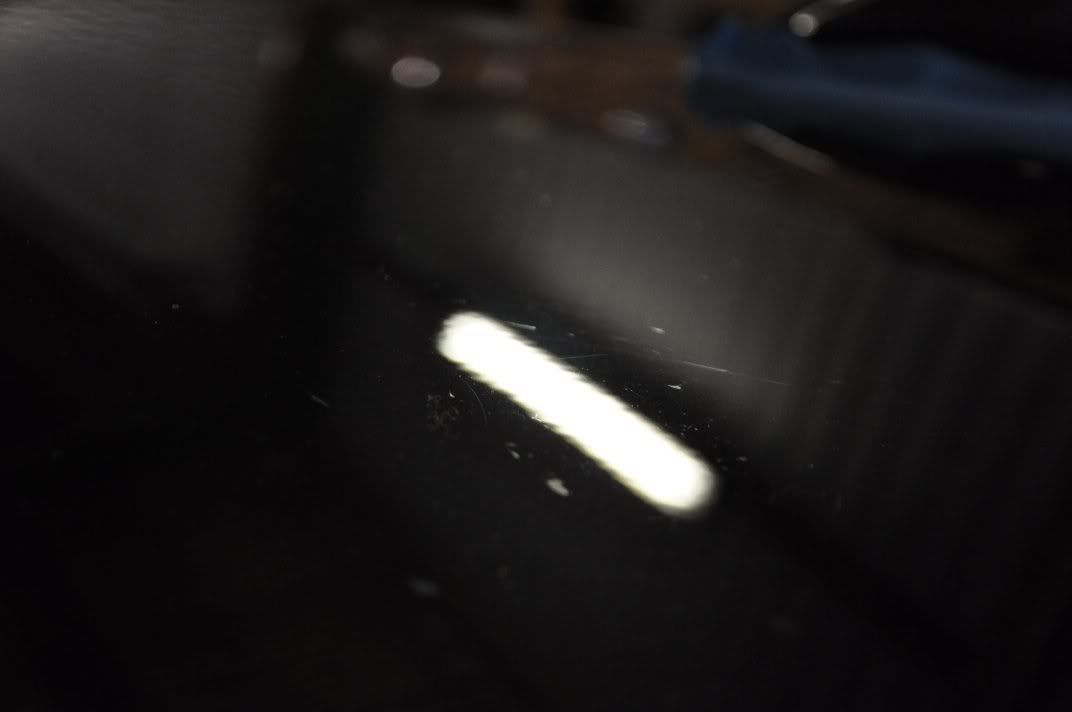
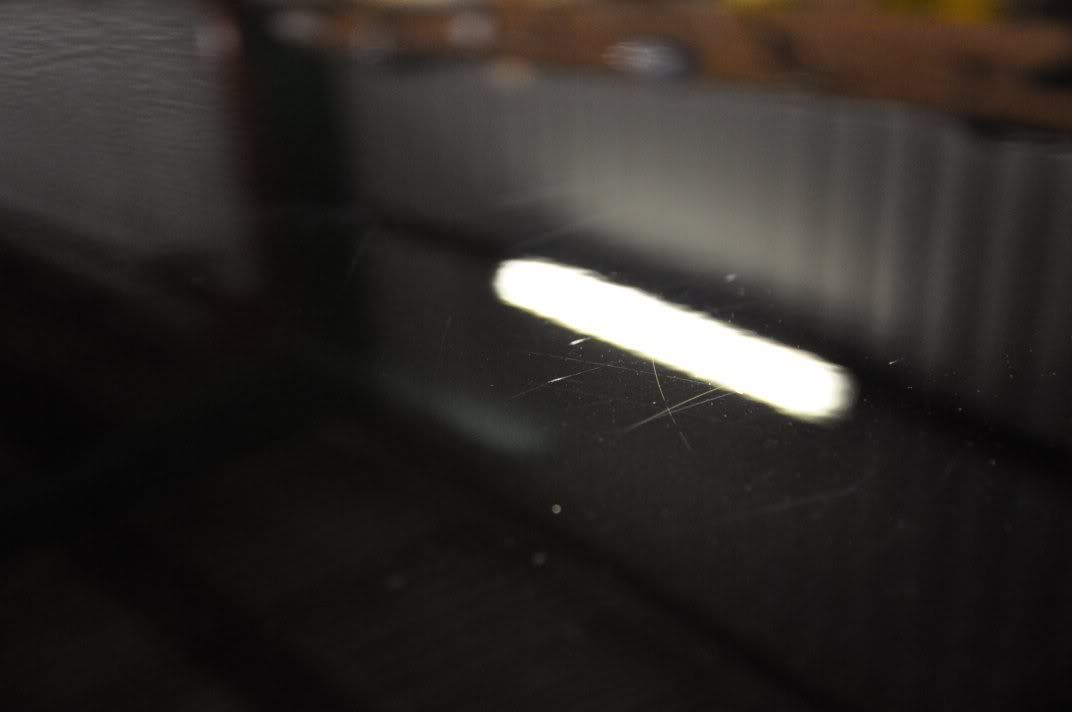
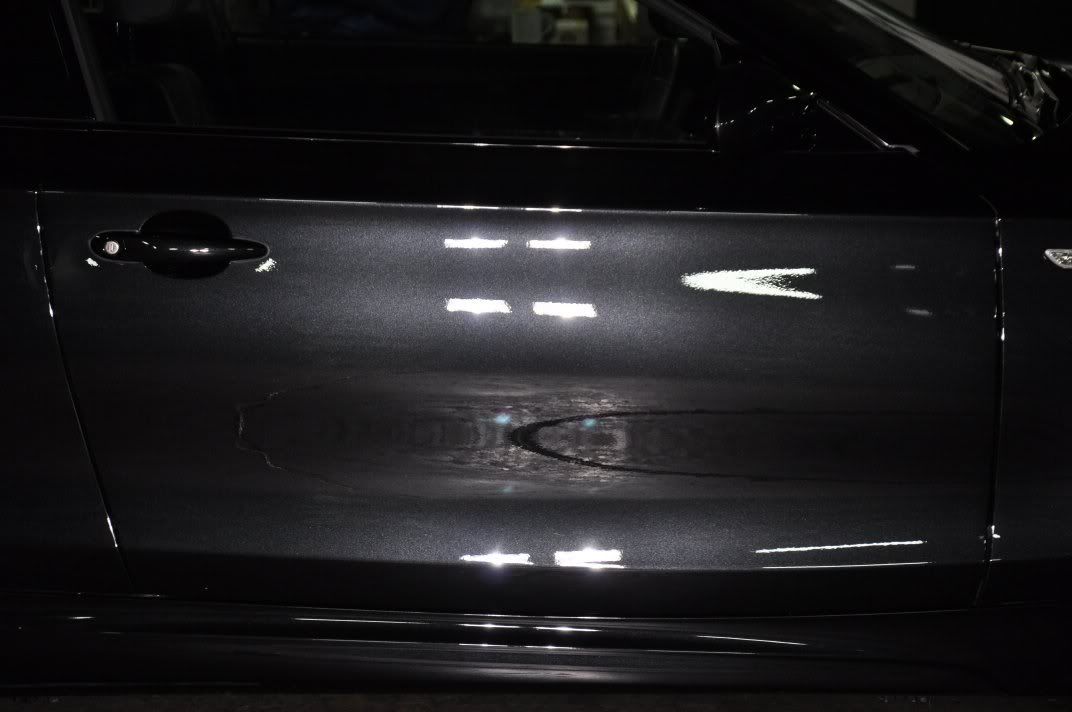
On the car there were the odd deep scratch thsat required dedicated correction over and above the general light finishing polish to be used on the rest of the car... an example is shown on the door just below the window:
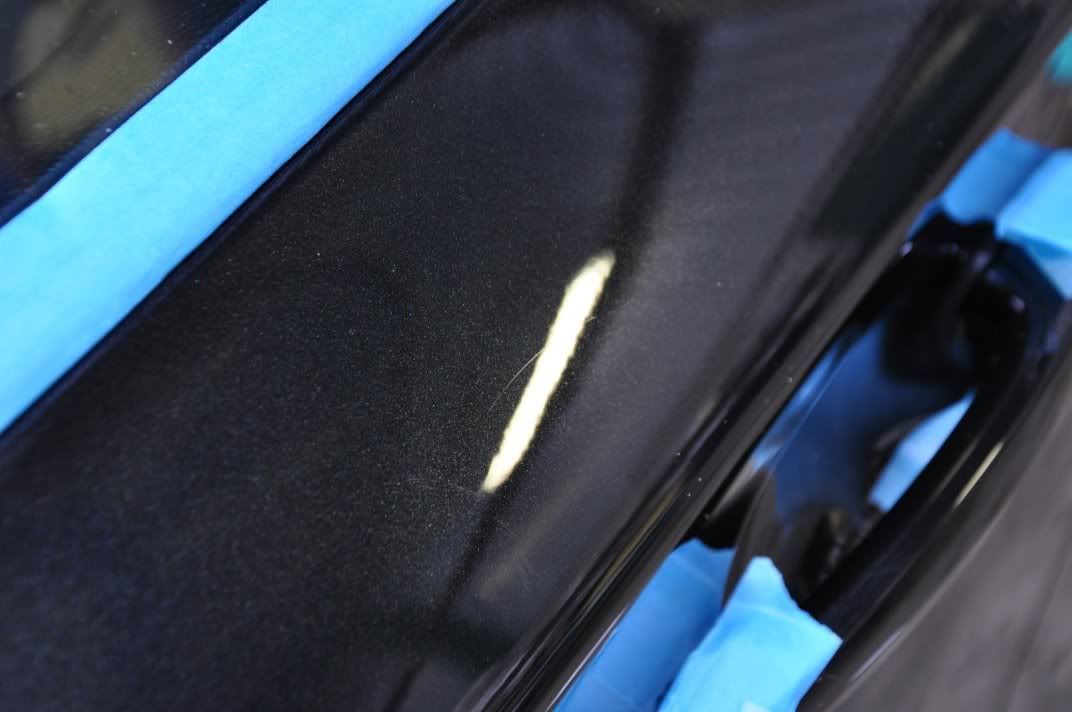
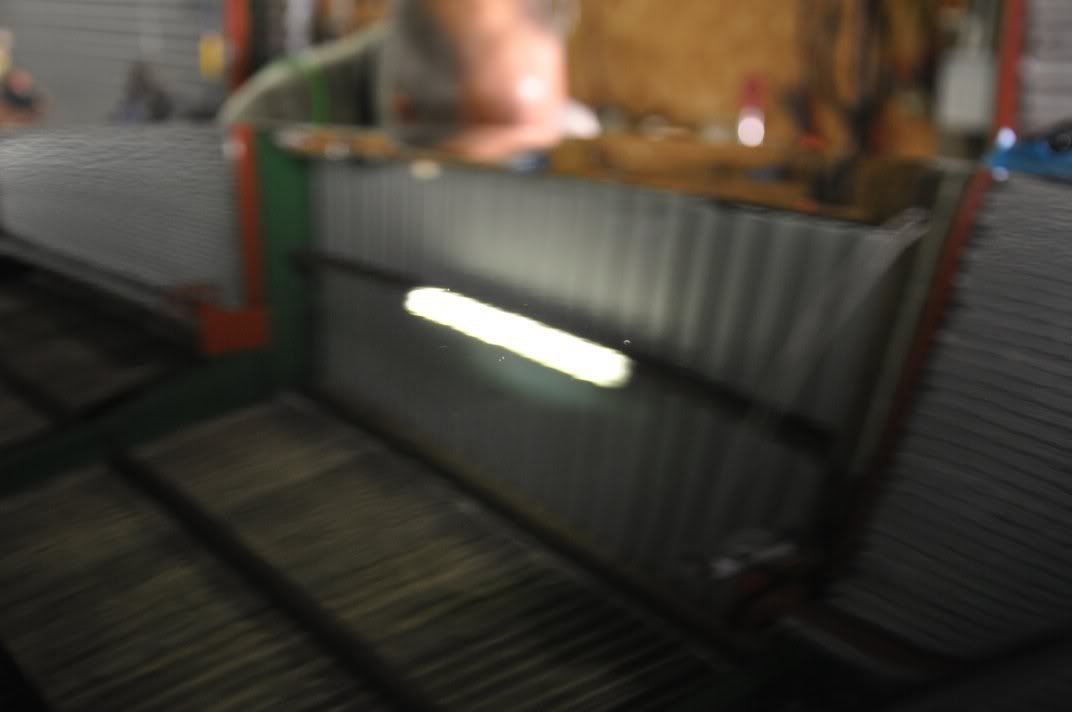
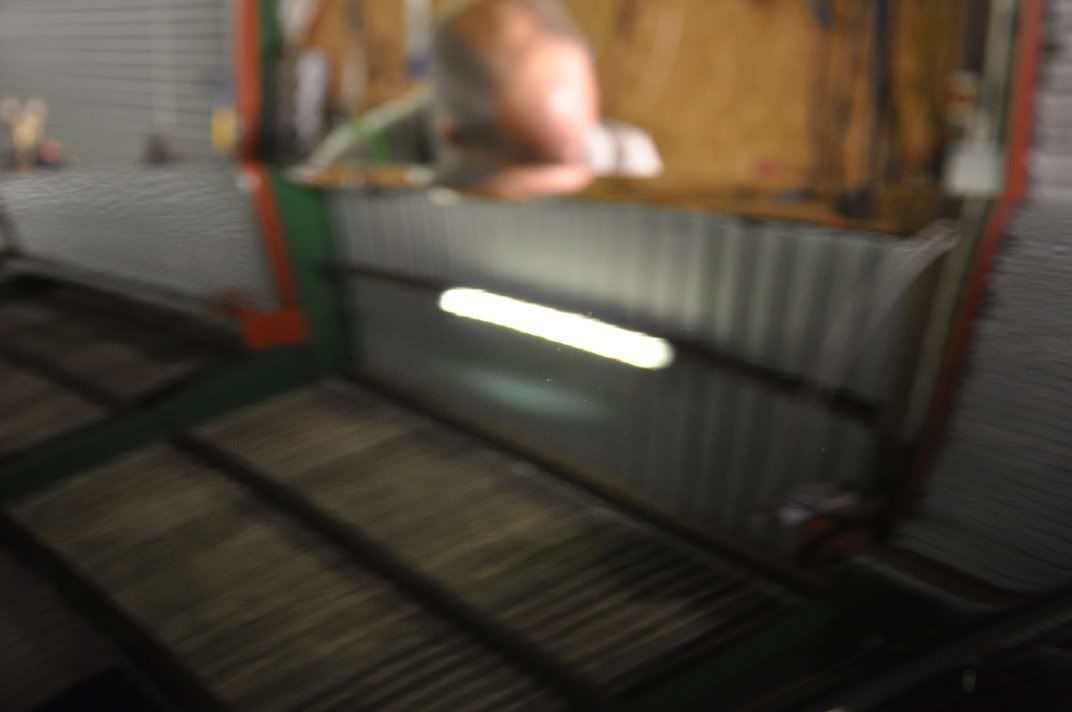
This was corrected using 3M Fast Cut Plus on a 3M Green Compounding pad, spreading the polish at slow speed and building to the working speed of 2000rpm until the mark removed, with moderate pressure over the head of the machine. I always monitor the panel temperautre carefully when compounding, if it feels like its getting a but hot, lighter pressure and slower machine speeds for a few passes will lower it. The results of correction...
This was then refined using Meguiars #205 Ultra Finishing Polish on a 3M Blue finishing pad to leave...
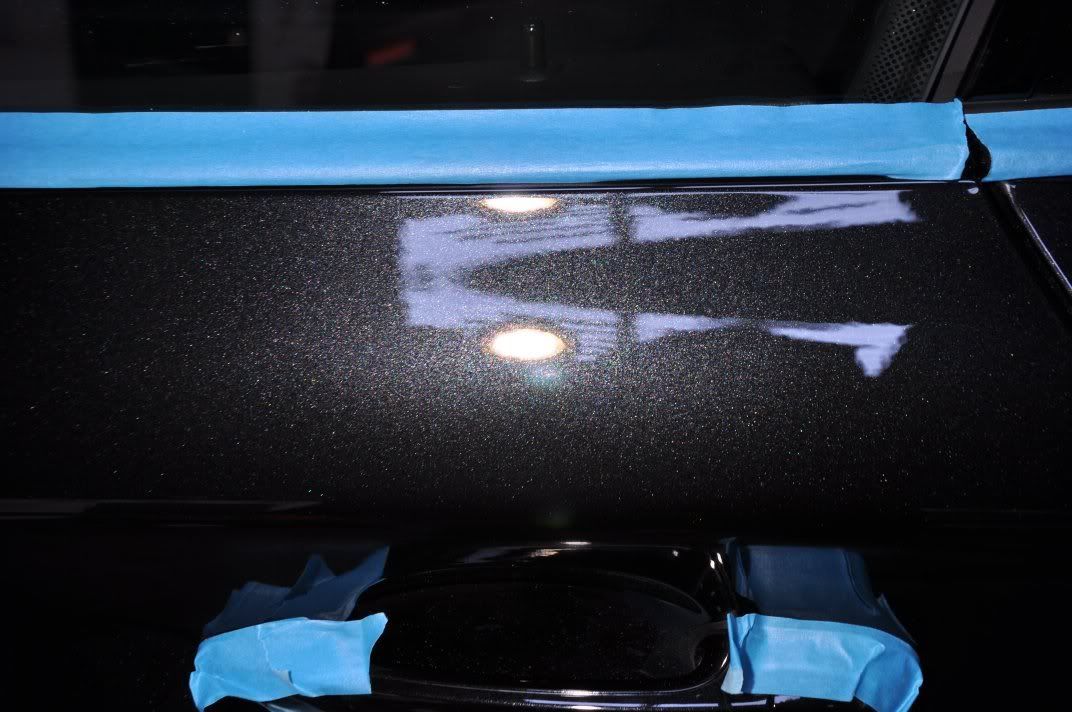
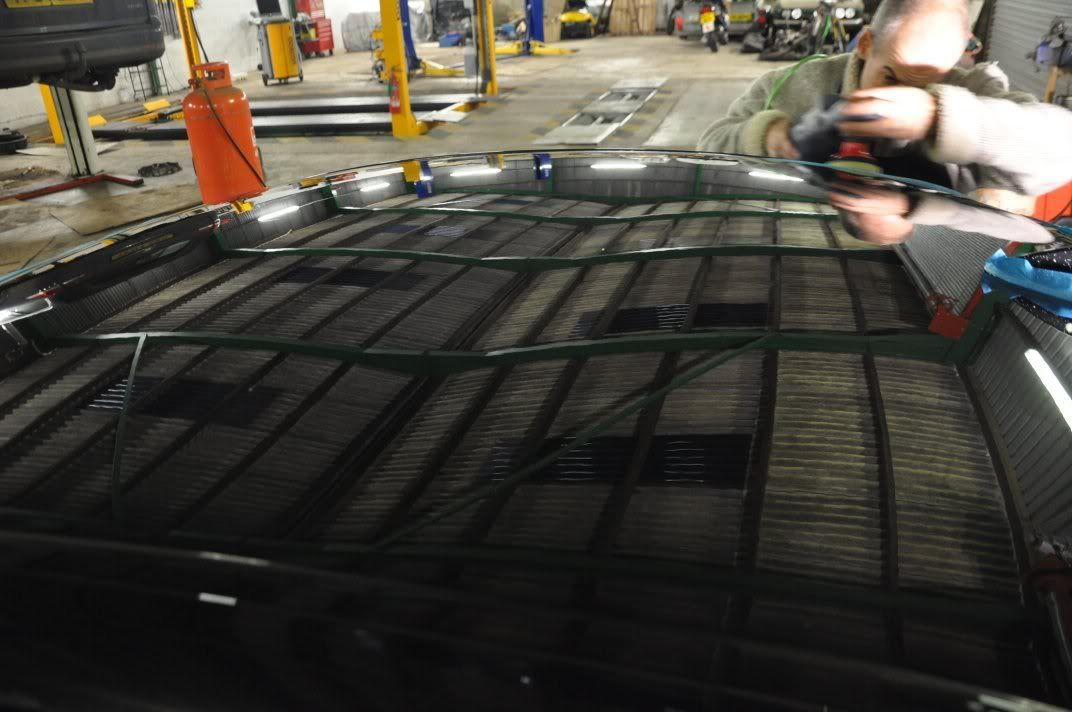
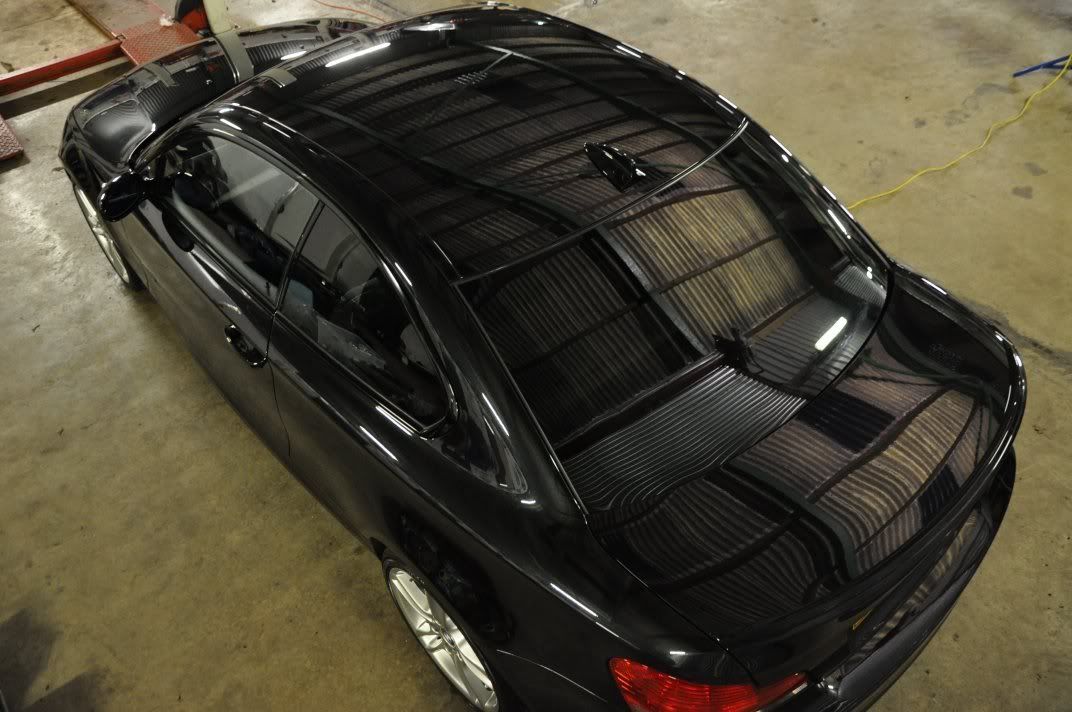
Another panel showing deeper marks was the roof...
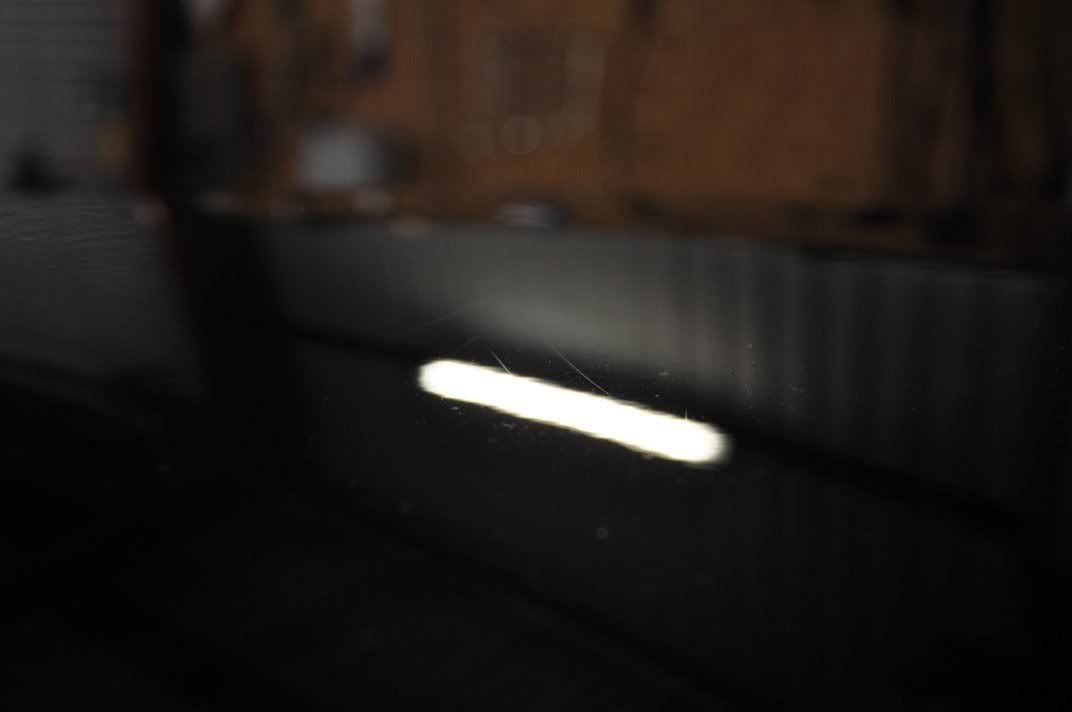
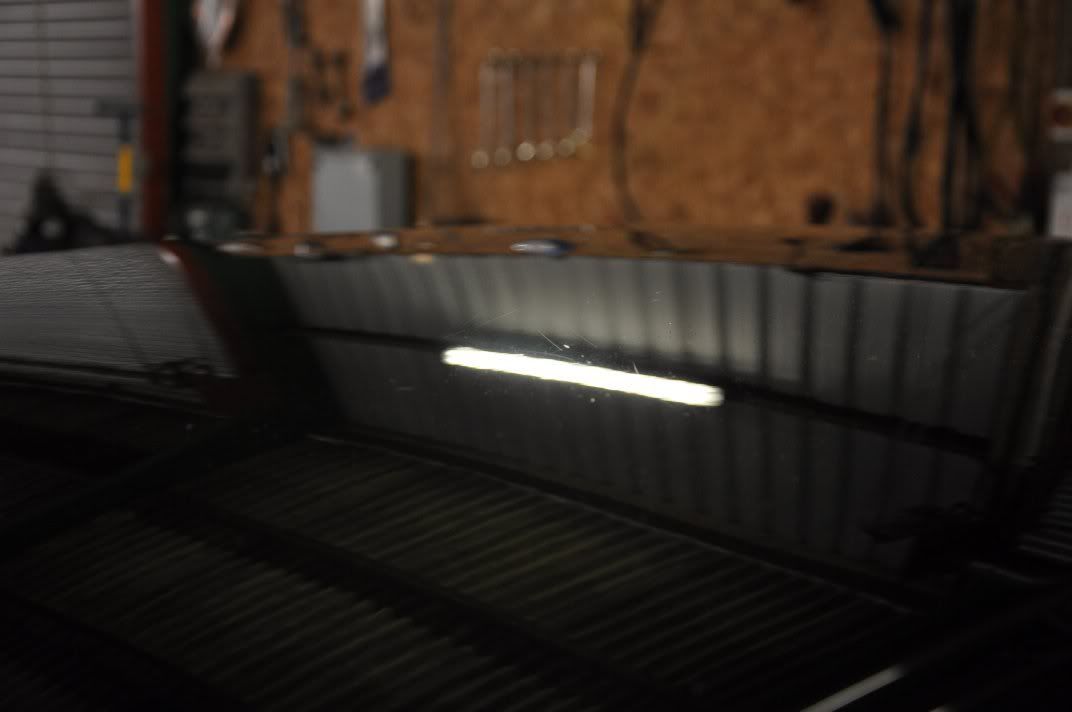
This was also corrected using either 3M Fast Cut on a yellow Chemical Guys Hexlogic pad with a reduced work time (work at 2000rpm until marks removed), or using Menzerna PO85RD3.02 Intensive Polish with a regenerating technique to prolong its work time and raise the cut possible from this polish. The advantage of the Menzerna was the quality of finish left - ready for wax. But with temperatures in the unit we were working in on this detail reducing, the performance of the Intensive Polish was struggling a little to really maximise its cut so Fast Cut was then used. Both polishes were followed with Meguiars #205 Ultra Finishing Polish.
Roof after correction:
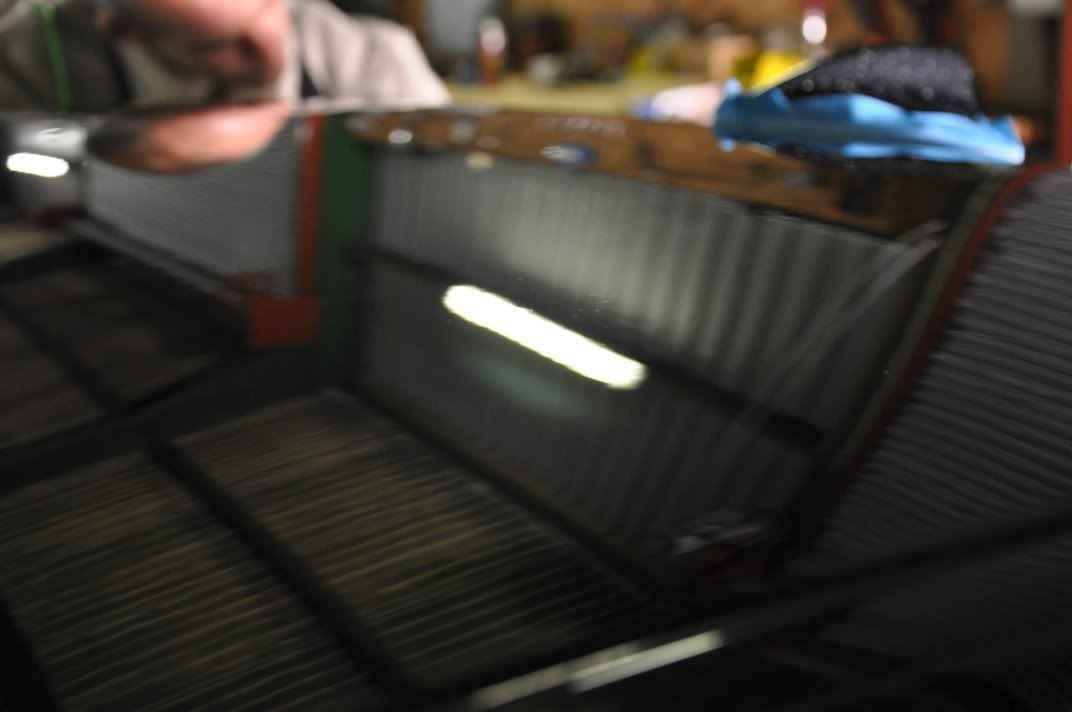
I was enjoying the reflections....
The regions of the car with only the light marring was more easily corrected and refined using a single stage of machine polishing - Meguiars #205 Ultra Finishing Polish on a 3M Yellow Polishing pad. This was applied using a Double Zenith technique where the speeds and pressure were raised and lowered together...
- Spread polish at 600rpm
- Begin working at 1200rpm with light pressure and slow machine movements to get the polsi hresidue evenly spread
- Work at 1500rpm with moderate pressure and steady machine movements
- Work at 1800rpm with moderate to heavy pressure and slow machine movements - this stage was used to get the most cut out of the #205 on this harder paint finish
- Work at 1500rpm, light to moderate pressure and steady machine movements until residue looked to be going clear
- Reduce to 1200rpm with light pressure and slow machine movements to refine the finsih
- Work at 900rpm, very light pressure (supporting the weight of the machine), and slow movements to burnish the finish and ensure it is hologram free
The end results of this was an increase in clarity of the finish allowing for a slightly better flake ping, and also the removal of any light wash marring and the hologramming on the repaired door.
Afters from around the car, starting with the bonnet:
Passenger side wing...

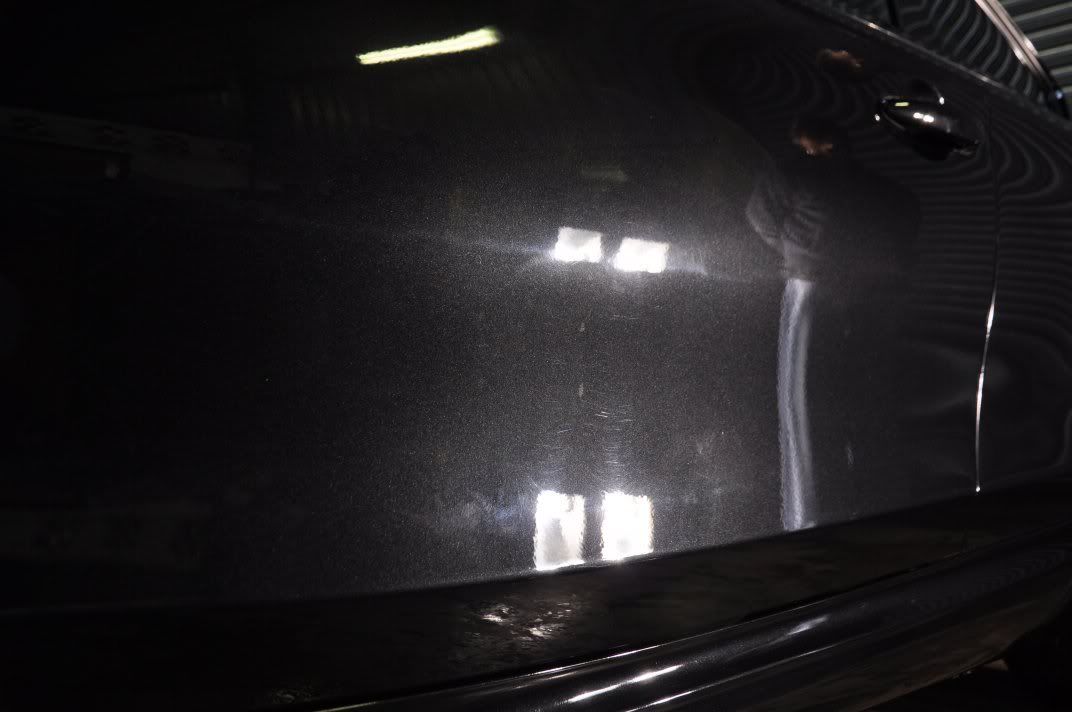
The passenger door that was hologrammed before, now fully corrected (different colour tone from adjustment in camera white balance, the flake in this finish was causing most pics in auto mode to be "washed out" such that you could not see whether or not the finish was free of marring so manual mode was used to give a better idea of the quality of finish):
Rear 3/4...
Onto the driver's side...
And the bootlid...


The paintwork was then protected with Collinite 476S wax for its durability. Glass cleaned with Stoner Invisible Glass, wheels protected with Finisk Kare 1000P, tyres with Espuma RD50, plastic trim with Chemical Guys New Look Trim Gel.
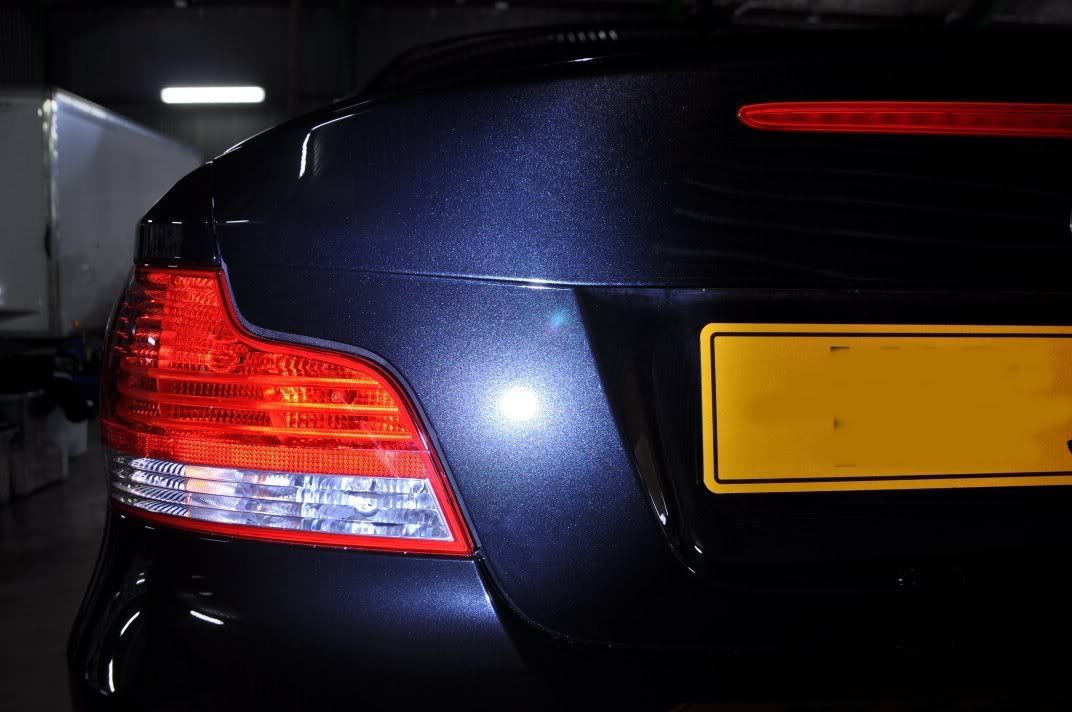
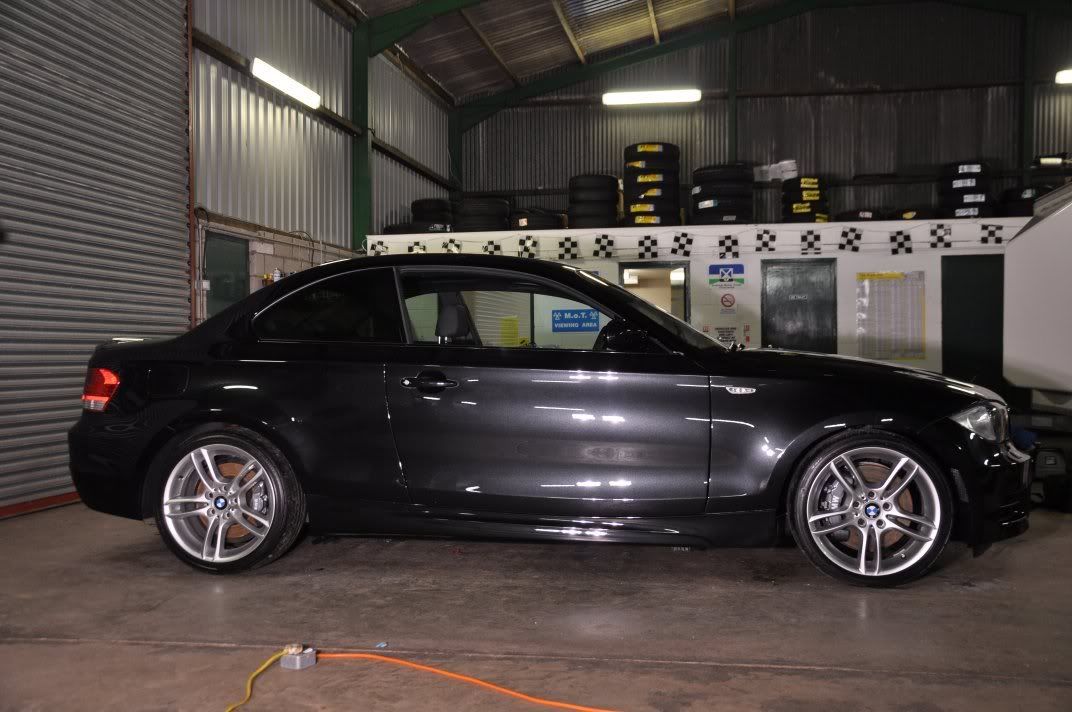
The end results...

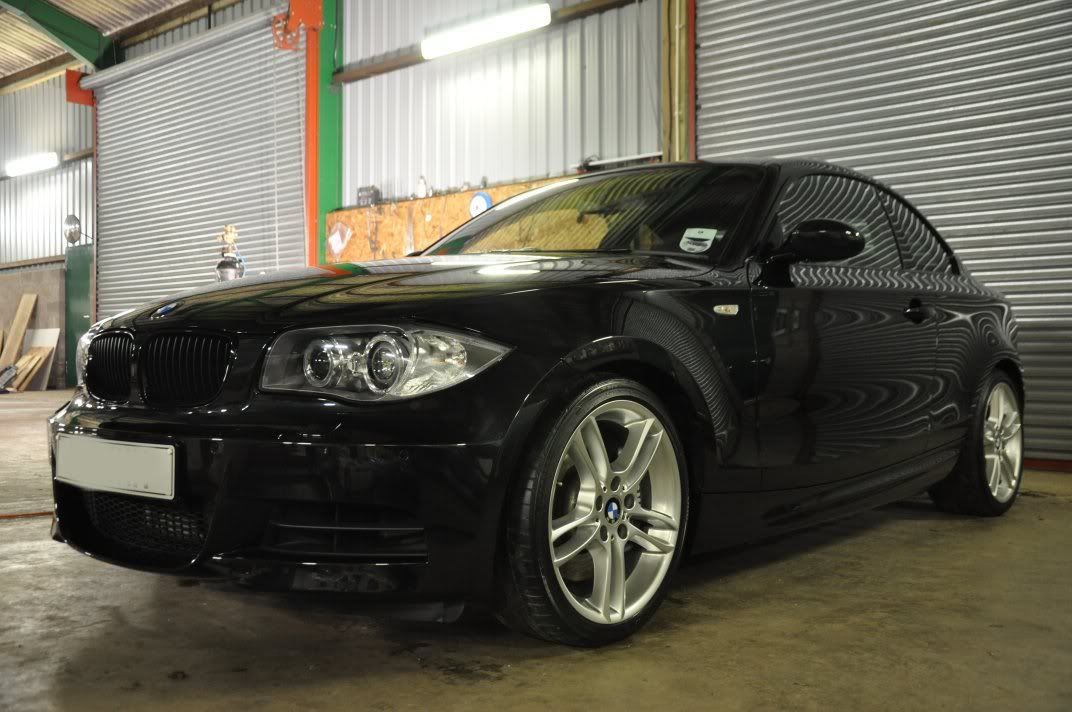
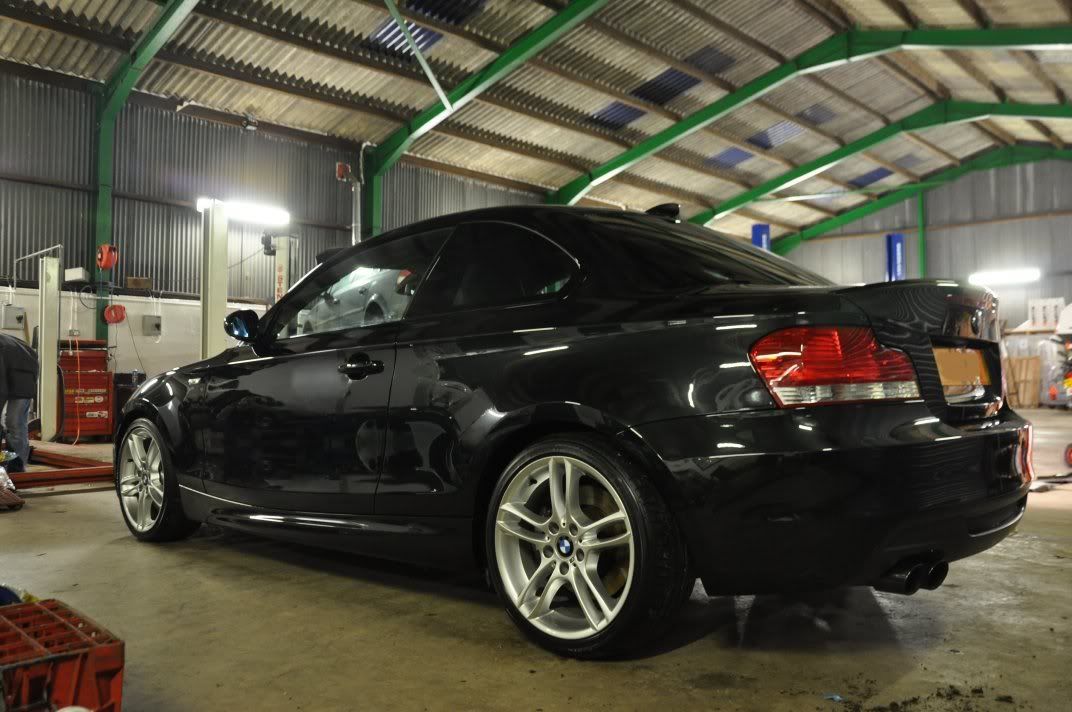
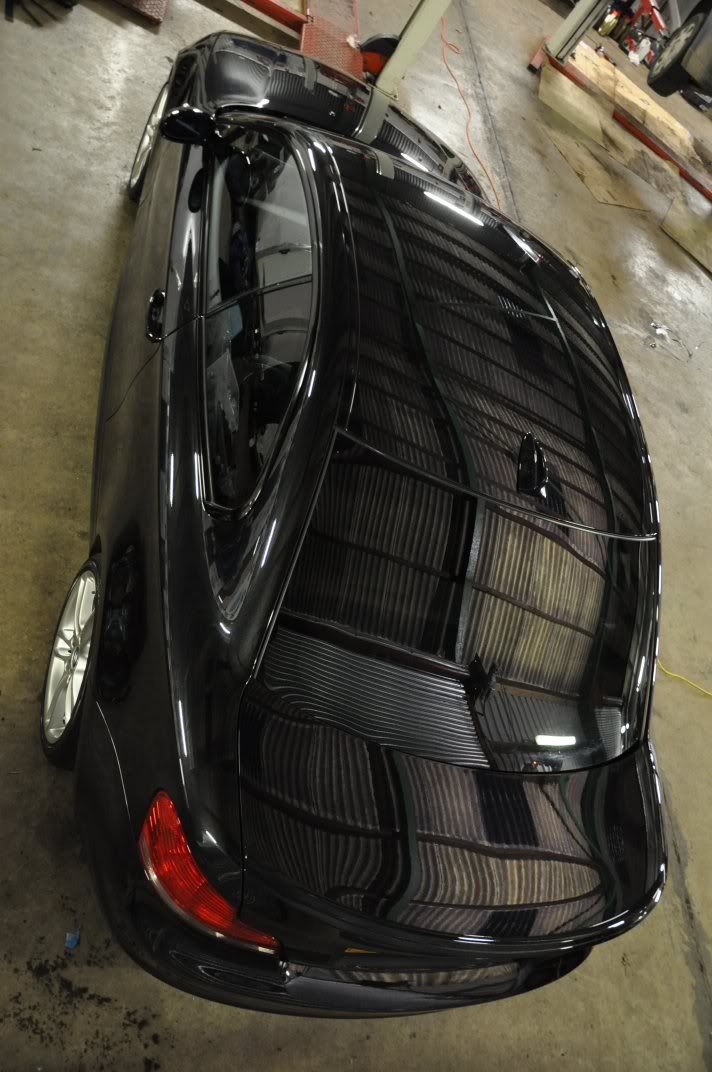
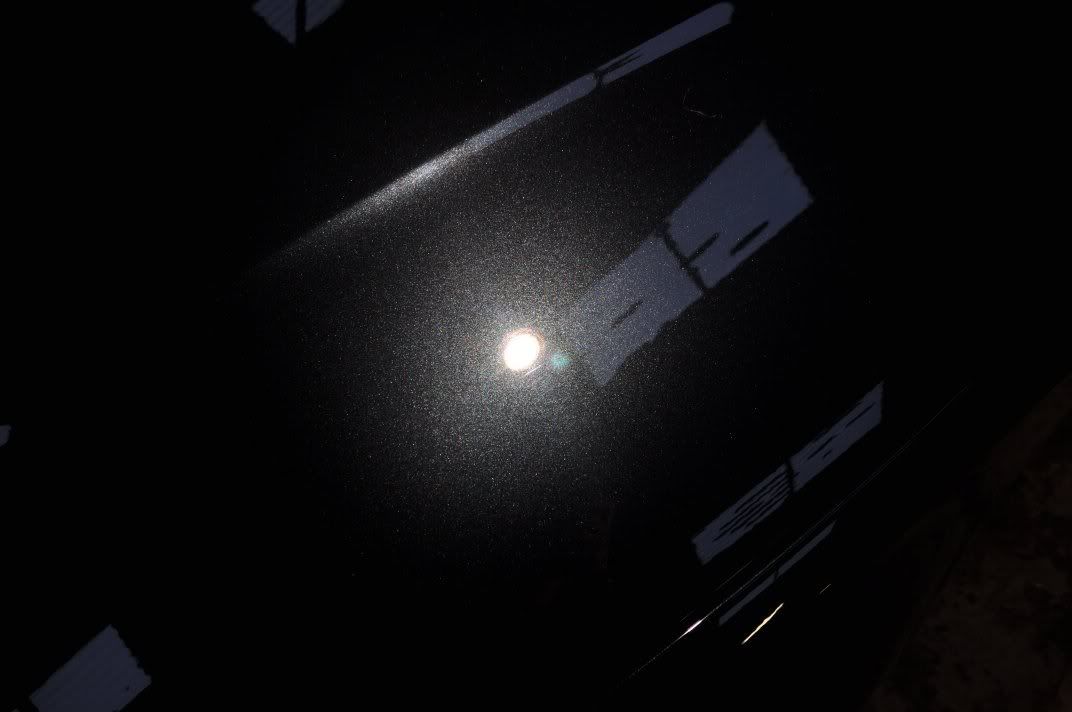
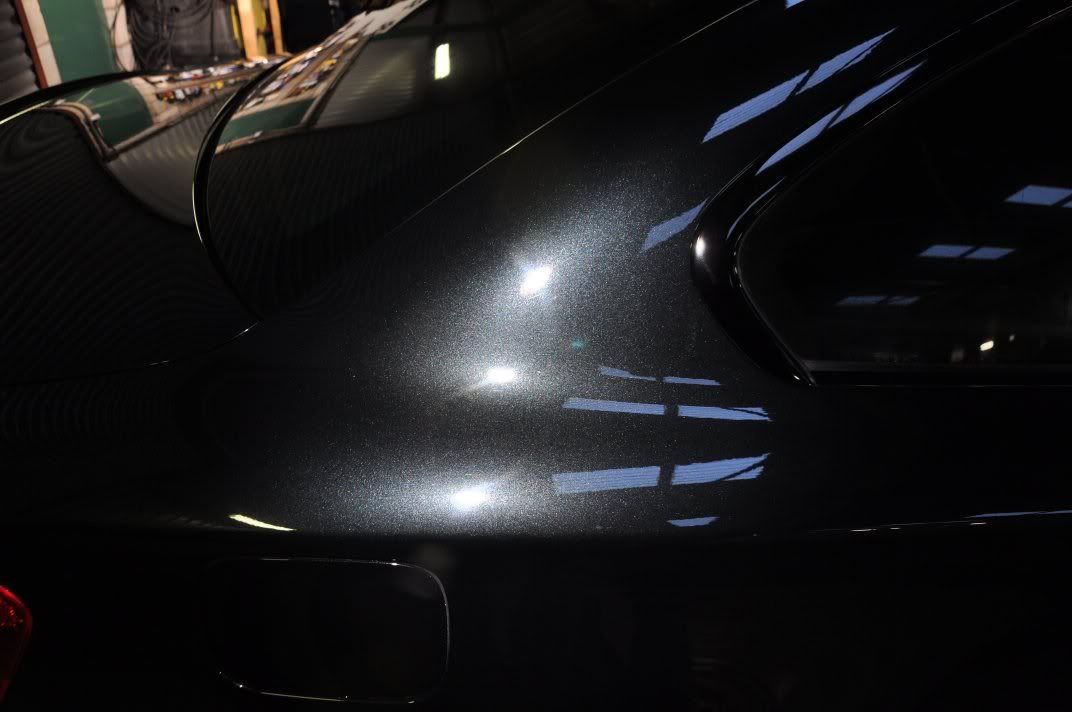
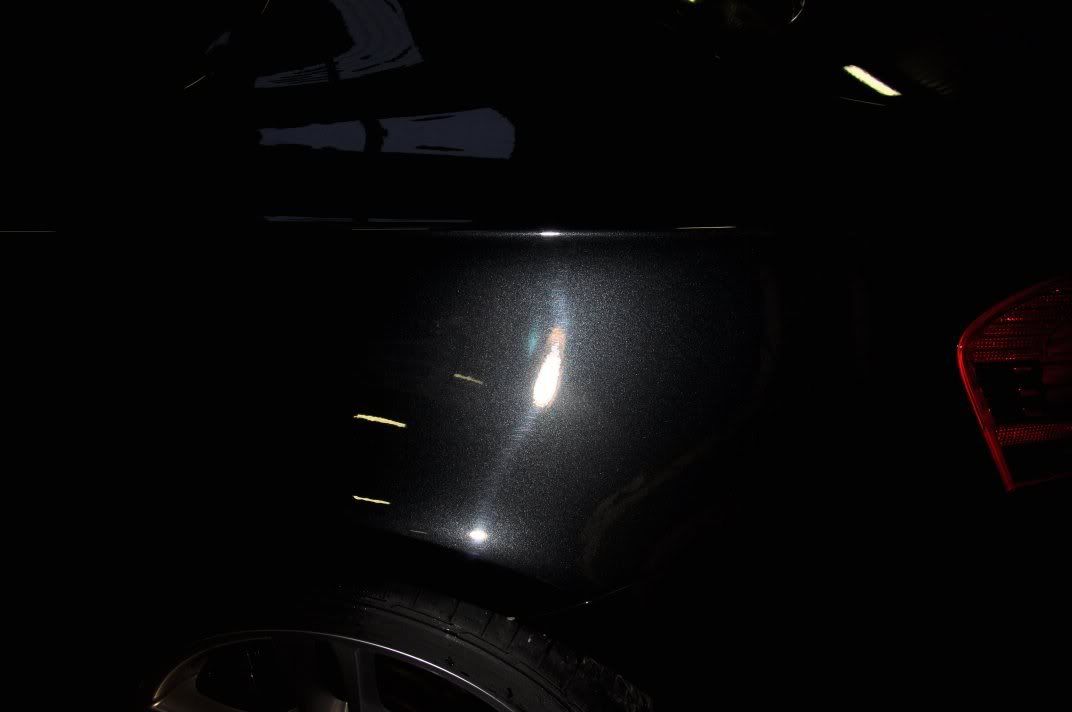
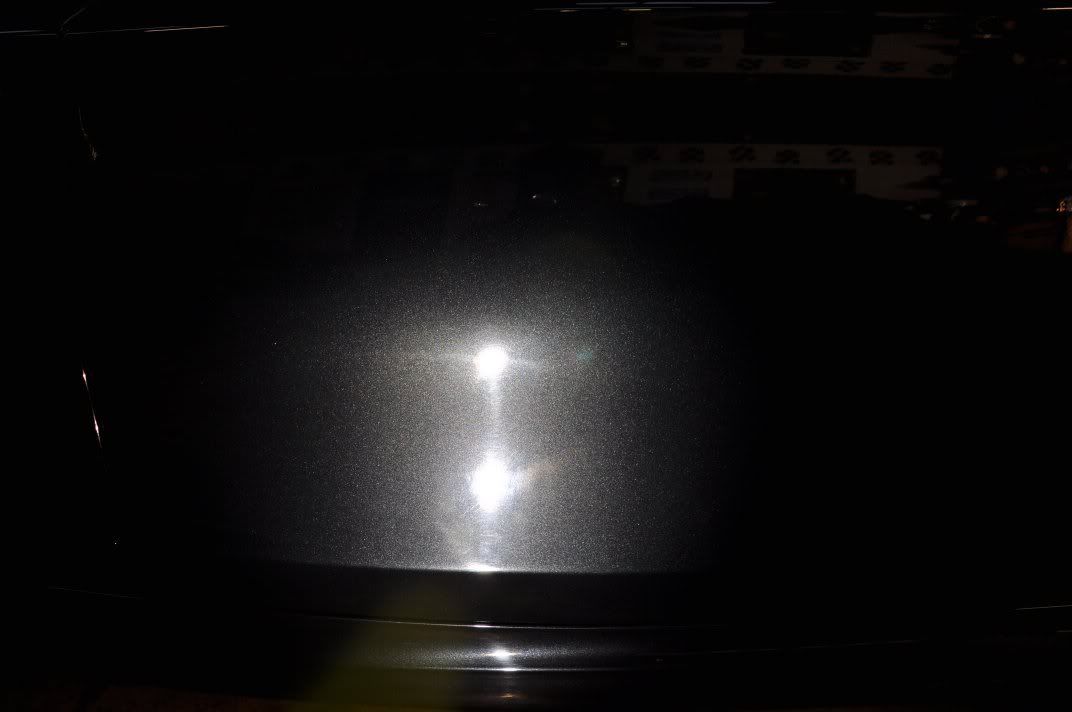
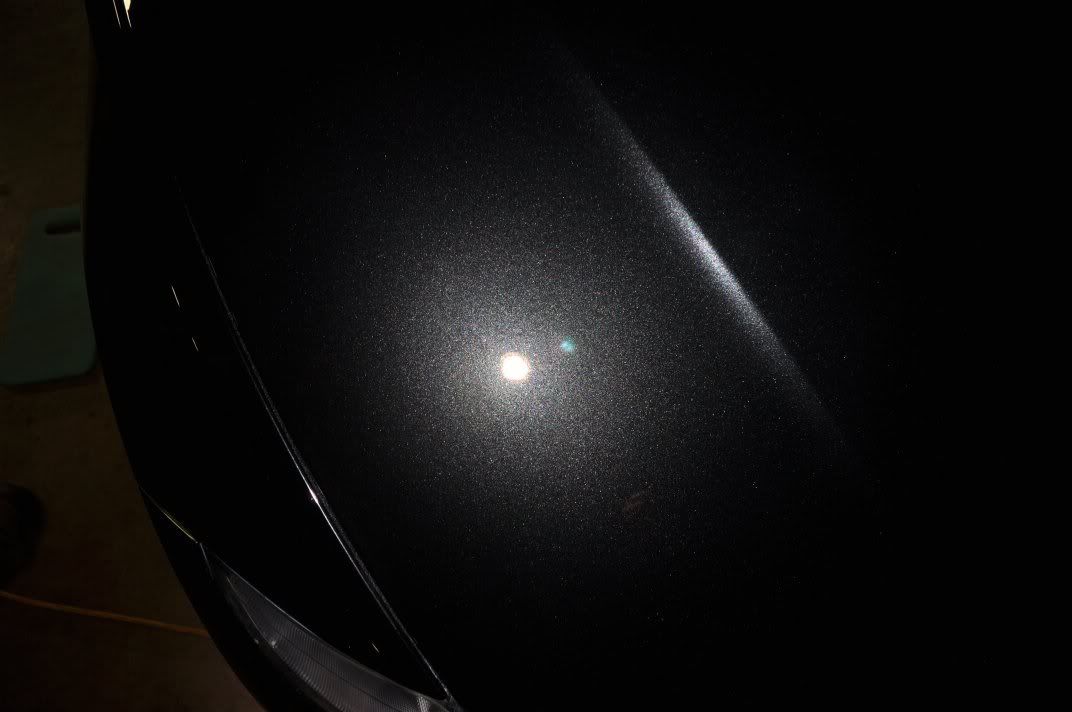
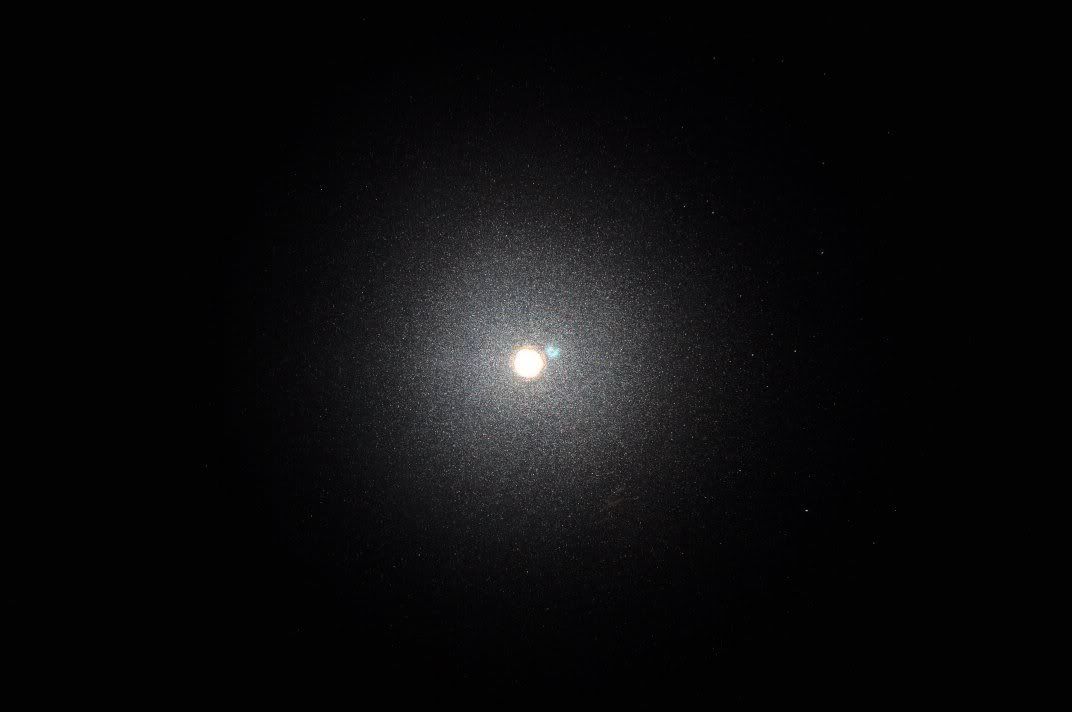
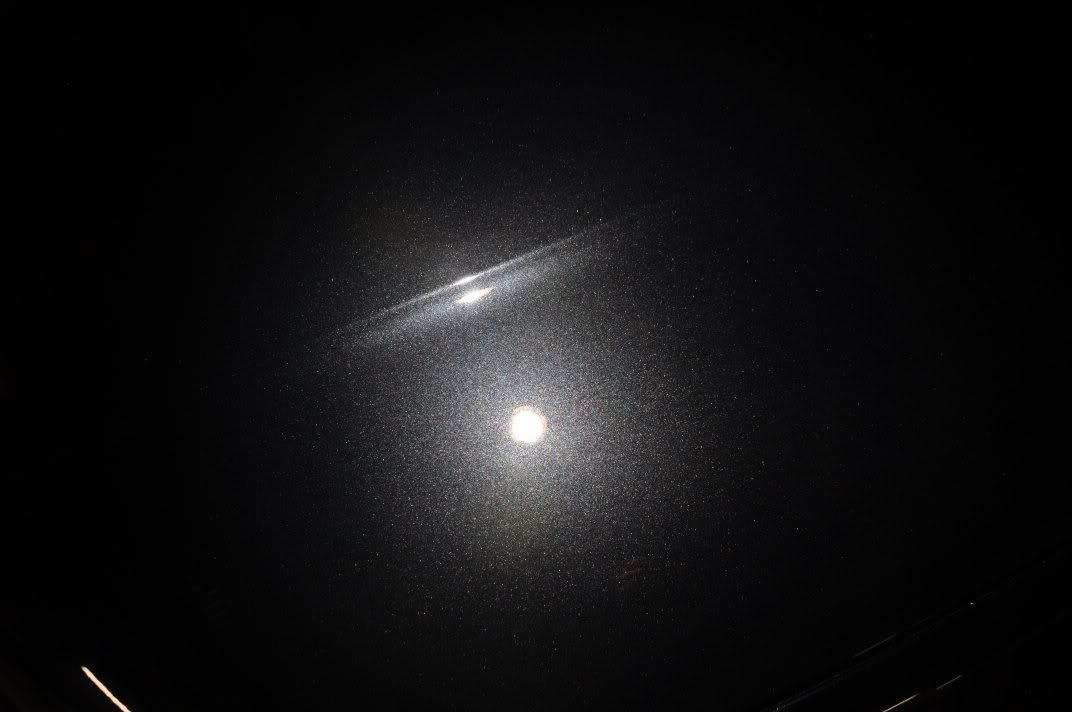
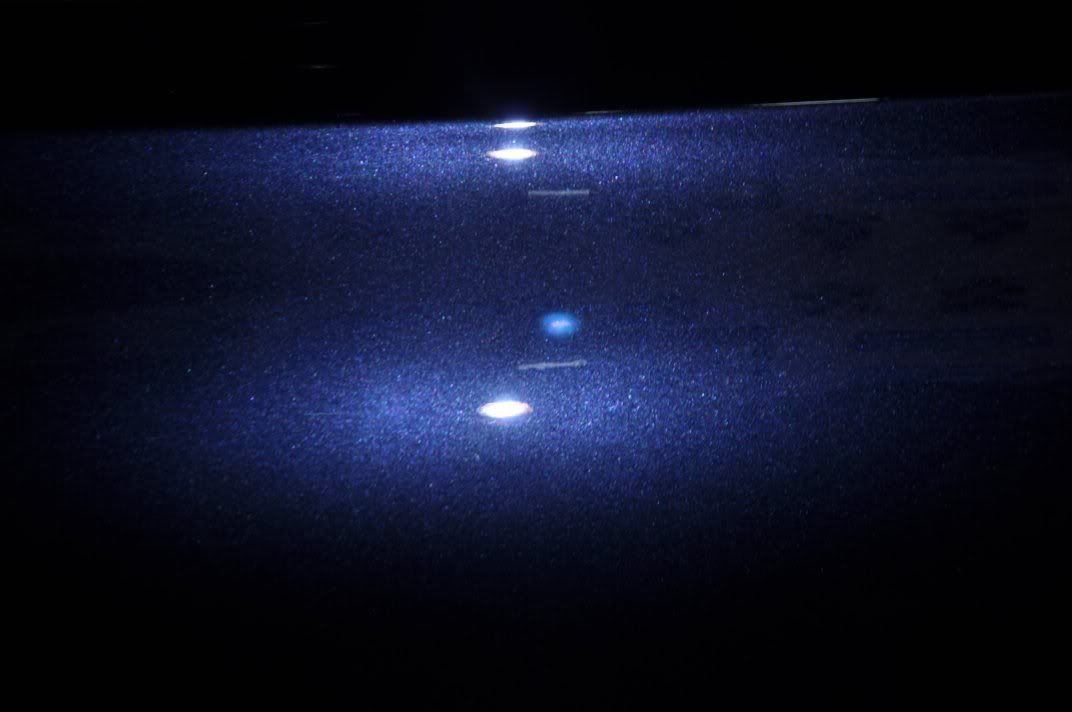
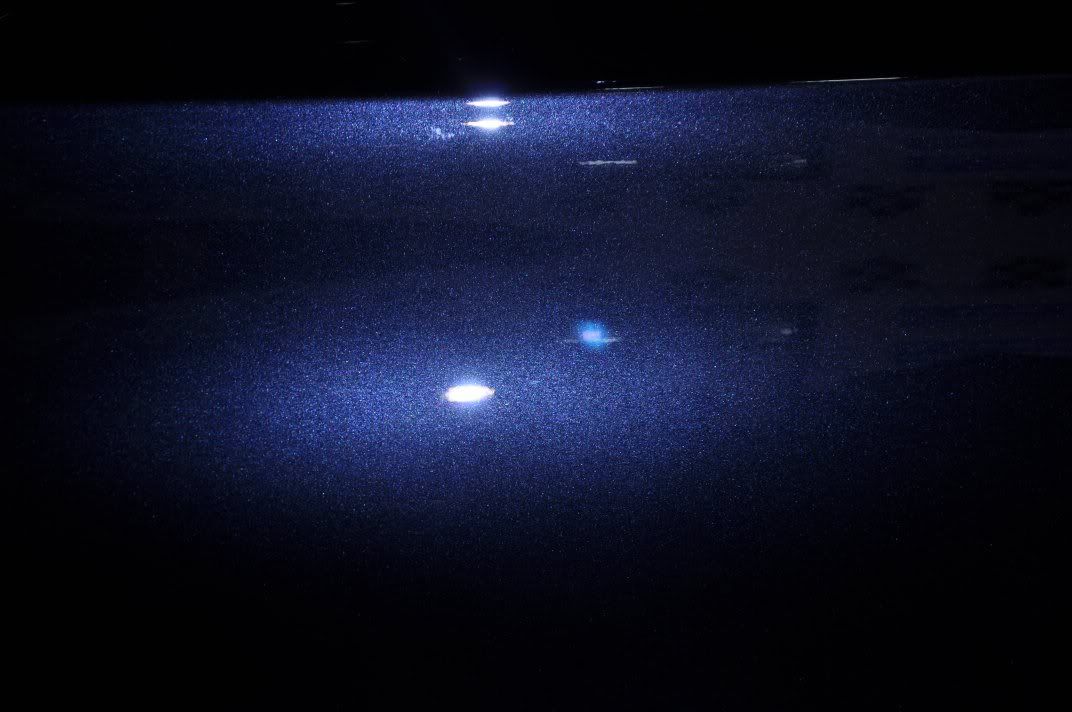
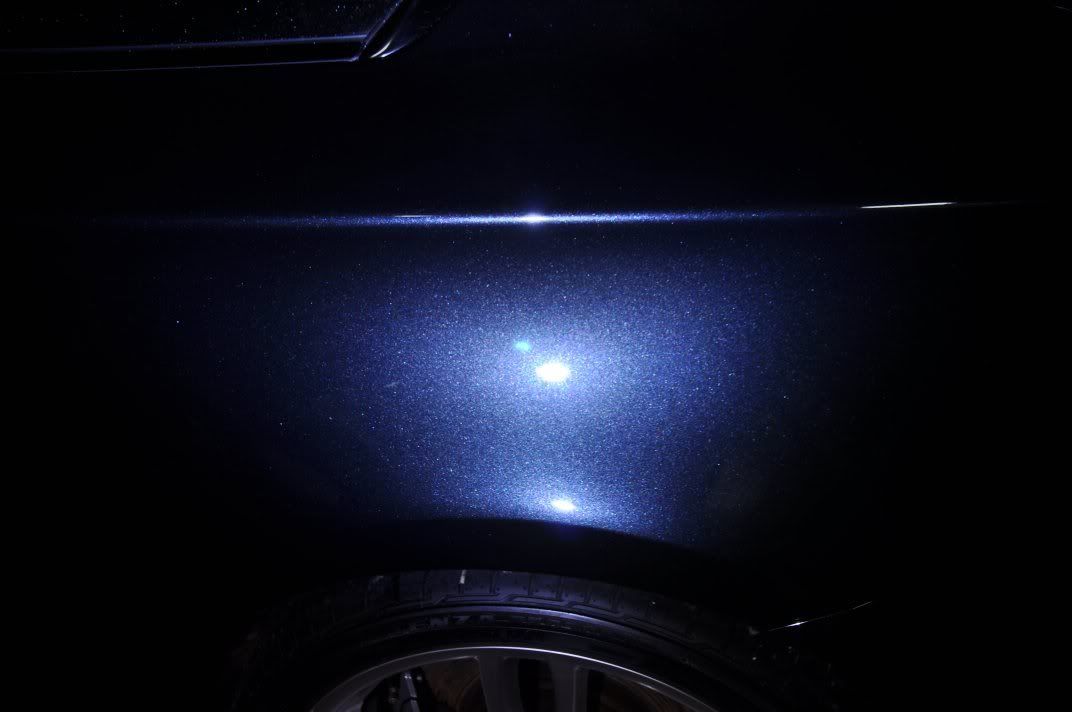
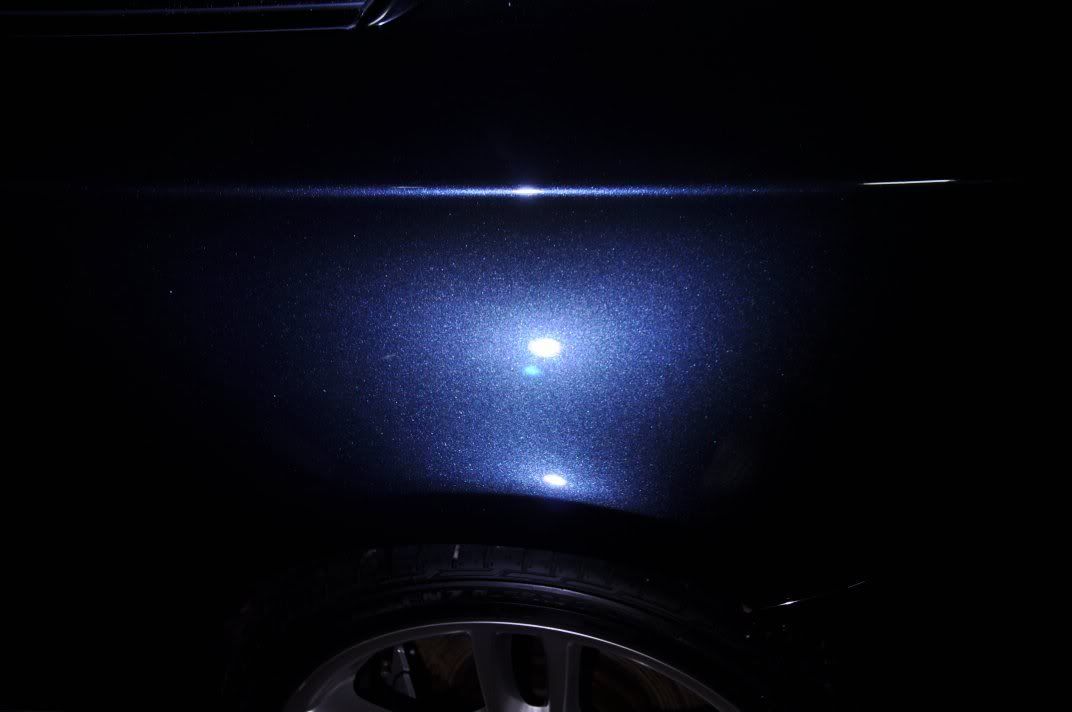
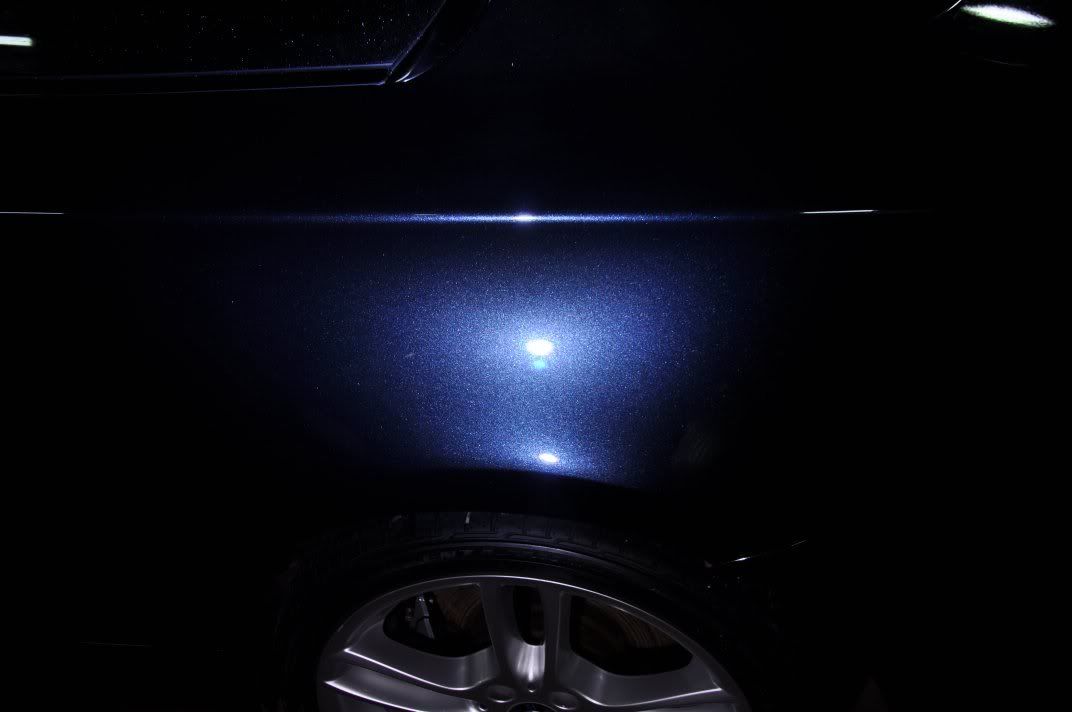
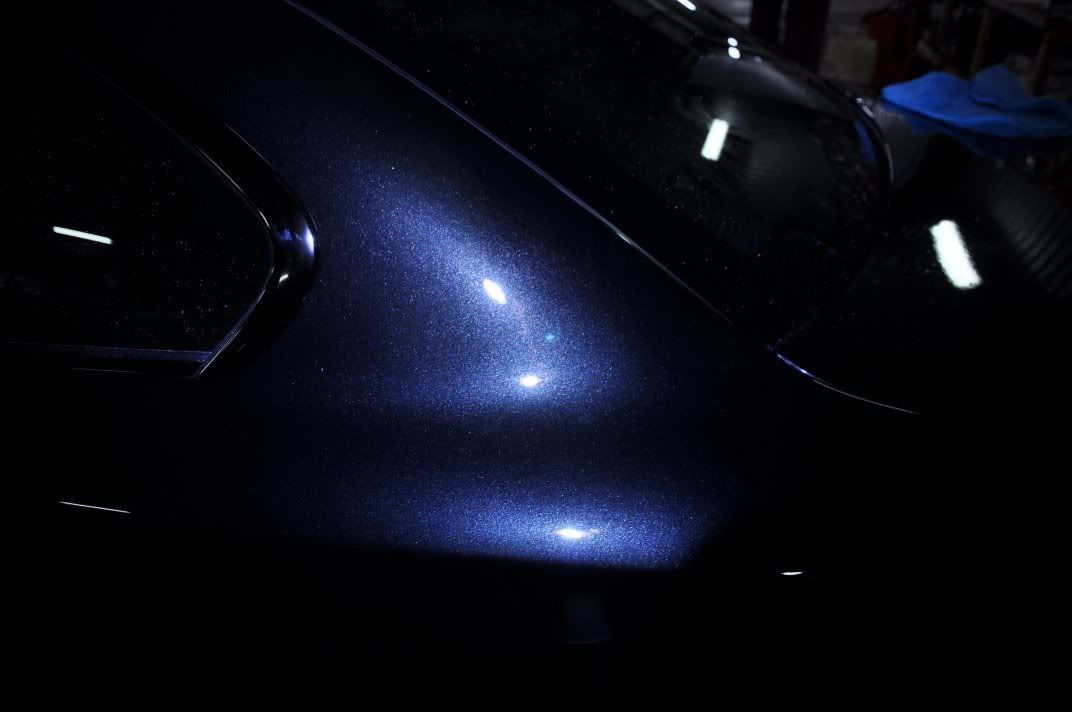
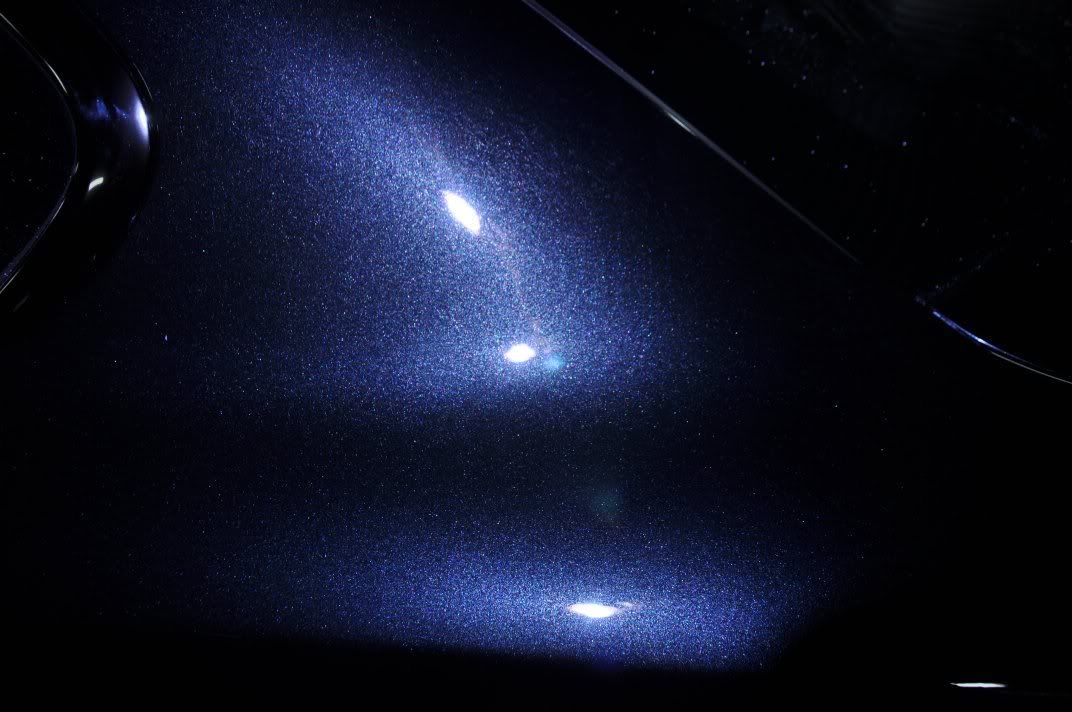
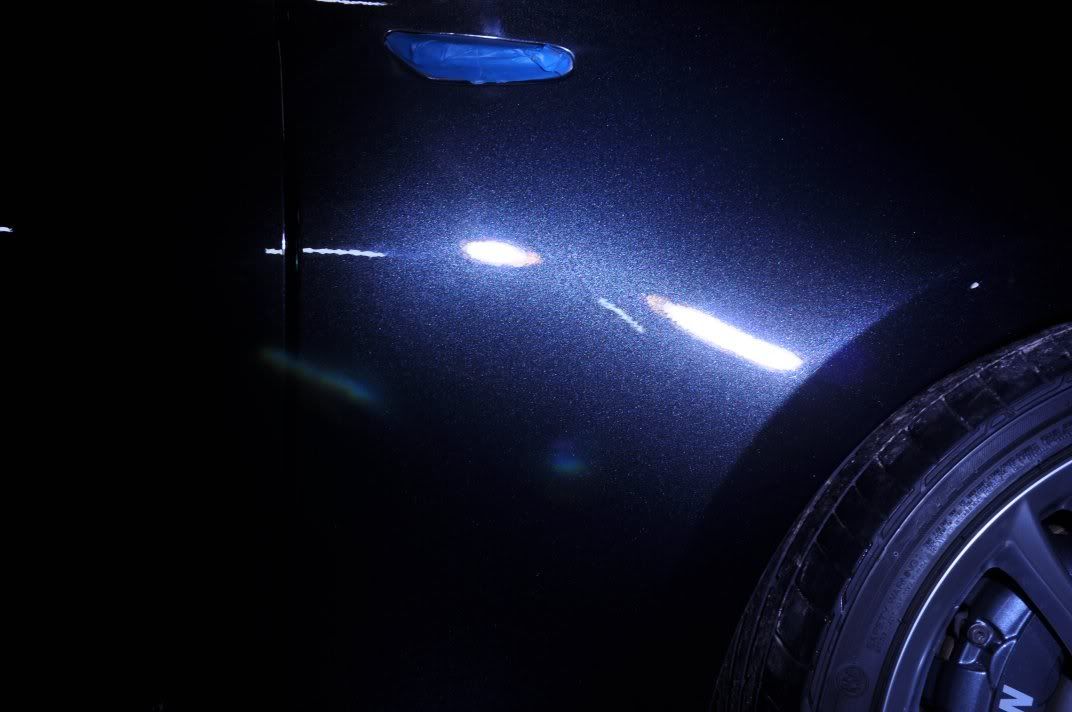
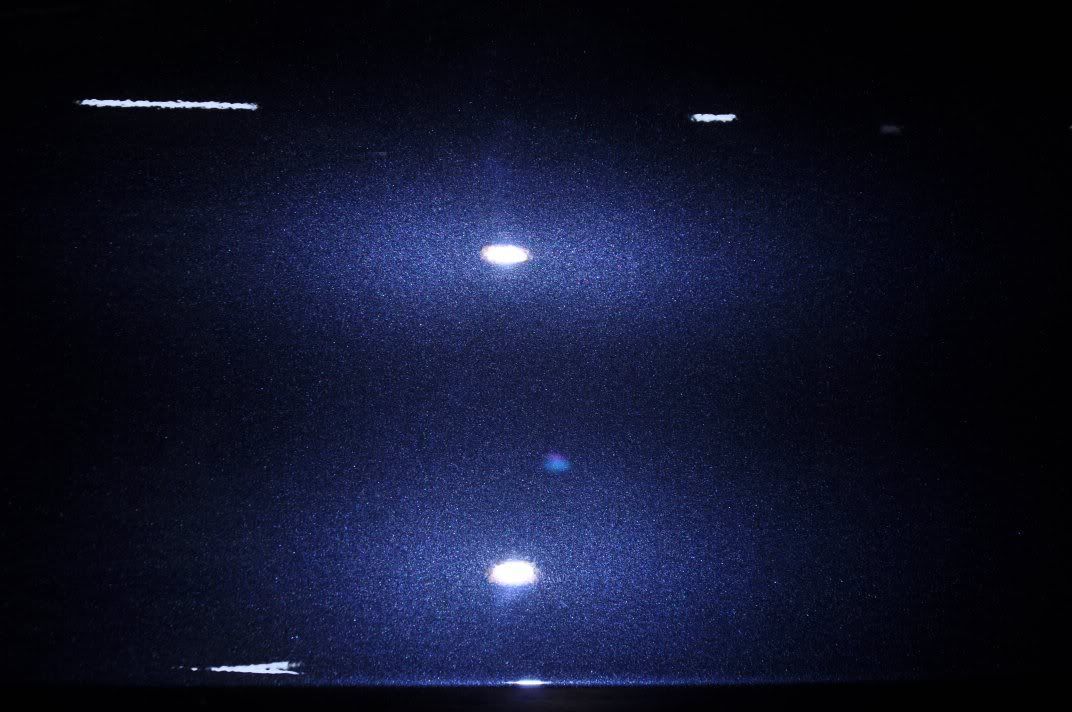
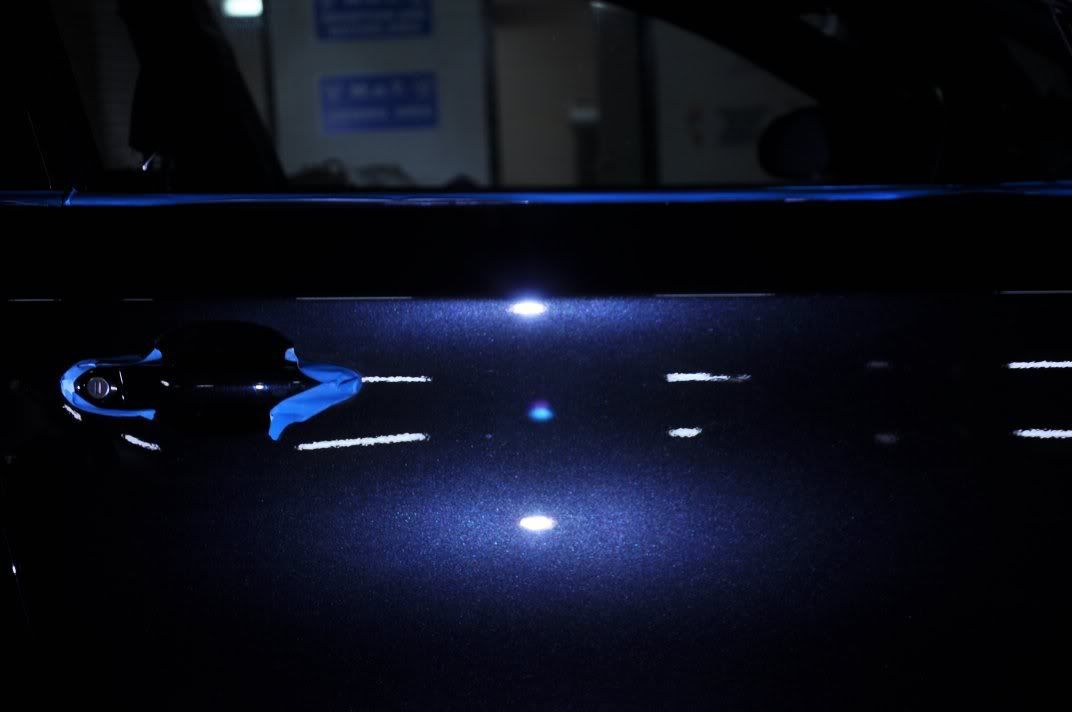
And finally, a few direct light shots of the car completed that caught my eye as we were tidying away the lights... the curves of the side of the car and the way the flake was pinging really stood out for me - if anyone tells you that waxes mute flake, I'd suggest they look at these pics

A very enjoyable day for Gordon and I this one, and a smart little car to be working on - well worth the trip, and the drive home through gale force winds and driving rain (the Volvo took a battering, it looked like Gordon's Vectra was behaving like a sailing ship!)
'About Car' 카테고리의 다른 글
| Rinse-less Car Wash How-To with Meguiar's Last Touch, by MARK KLEIS (NOT ONR) (3) | 2009.12.19 |
|---|---|
| HORSEHAIR 100% BRUSH (6) | 2009.12.16 |
| Swissvax UK - Porsche 997 Targa 4S in GT3 Orange (0) | 2009.12.16 |
| What to use and why on darker metallic finishes (5) | 2009.12.15 |
| Chemical Guys - DETAILING BUCKET WITH GRIT GUARD AND EXTRAS (2) | 2009.12.14 |
