Dressing your wheel wells and tires
A highly polished car without properly dressed wheels and wheel wells is like wearing worn-out shoes with a nice suit. Take a few moments to complete the look.
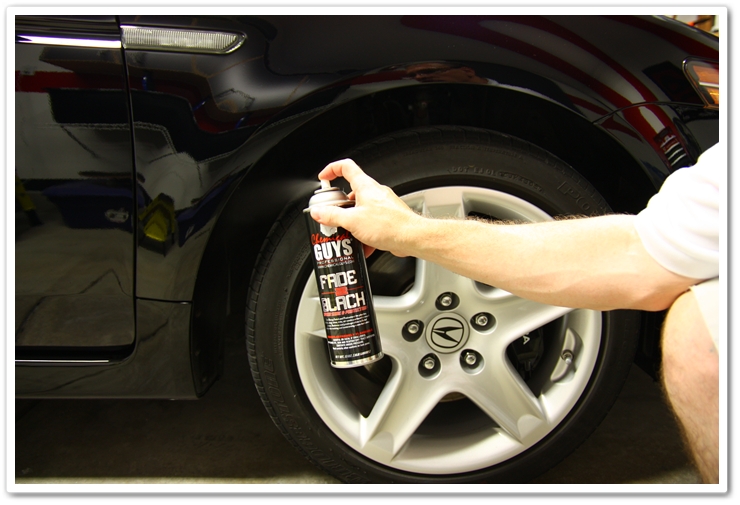
The front wheel wells get dressed with Chemical Guys Fade 2 Black. It provides a rich, dark look and dries to the touch.
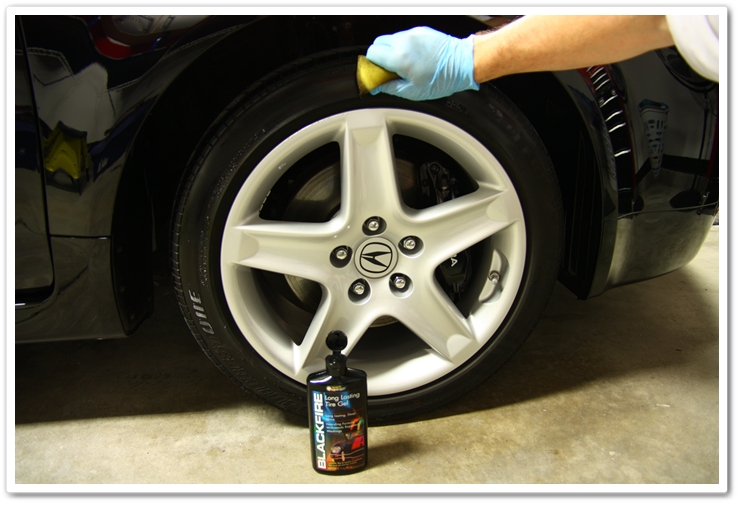
For the tires, I prefer a little bit of shine so I’ll typically reach for Blackfire’s Long Lasting Tire Gel. It provides a nice look without being too shiny, it doesn’t fling off, and it has good durability as well. For this step I always use rubber gloves because it can get messy when applying tire dressings with a heavily used applicator. If the customer wants a more matte finish, I’ll use Optimum Opti-Bond.
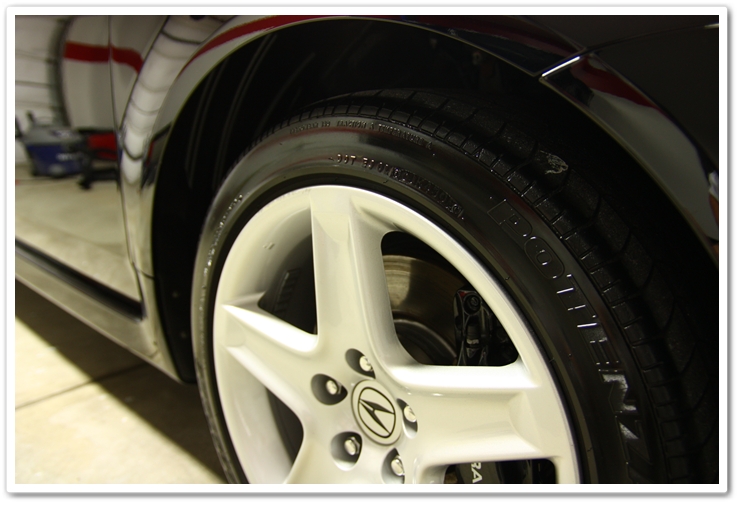
A sneak peek at the final finish:
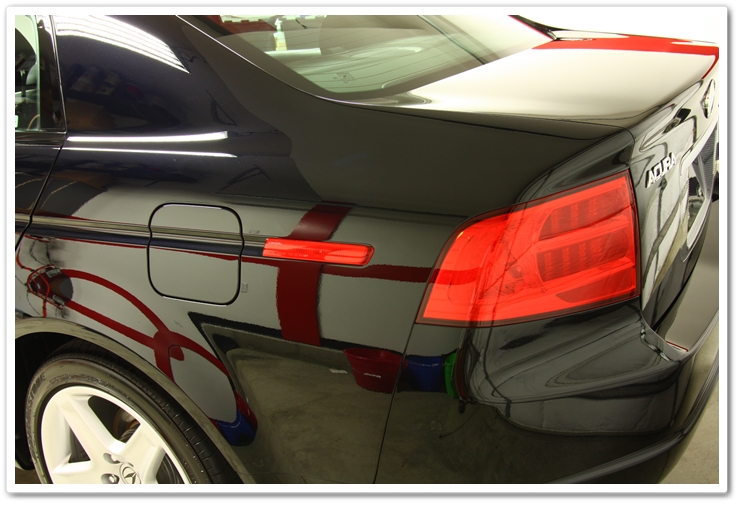
The exterior is finally finished, and it’s time to move on to the interior.
Interior Detailing
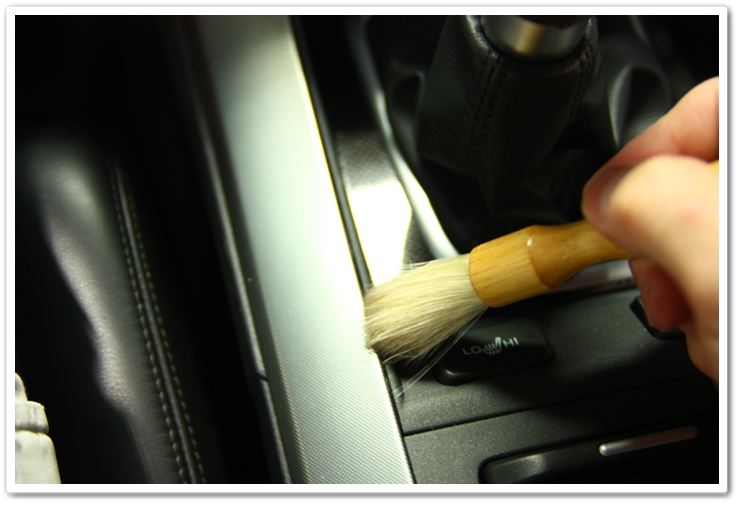
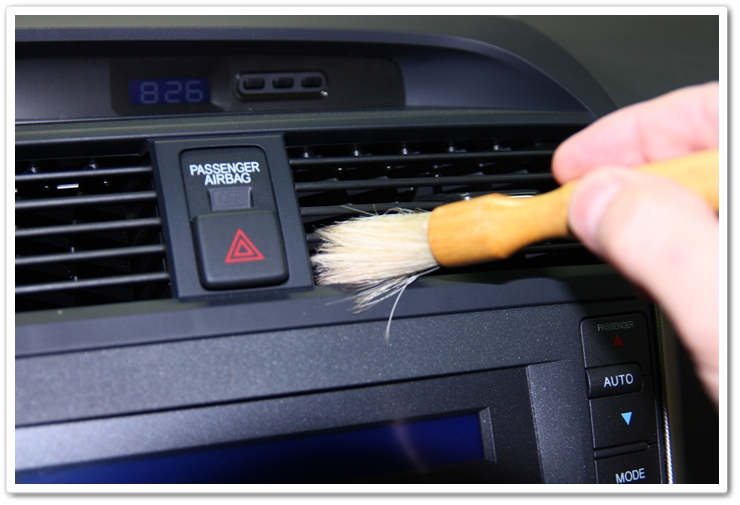
Start your interior by dusting
You’re typically going to find dust and debris in all of the little cracks around the console area, and in the vents. If you’ve got access to compressed air, then I would recommend using that method. If not, then get yourself a soft bristled detailing brush to clean all of these areas.

Dressing and protecting the dash
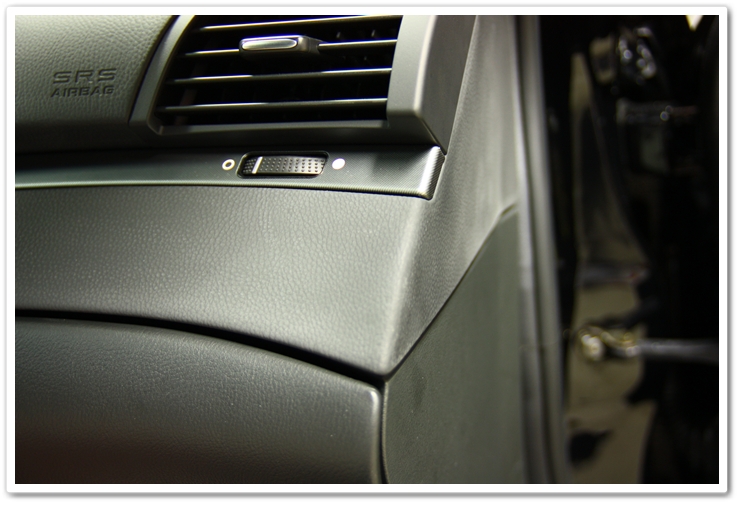
The TL has a combination of different types of leather, vinyl, and plastic throughout the cabin and some are easier to work with than others. Most of the material on the dashboard area has a tendency of getting a chalky finish to it if left untreated. You have a few good product choices to treat this, and it all comes down to the kind of finish you’re looking for. More on that in a moment…
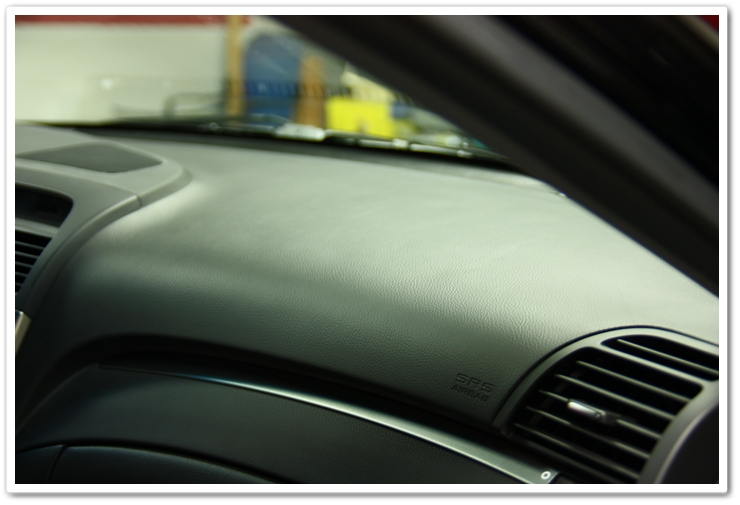
Here you can see the chalky residue, particularly on the right side of this photo. Most of the dashboard looked like this and it was an area of concern for the owner of this TL.
Because the owner wanted it to look as natural as possible, I chose Optimum’s Protectant Plus. I like using this when a natural matte finish is desired. It comes out thick from the bottle, so the best way to use it is to spray it directly onto your microfiber towel, and then wipe it into the surface.
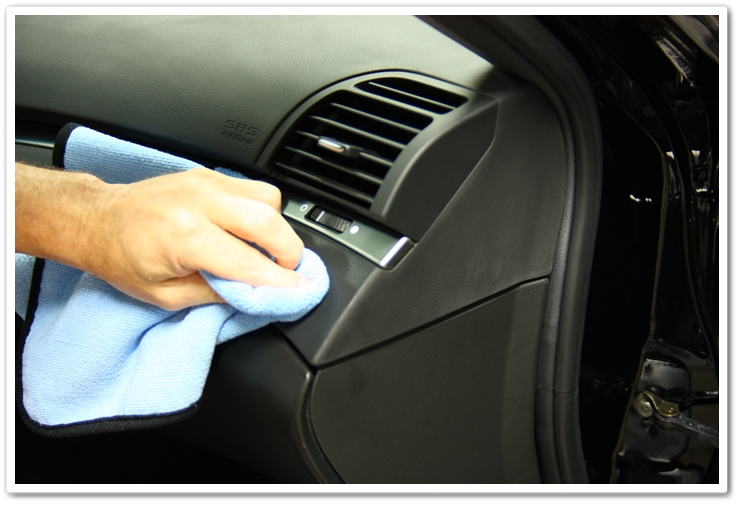
This is after treatment with Optimum Protectant Plus.
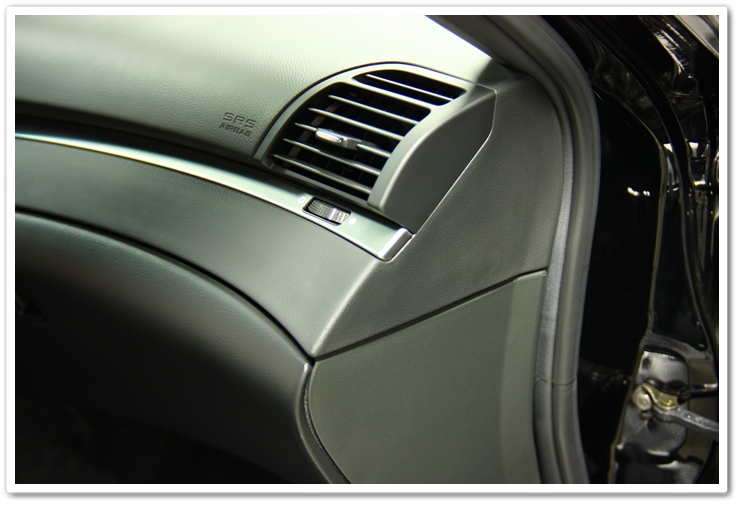
And on the dash as well. What I really like about Optimum Protectant Plus is that it leaves the finish looking new, not “dressed”. I used it on all of the plastic, vinyl, and non-seating leather areas in the TL. It also has a nice scent too.
When applying a product like this, you’ll want to do this step first, and then clean your windshield afterwards. When accessing the front of the dashboard, chances are you’ll either get your hands or protectant on the glass.
Comparing Optimum Protectant Plus to 303 Aerospace Protectant
For further discussion of product choices, I did a quick test on my TL-S to show the look that a few different products provide. Different people have different tastes, so I figured that I would show you a few options that you have and you can choose depending on your personal tastes.
I taped off 3 sections on my door panel. It currently has no product on it, so the middle section will serve as the “natural” look. This is before any products were applied.

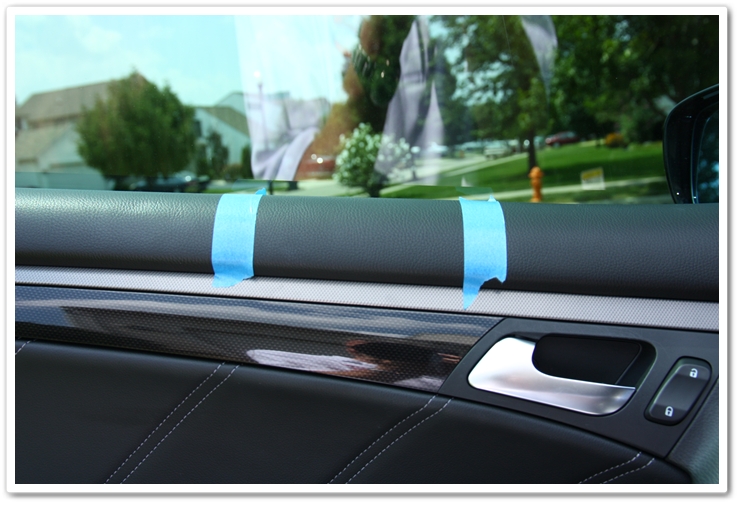
On the left side I applied Optimum Protectant Plus. The middle remained un-treated, and the right side was treated with another great product that I use regularly…303 Aerospace Protectant.

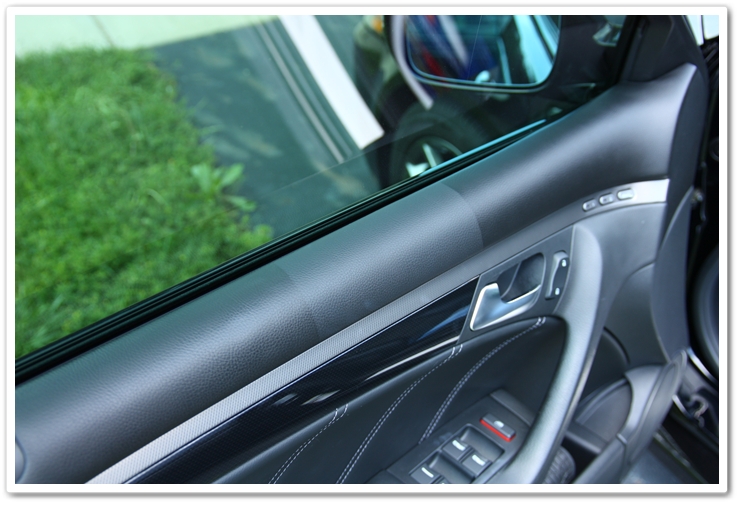
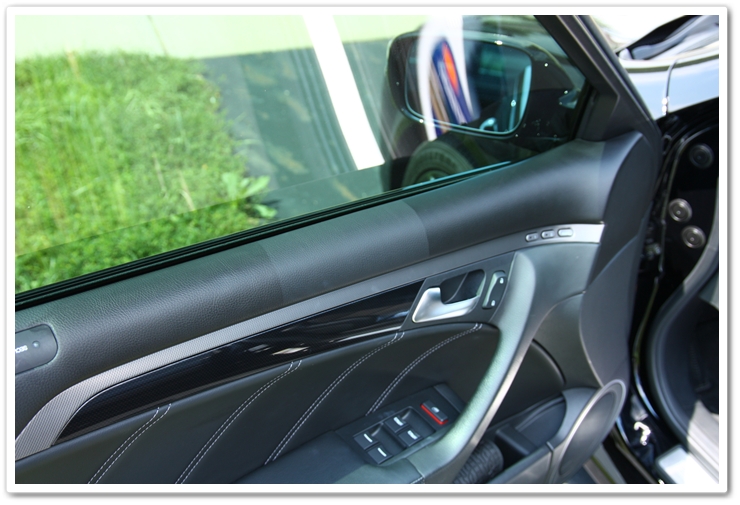
As you can see, they provide completely different looks. If you want a more subdued and natural look, then go with Optimum Protectant Plus. If you want a more rich and deep finish, then go with 303 Aerospace Protect. They’re both exceptional products, so select either way depending on your preferences.
Now back to the detail…
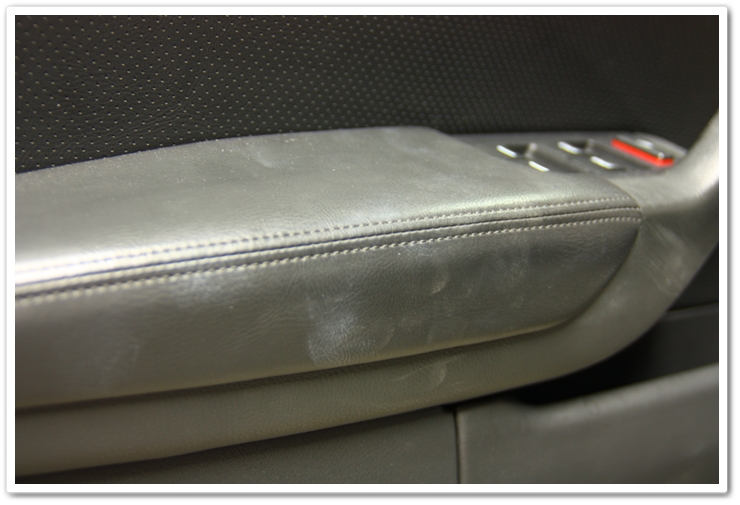
The arm rests had some issues as well:
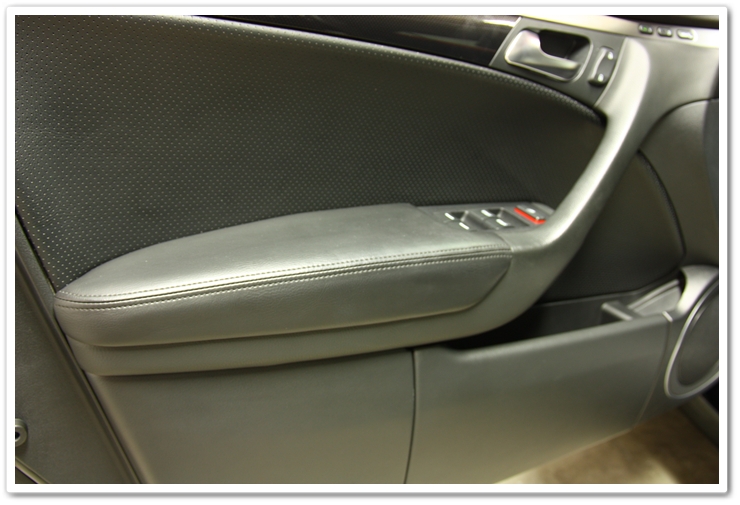
After Optimum Protectant Plus:
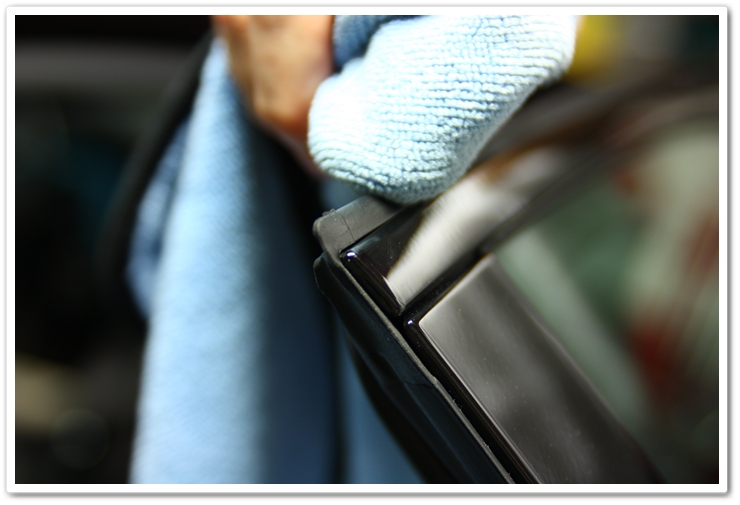
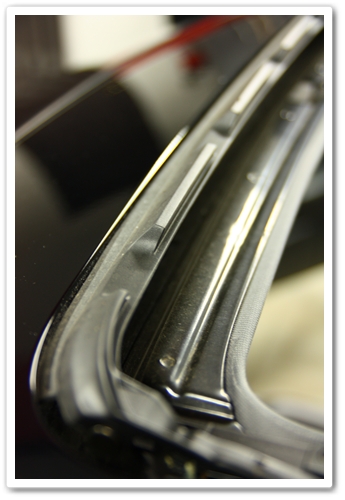
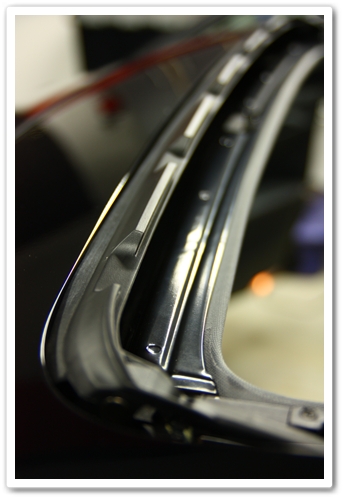
Remember the door seals we were taping up earlier in the article? In order to keep them soft and supple, they need to be treated every now and then as well. By doing this it will help them retain a good seal, and to keep wind noise at bay. For this I recommend using Leatherique Prestine Clean, but Optimum Protectant Plus works well here too.
Caring for your leather
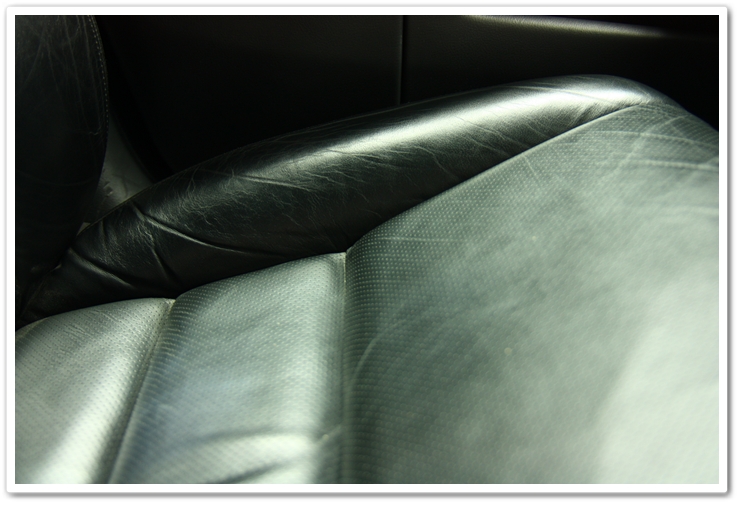
Let’s move on to the leather now. When leather is new, it has a nice matte finish. This TL provided a great example of when leather is clogged with dirt, sweat, salt and then gets a shiny, polished finish to it. Here is the driver’s seat.
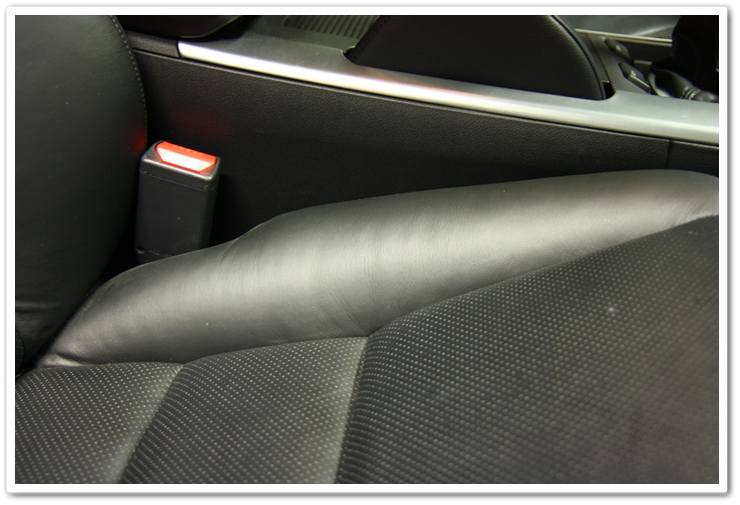
Now look at the passenger seat that rarely gets used. There’s a big difference in the finish, and this one looks more as it should.
Although it wasn’t on the menu for this job, a full Leatherique treatment is in order to clean and condition, and fully restore it to its original condition.
Leather starts to dry in as little as 6 months after it is manufactured, and to keep it looking and feeling its best, you should treat it with Leatherique at least once per year (twice is better). For maintenance cleaning, even a wipe down with a damp microfiber towel will help prevent a heavy buildup that will cause it to get shiny like it is in this TL.
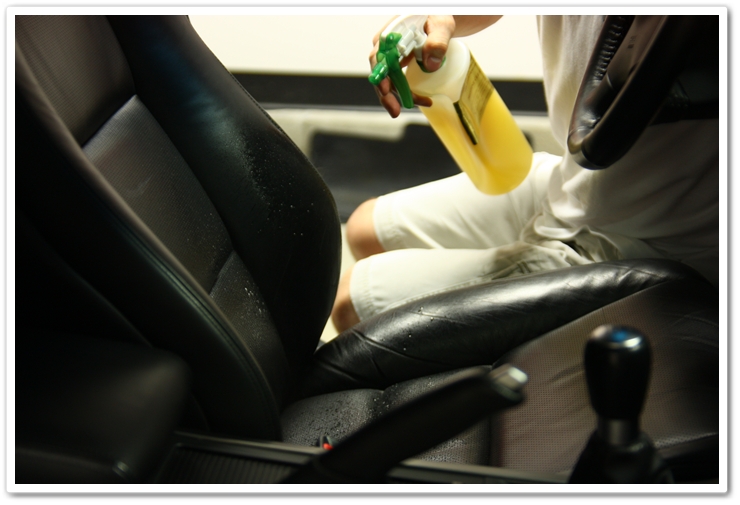
Since we weren’t performing the full-blown leather treatment this time around, I figured that the next best process would be to give it a good one-step cleaning/conditioning with Leatherique Prestine Clean (half of the full Leatherique system). It’s a very good all-in-one leather product (cleaner, conditioner, protectant), and is simple to use.
Simply spray it directly on to the leather surfaces, and then work it in with your hands. Let it set for 10-15 minutes, and then come back with a damp microfiber towel and wipe the surface down. After that, take a clean, dry microfiber and lightly buff the surface.
Streak free glass
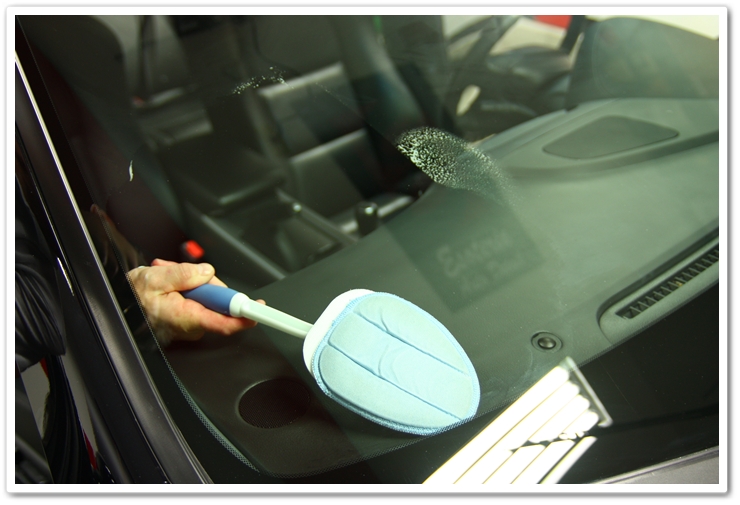
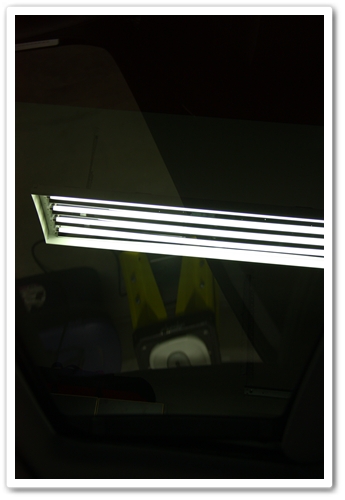
All the surfaces are treated so it’s time to clean the glass. For this step you’ll definitely want to use a tool like the DI Easy Reach Mini Mop because both the front and rear windows are sloped heavily and hard to reach at the lower end. Here you can see where this handy tool makes easy work of glass cleaning. For glass cleaner I like to use Stoner’s Invisible Glass. Don’t forget the rearview mirror as well as the vanity mirrors, too.
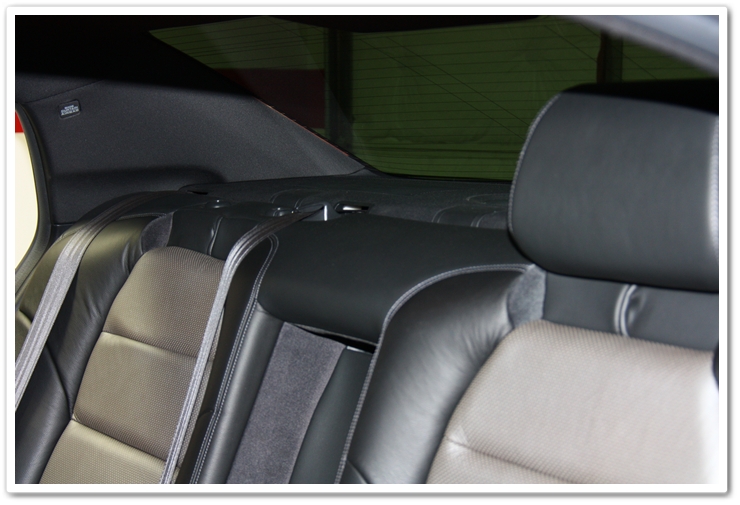
The rear window on the TL can be a real pain to get to. The key here is to remove the headrests! There’s a small tab on the bottom right side underneath the headrest (actually on the top of the seat). Just depress the tab and pull up to remove the headrest to give you easy access to the window.
Don’t forget the sunroof
Here’s another area that gets overlooked…the under side of the sunroof. As you can see from this photo, it’s in desperate need of cleaning!

After cleaning both sides of the glass:
You’re not done with the sunroof though. First tilt the back of it up so that you can clean/treat the seal.
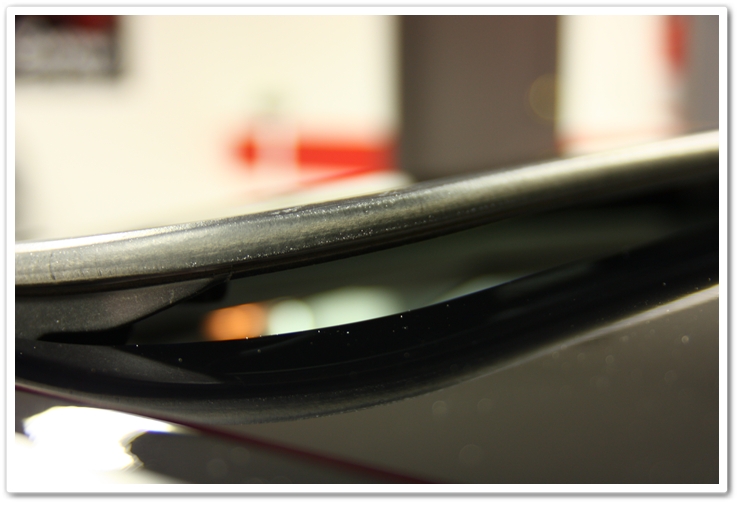
Even cleaning with a damp microfiber would be good, but you should also dress it from time to time with Leatherique Prestine Clean or Optimum Protectant Plus.
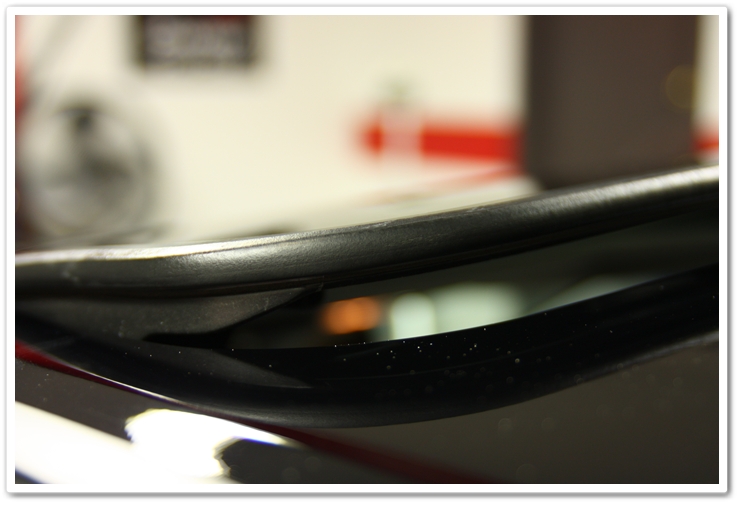
Now fully open the sunroof to expose plenty of dirt and debris.
While you’re cleaning in here, don’t forget to clean and dress the seal on the front side of the glass as well.
Obviously you also want to remove the floor mats and do a full vacuum job, but I figured you knew how to do that part.
'About Car' 카테고리의 다른 글
| 1985 Ferrari 288 GTO by Todd Cooperider (0) | 2010.01.22 |
|---|---|
| 2006 Acura TL in Nighthawk Black Pearl Part 4 by Todd Cooperider (0) | 2010.01.22 |
| 2006 Acura TL in Nighthawk Black Pearl Part 2 by Todd Cooperider (0) | 2010.01.22 |
| 2006 Acura TL in Nighthawk Black Pearl Part 1 by Todd Cooperider (0) | 2010.01.22 |
| Audi R8 V10 Spyder Promo Video (4) | 2010.01.22 |