For many, detailing is a black box. You hand your car over dirty, perhaps some swirls and other marring. Then you come back at the end of the day, or after a few days, and its clean, shiny, defect free. Which is great. 
However, quite a few folks do derive a lot of pleasure out of working on their own car and achieving the results themselves while learning about detailing as they go, and this is where the tuition detail comes in - a chance to be involved in a full detail on your own car, pick up new skills, hone current skills and get your car detailed at the same time
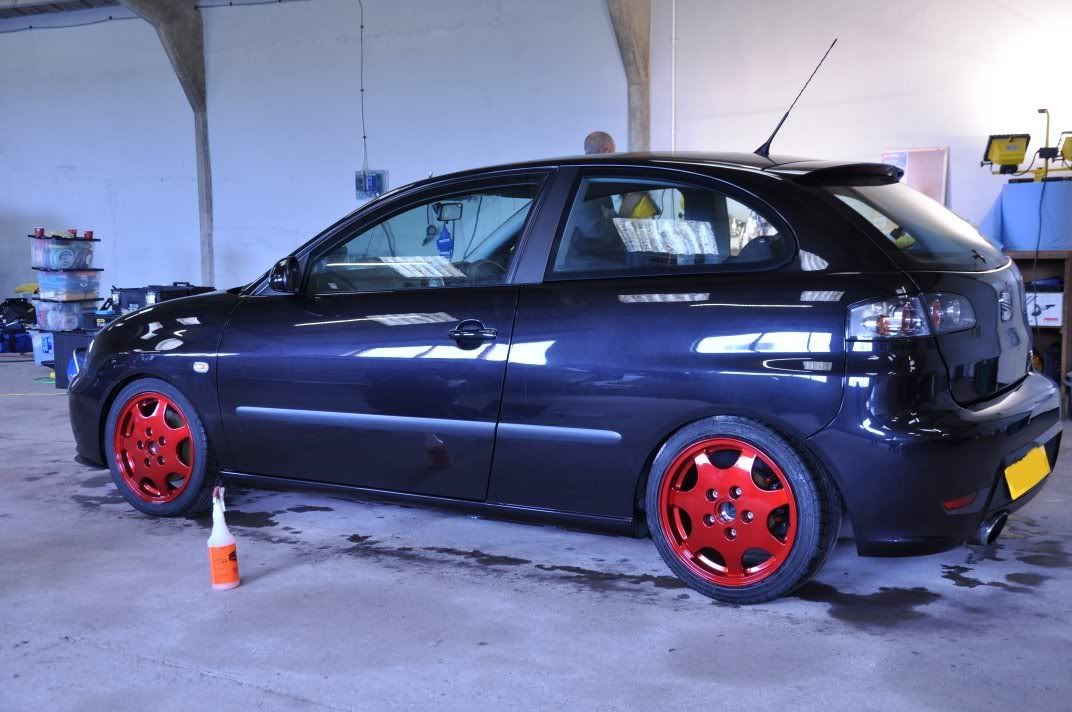
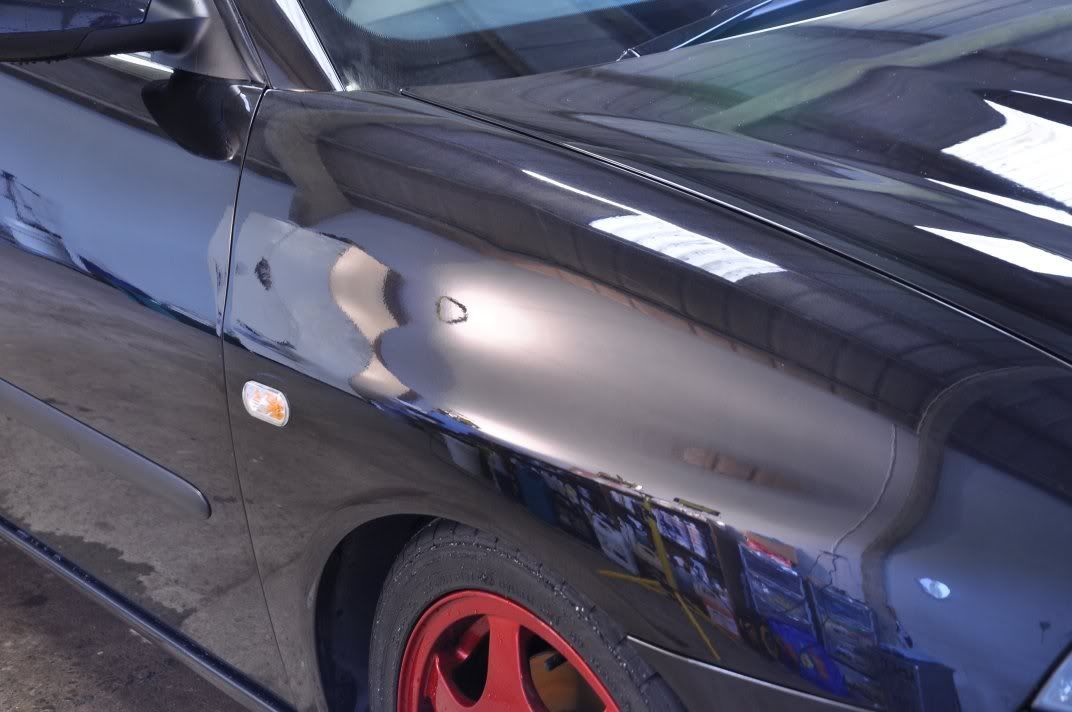
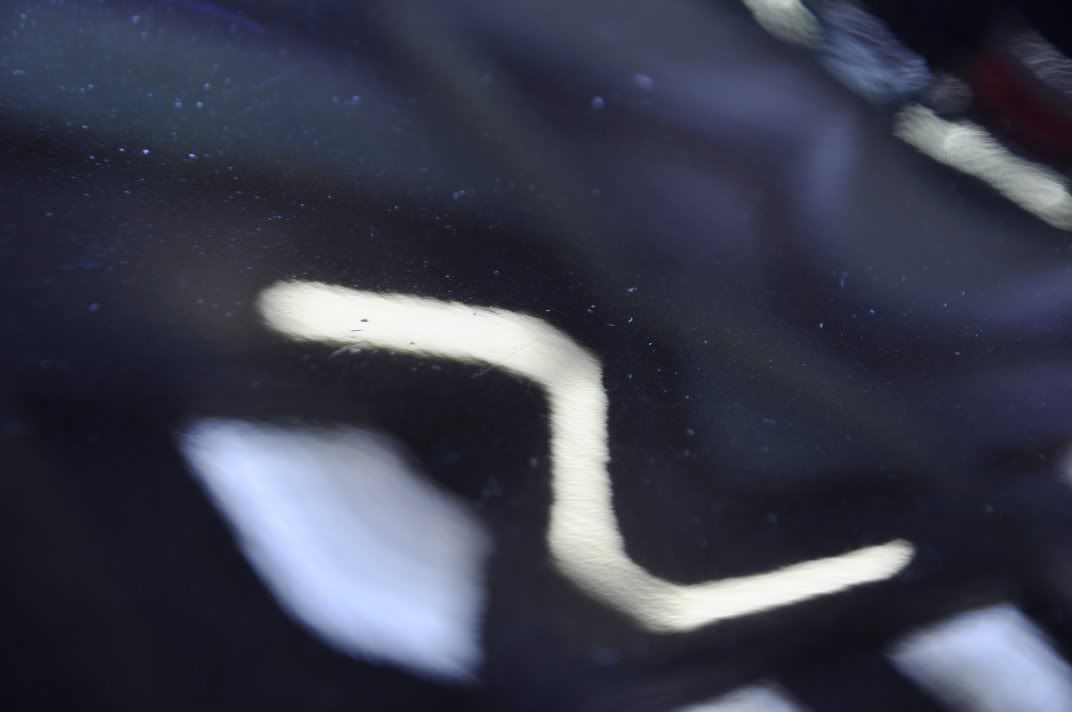
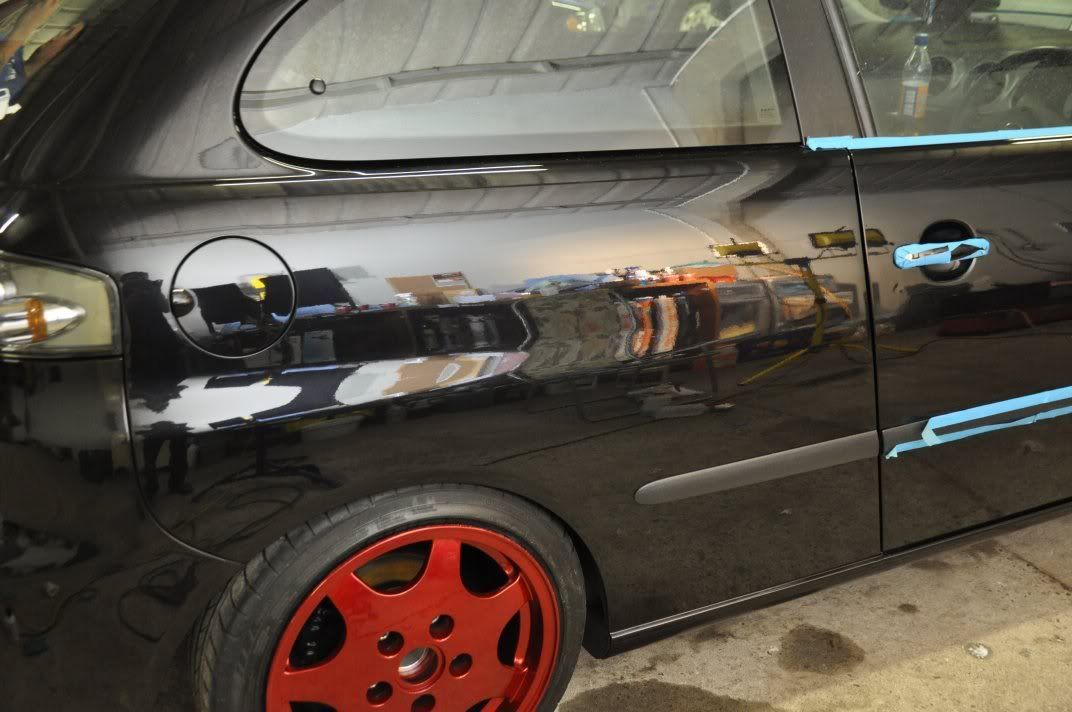
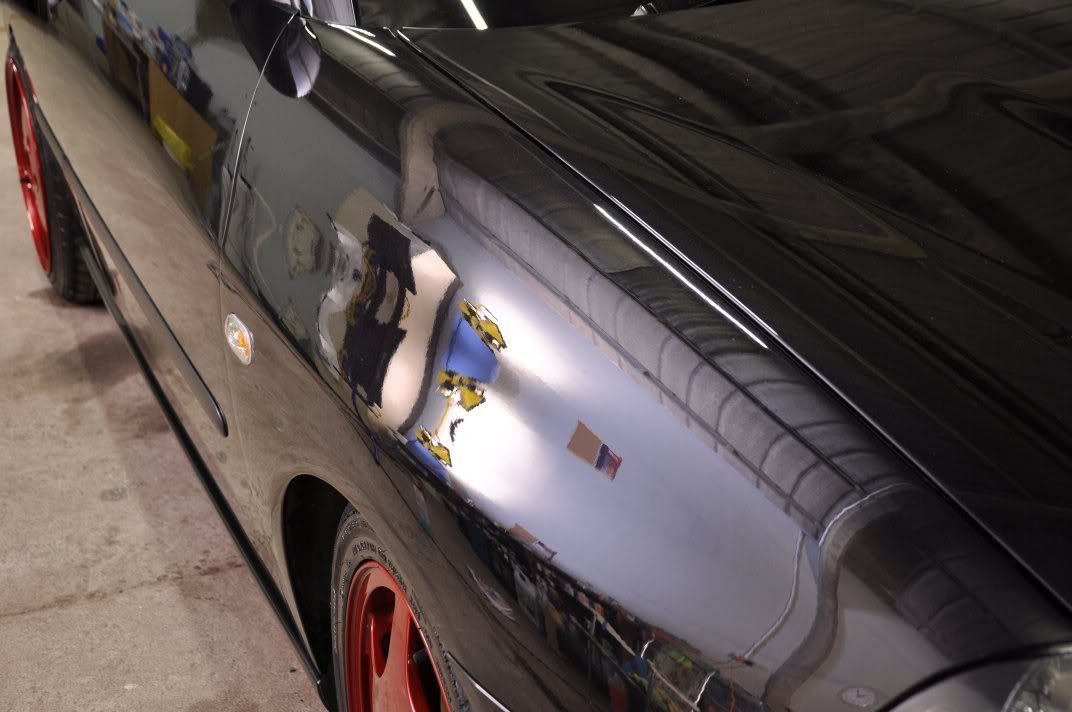
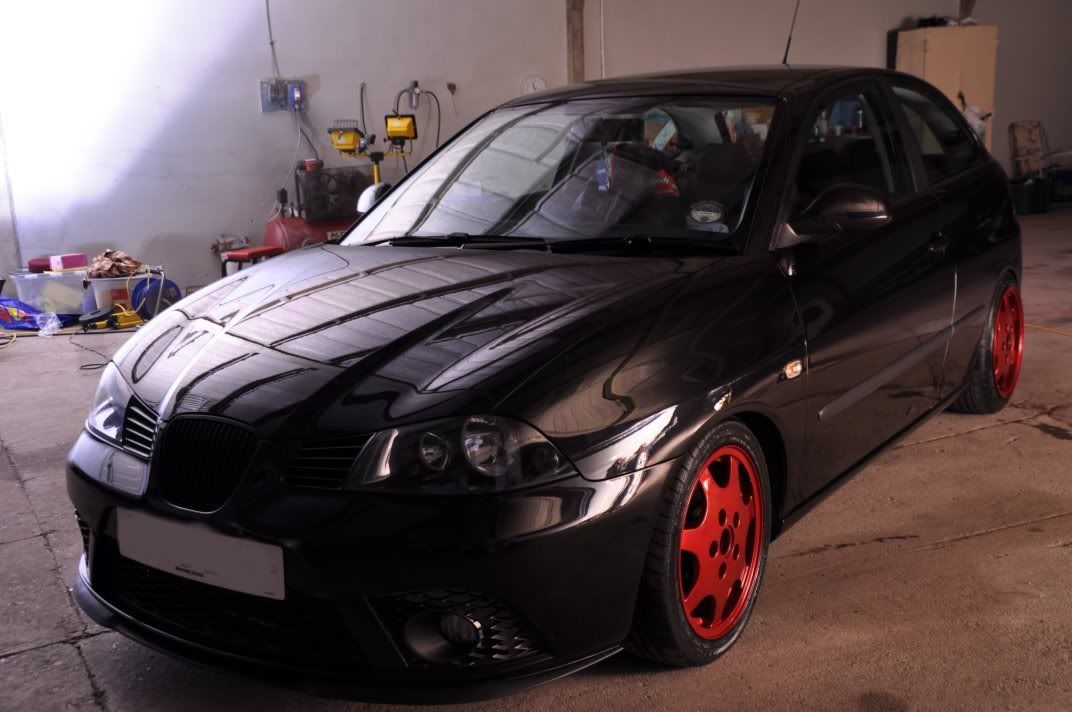
The subject of this tuition detail was a year old Seat Ibiza in black, the owner keen to get it ready for Edition 38. The detail actually started a few days prior, with the aim being to correct these deep key scratches on the side of the car....
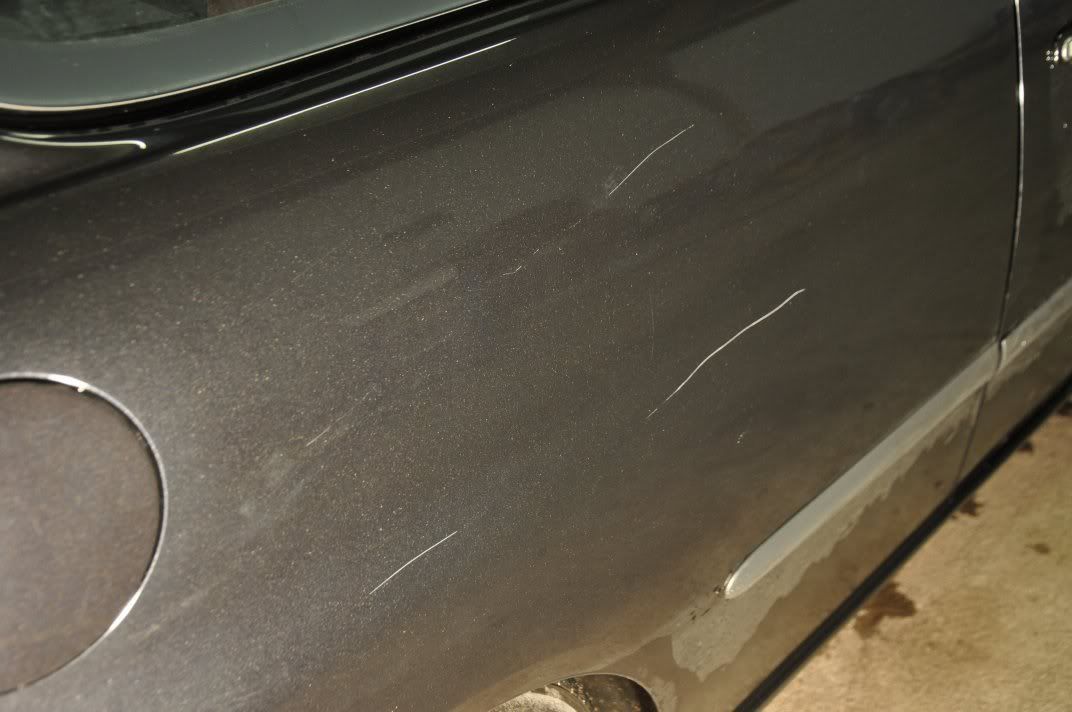
These marks were deep, and down to the primer layer so no amount of machine polishing would see them removed... a general rule of thumb test is that if the marks catch the nail, they cannot be fully removed and these caught the nail! In order to sort these on a timescale that the car would be ready for Edition 38, and to avoid the need to go to the bodyshop for a respray, these scratches were repaired by "touch-up" painting and flatting back.
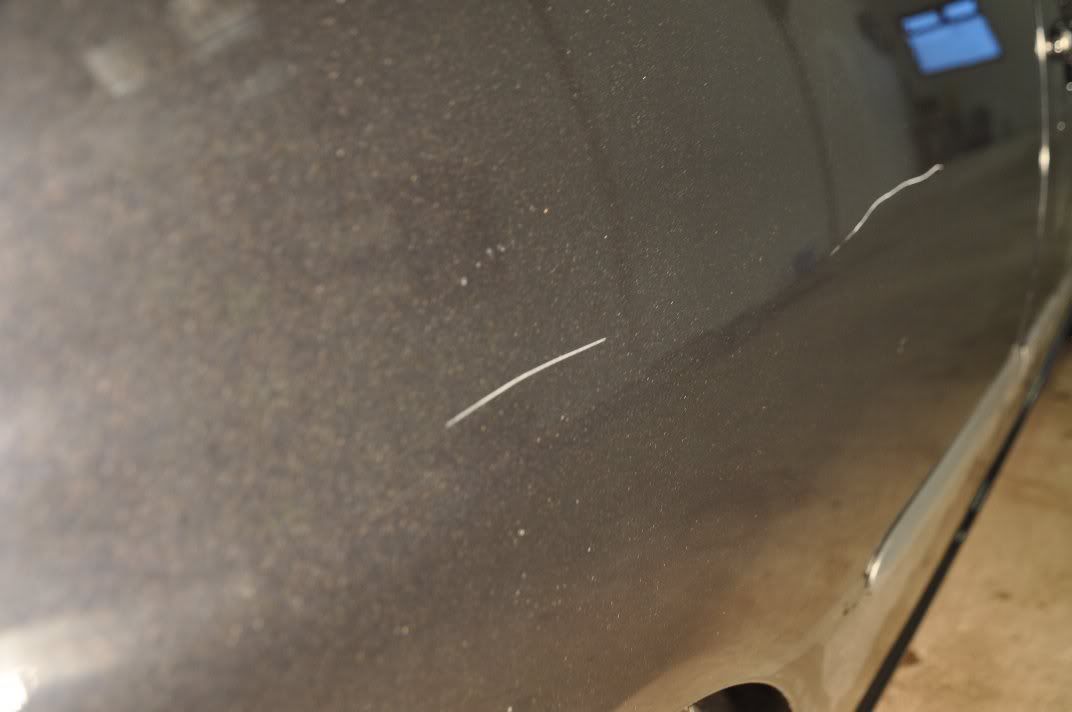
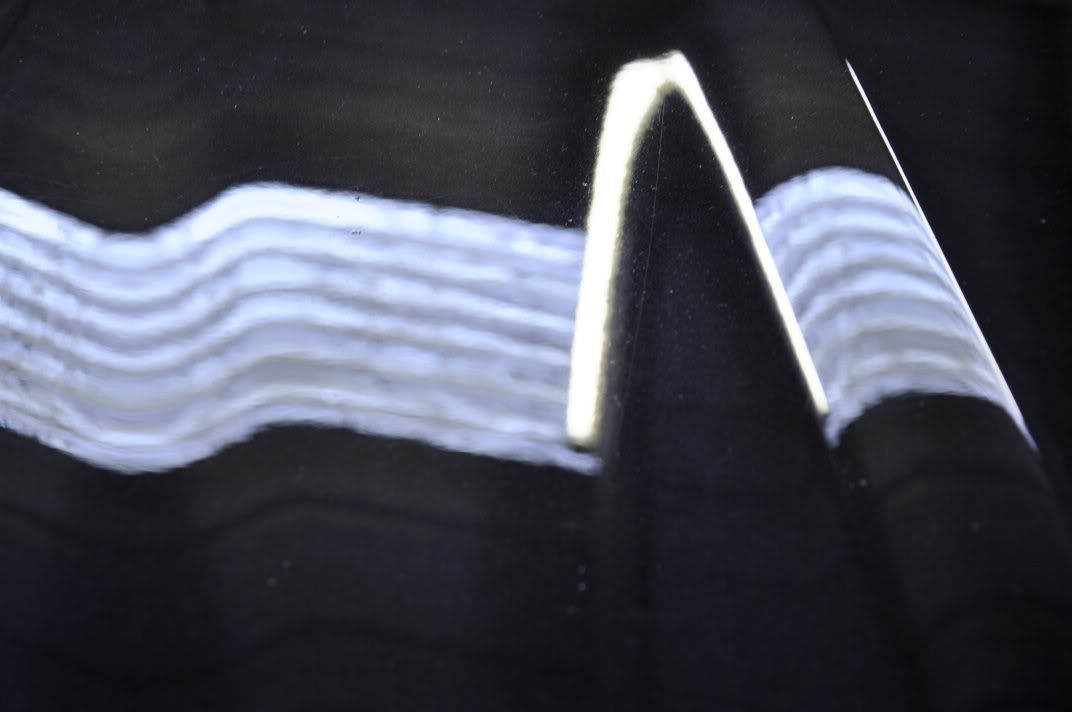
First of all, the painting process - the key here is thin layers, very thin! And lots of thin layers to build up the paint thickness. No point kin ladelling in the paint thickly as it will not properly cure, and will be flicked out during the polishing. Lots of thin layers ensures the paint hardens fully and the repair remains sound. Paint here was applied using a **** tail stick to direct small amounts of the paint into the scratches with minimum overspill to surrounding paint. The paint used was a paint which included the lacquer in the mix, made up to the car's paint code. The pics below show the results after a couple of layers of paint applied and you can still clearly see the scratch which is to be expected, paining requires a lot of time and patience.
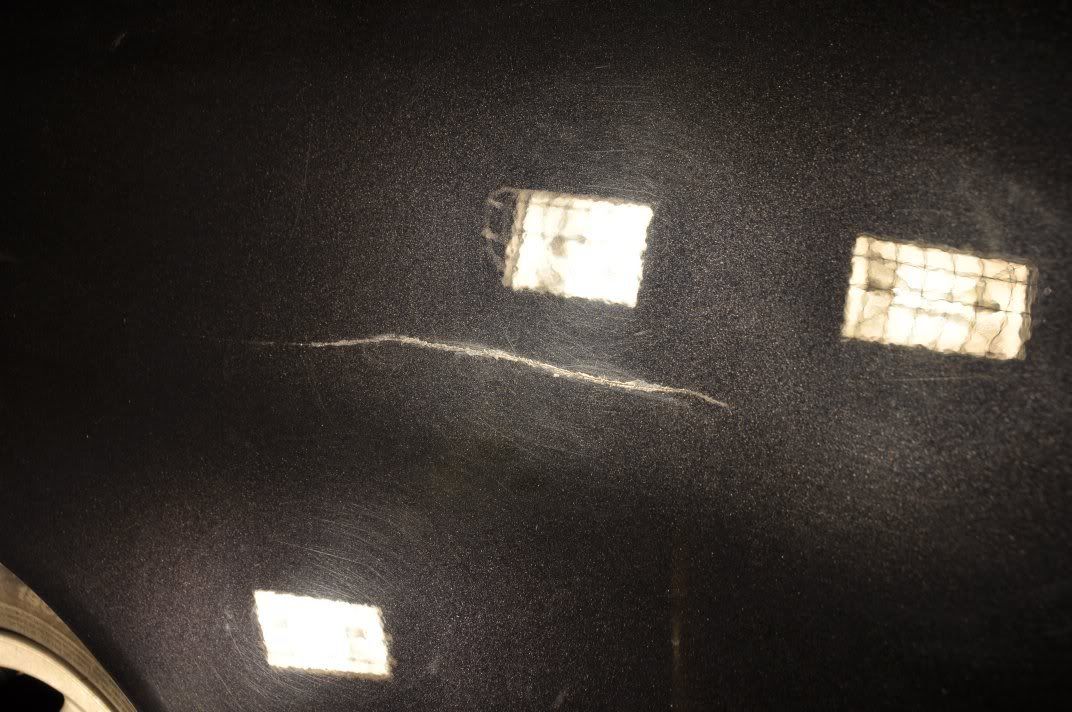
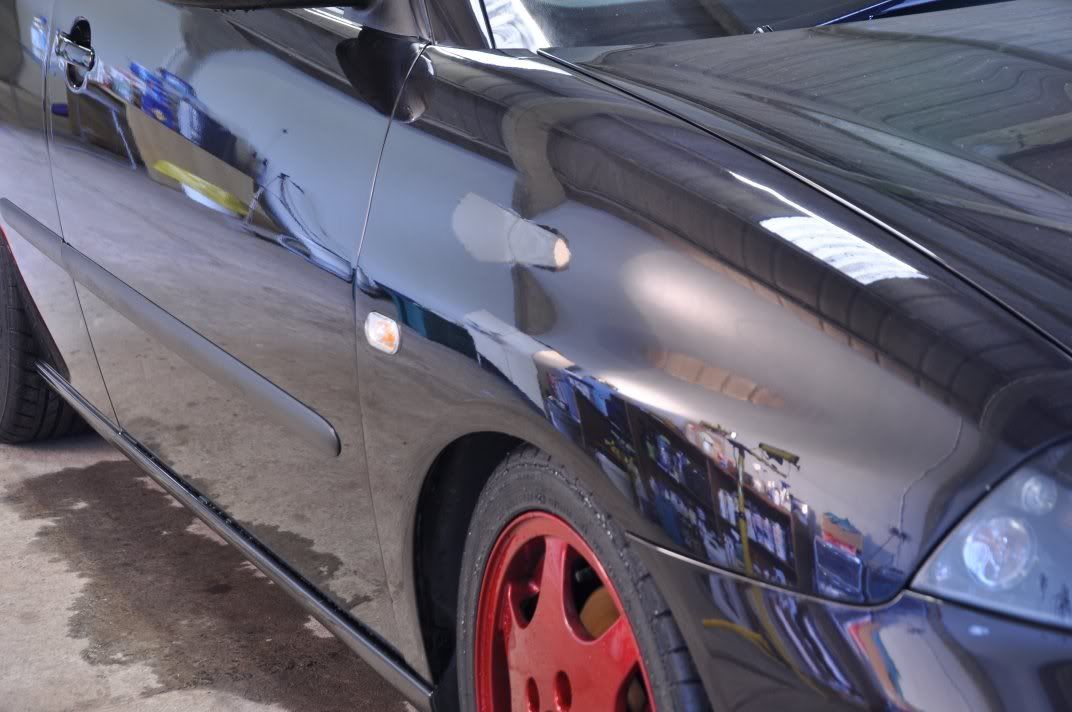
Over the remaining days before the detail, the owner added a few more paint layers to complete the painting stage of the repair, ready for flatting and blending as part of the main detail...
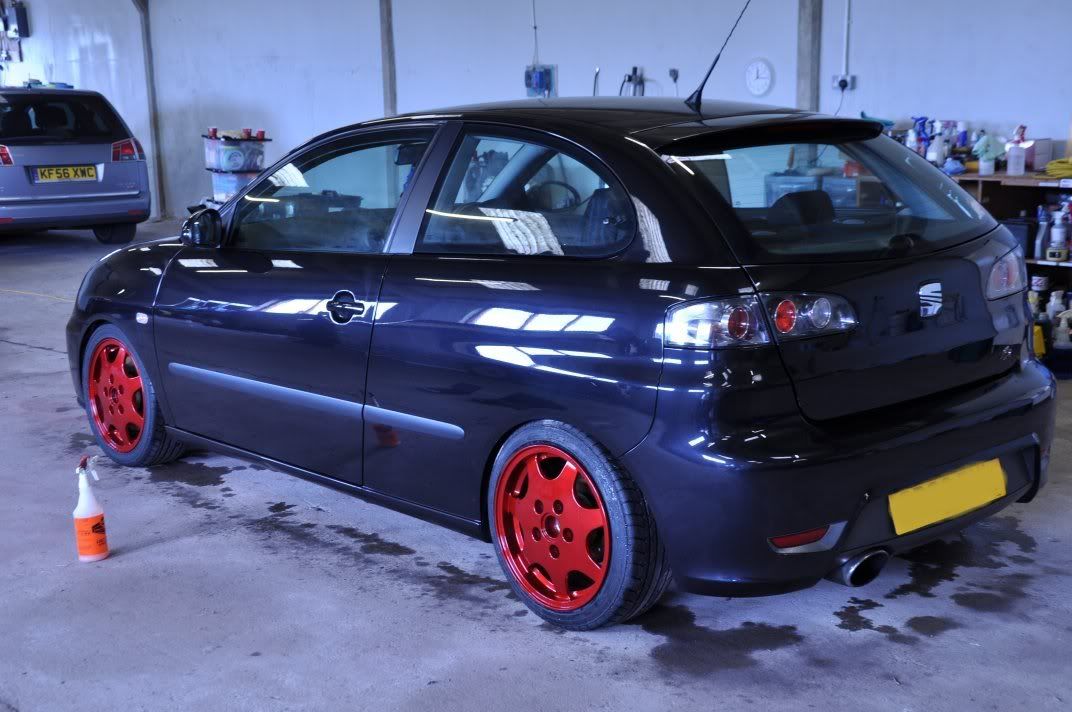
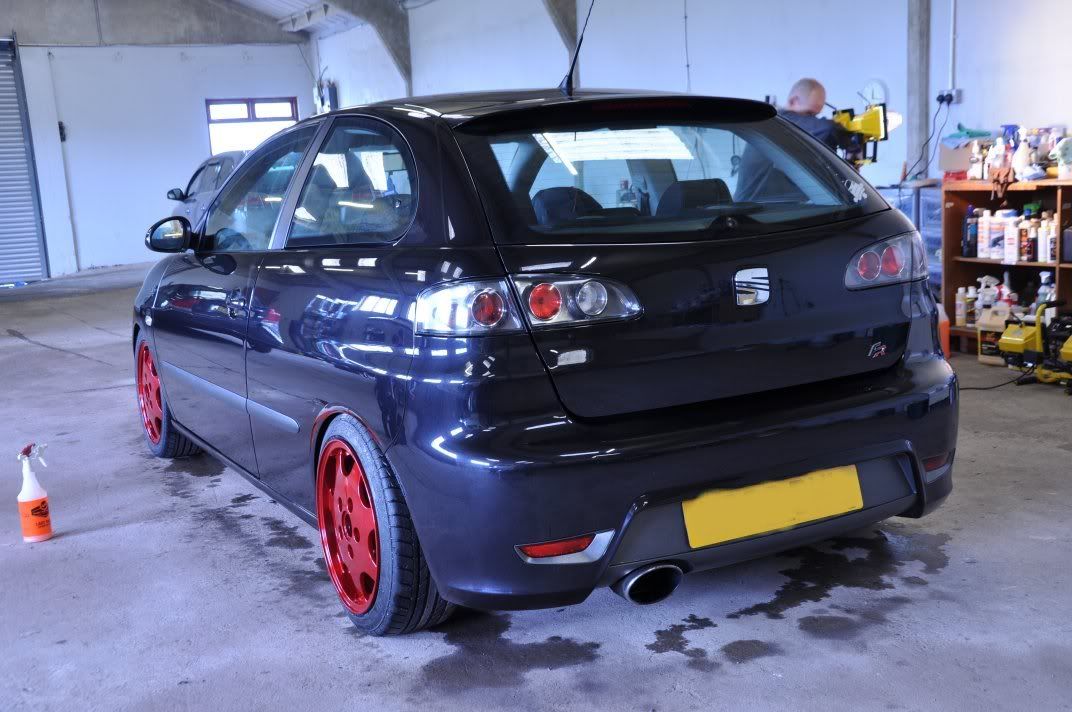
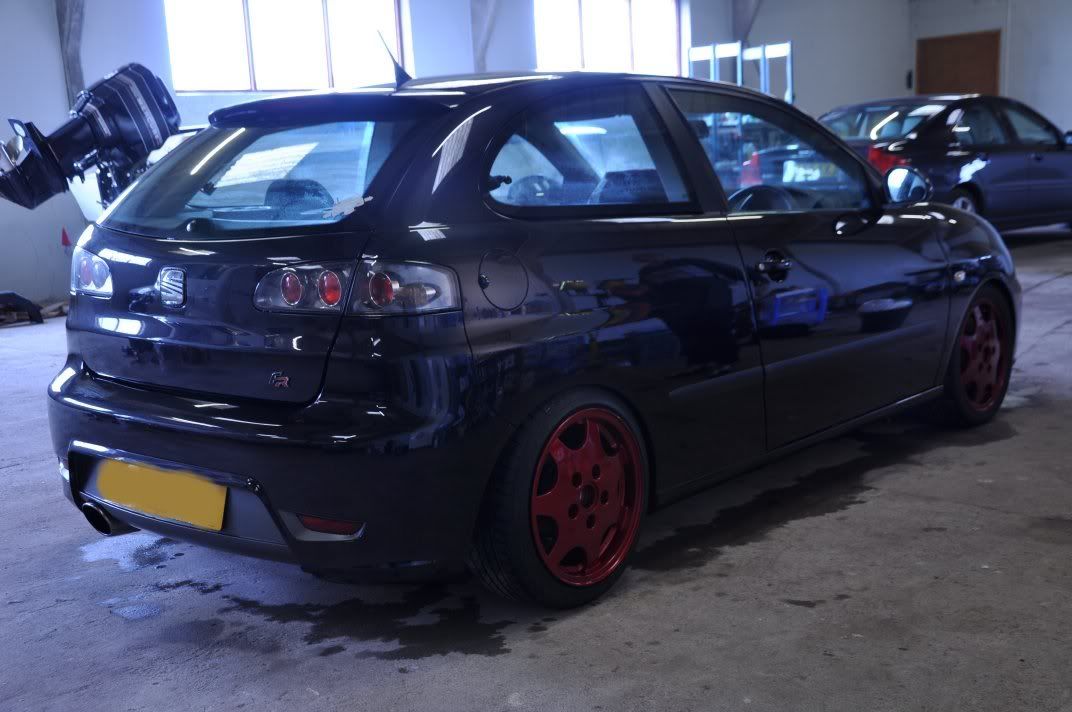
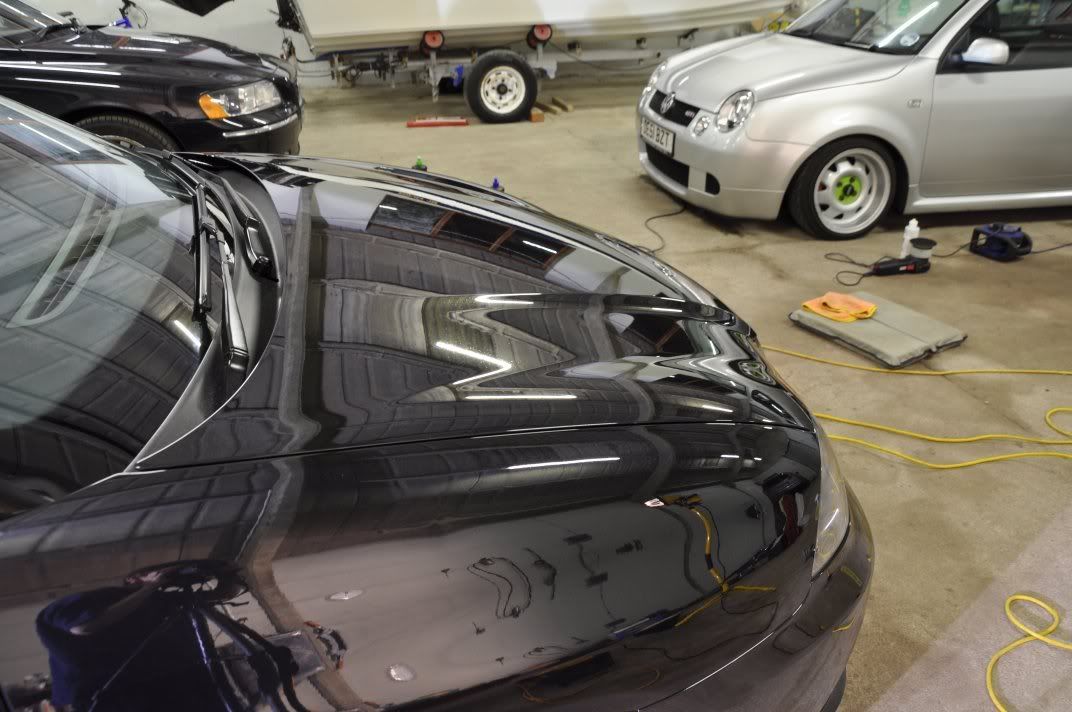
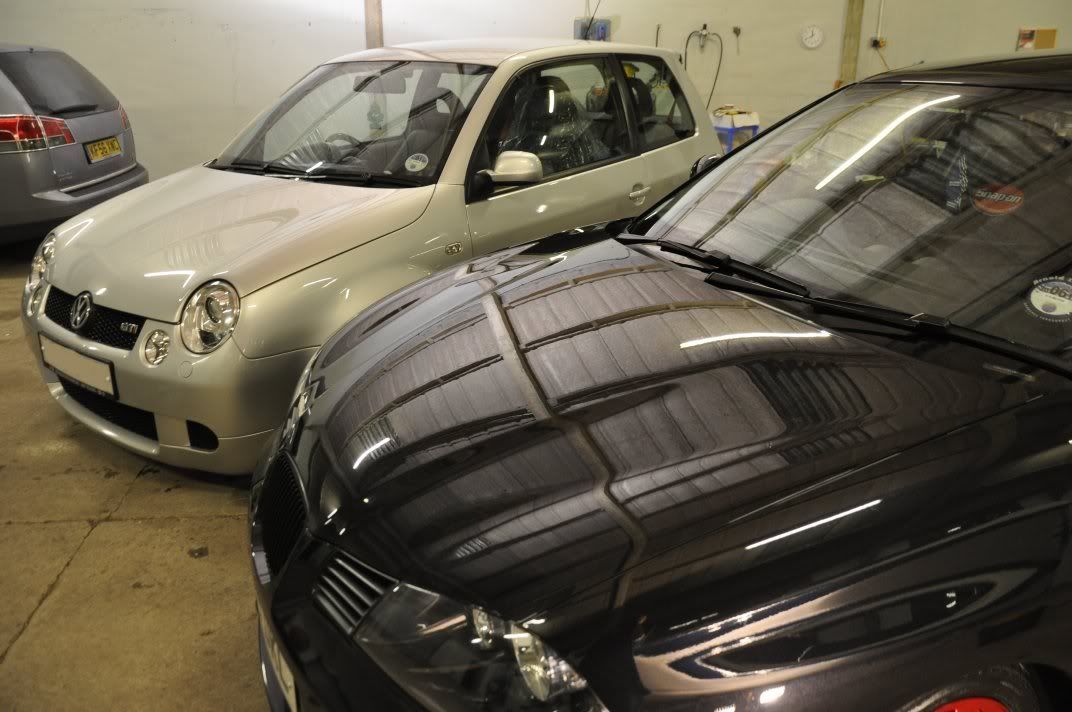
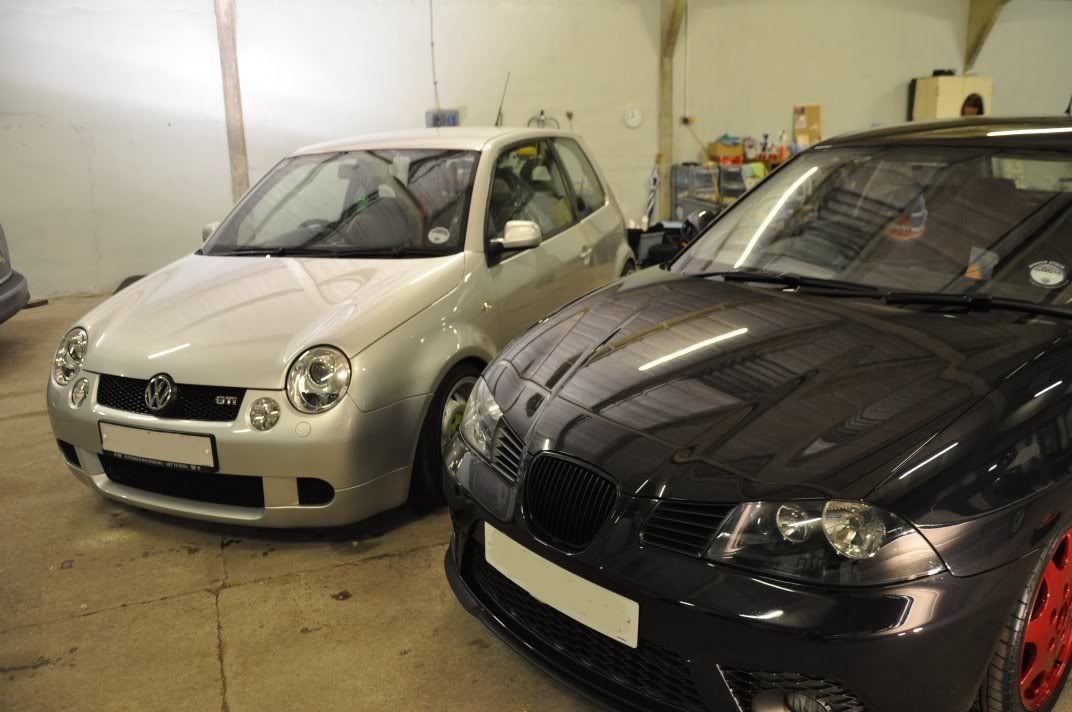
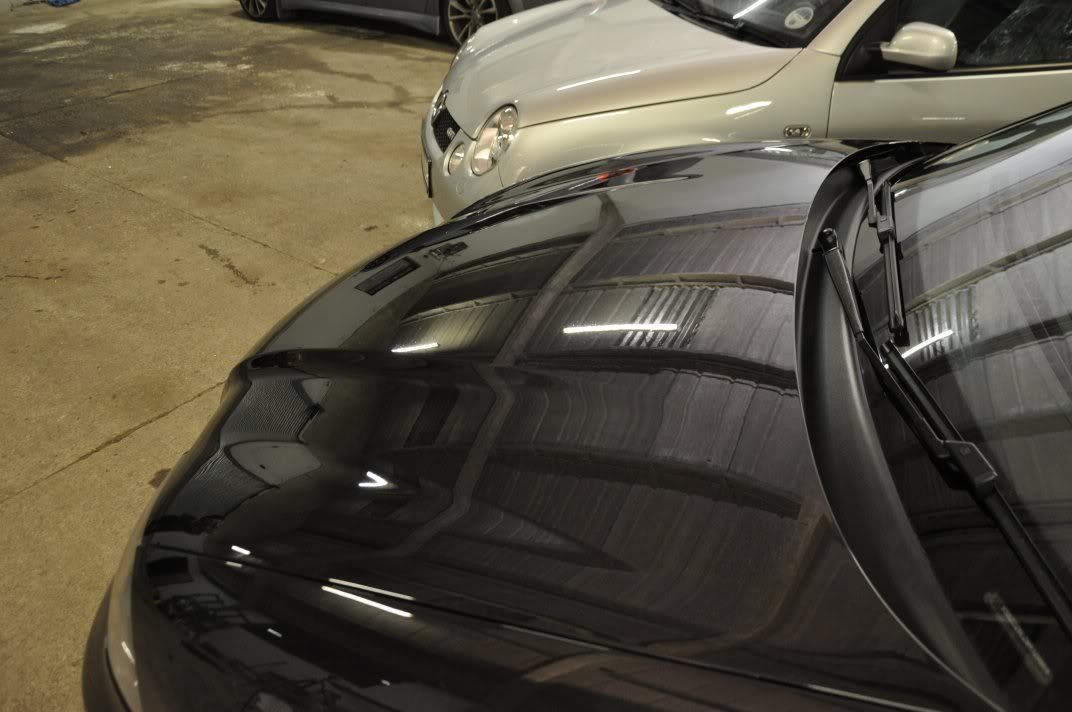
The car arrived for the main detail looking pretty good - just general road grime on the car really...
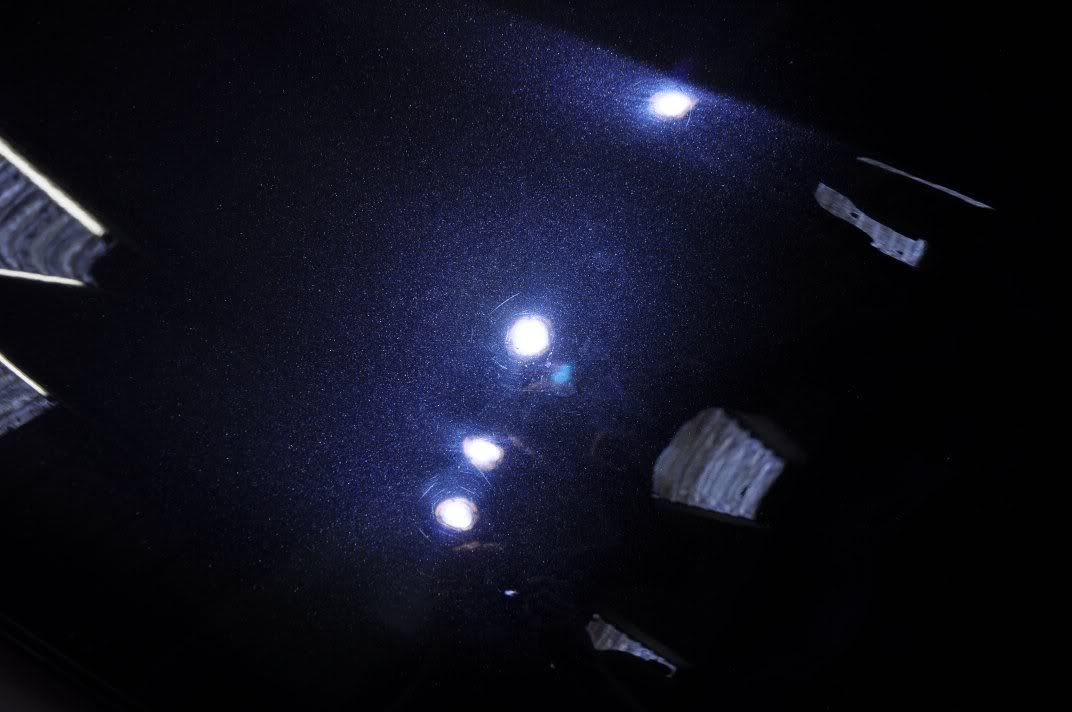
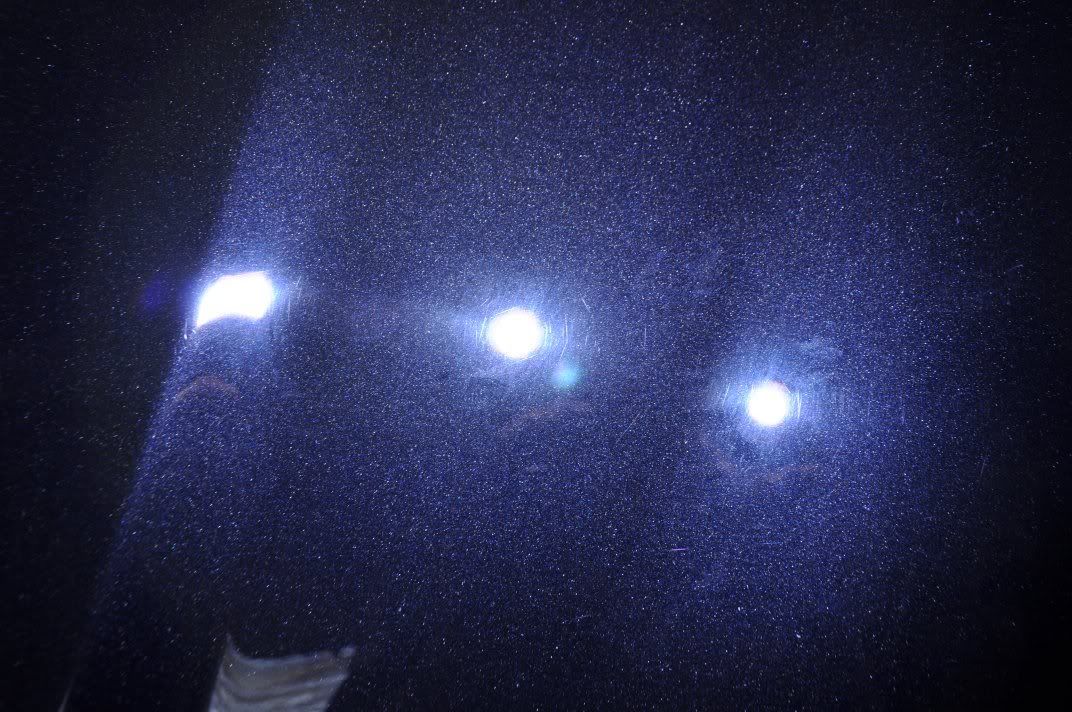
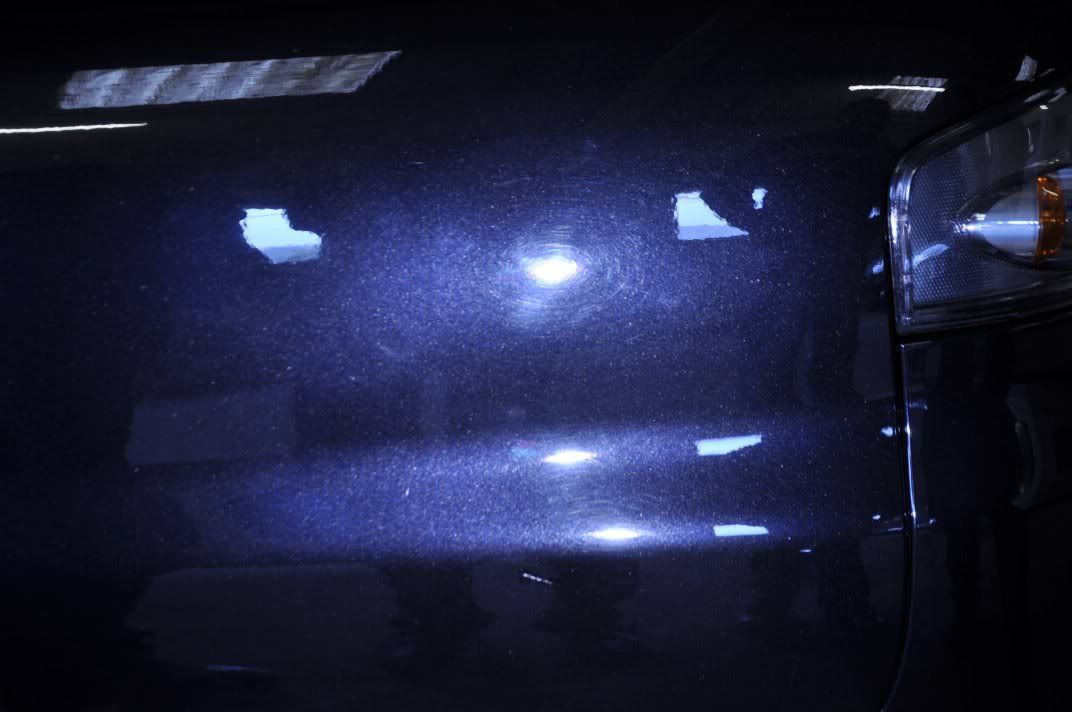
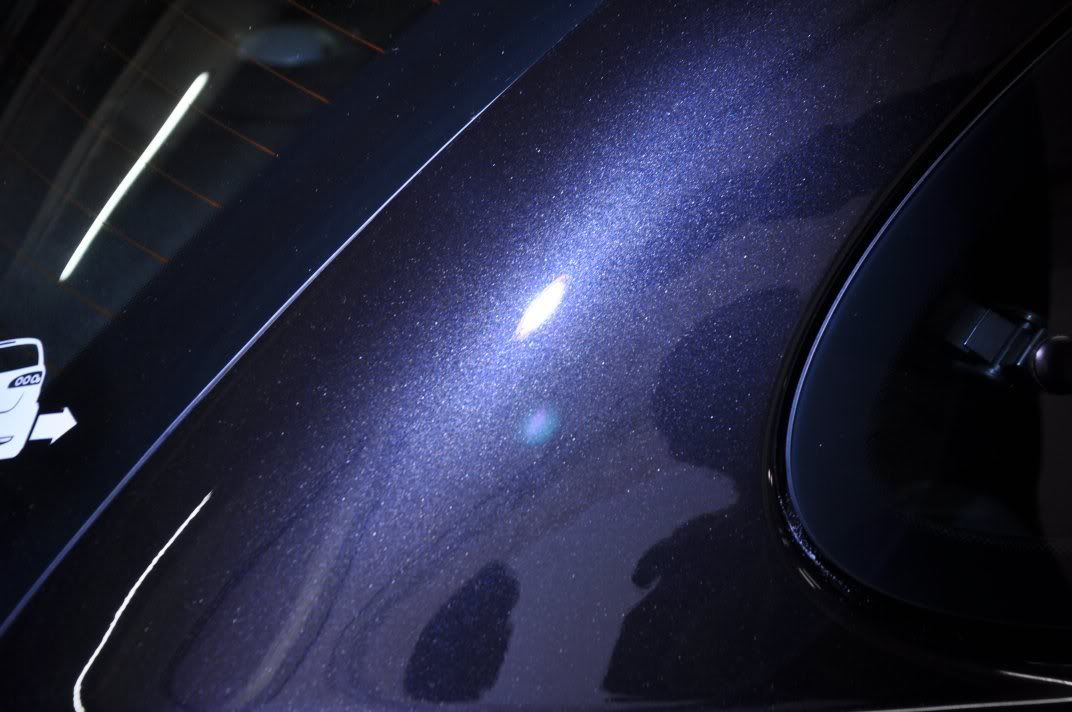
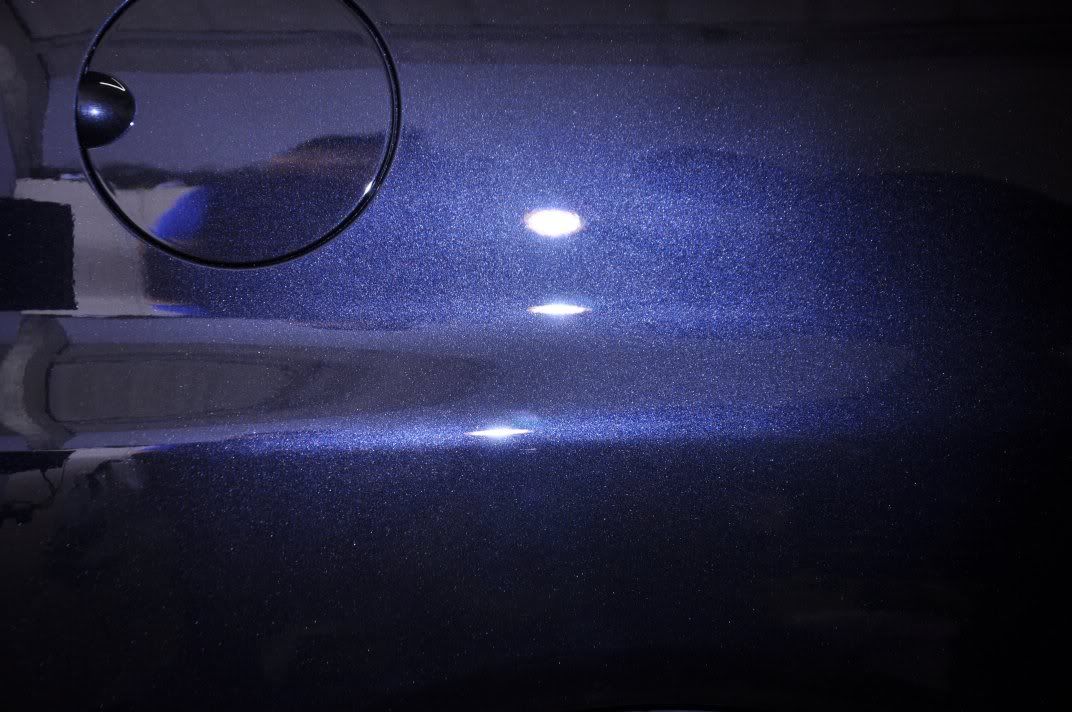
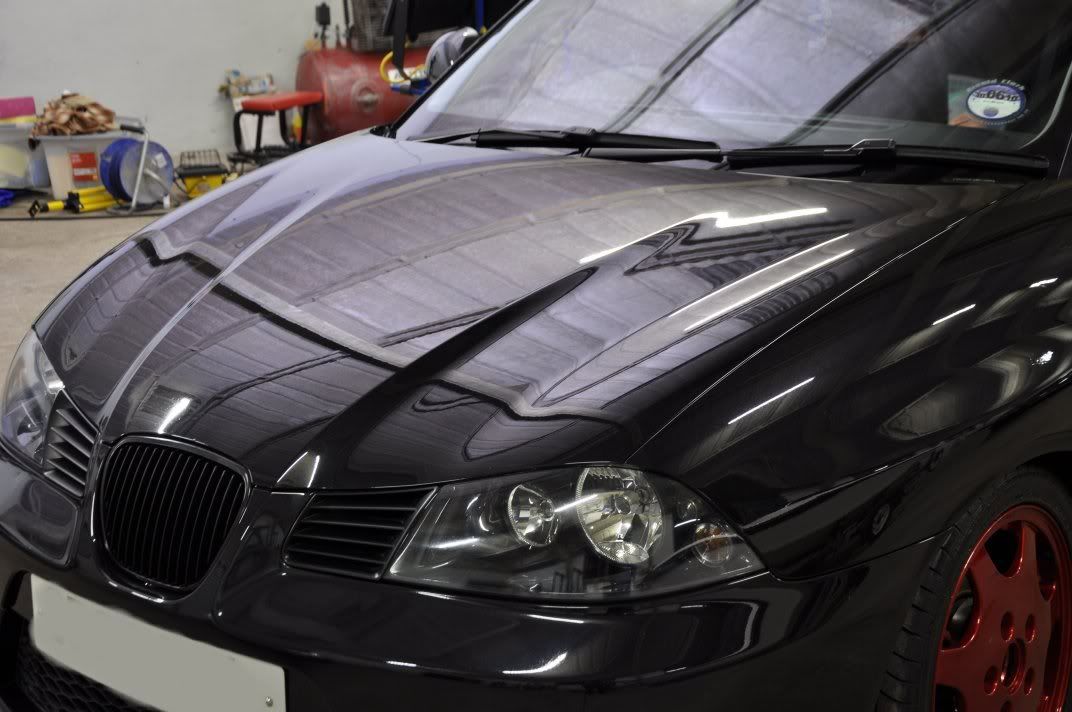
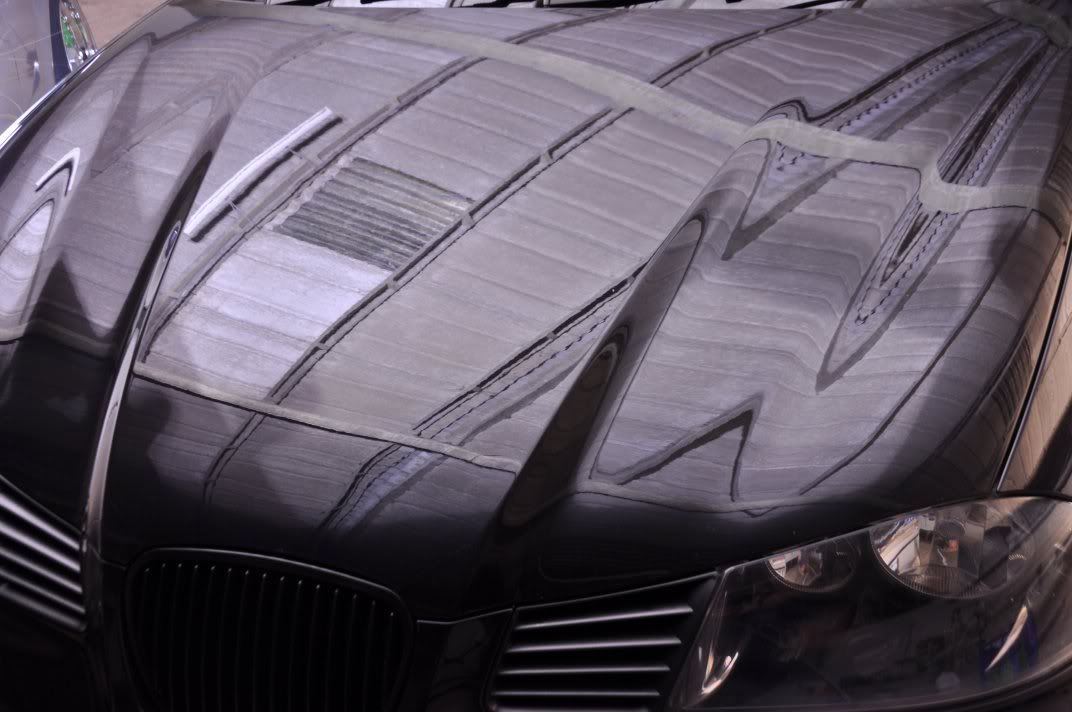
After washing the car and claying the car, it was already looking a lot better... but the finish was now showing itself not to be defect free! The natural lighting of the unit was enough to show a lack in depth of the paint...
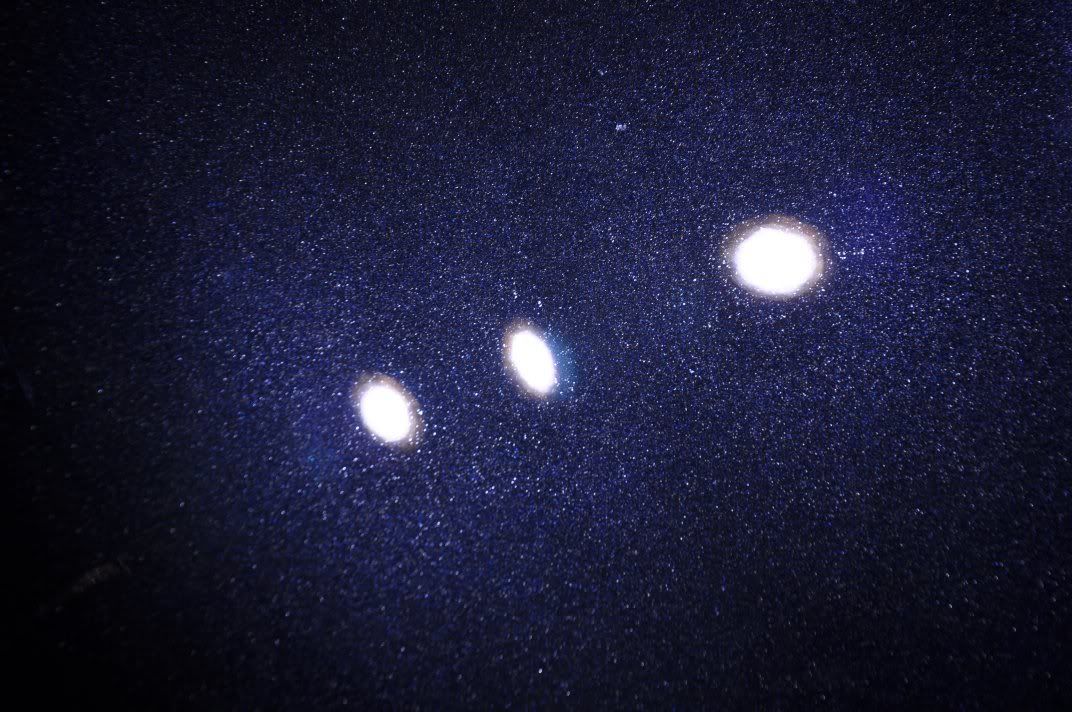
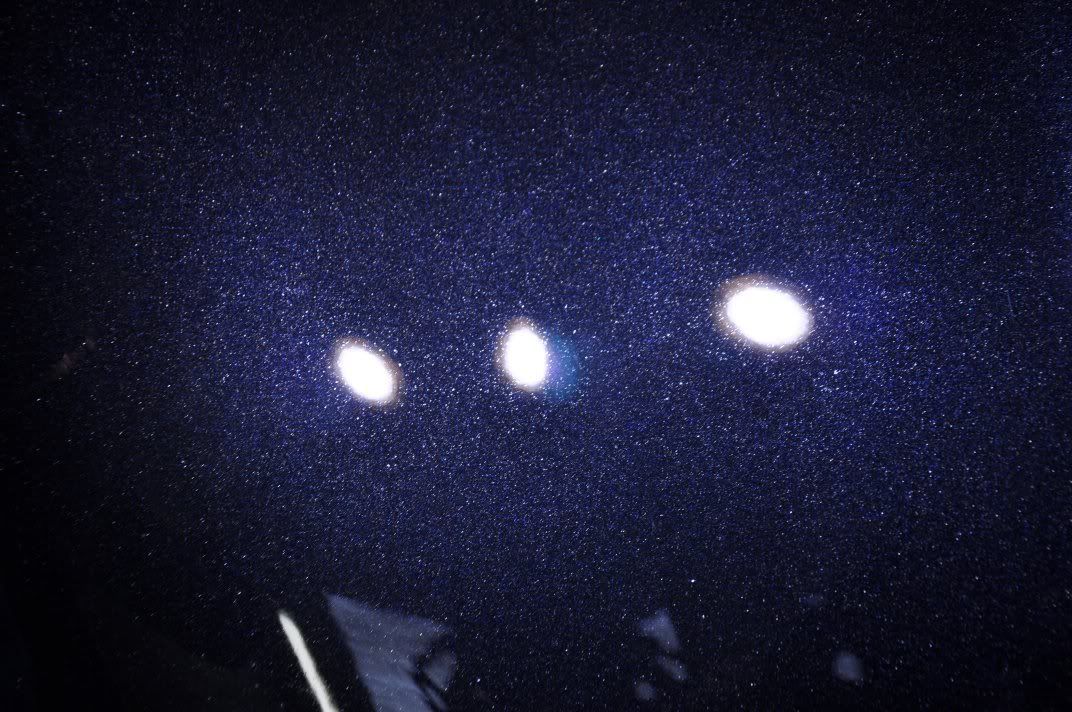
A little bit of clever lighting, however, and the car was looking miles better!!
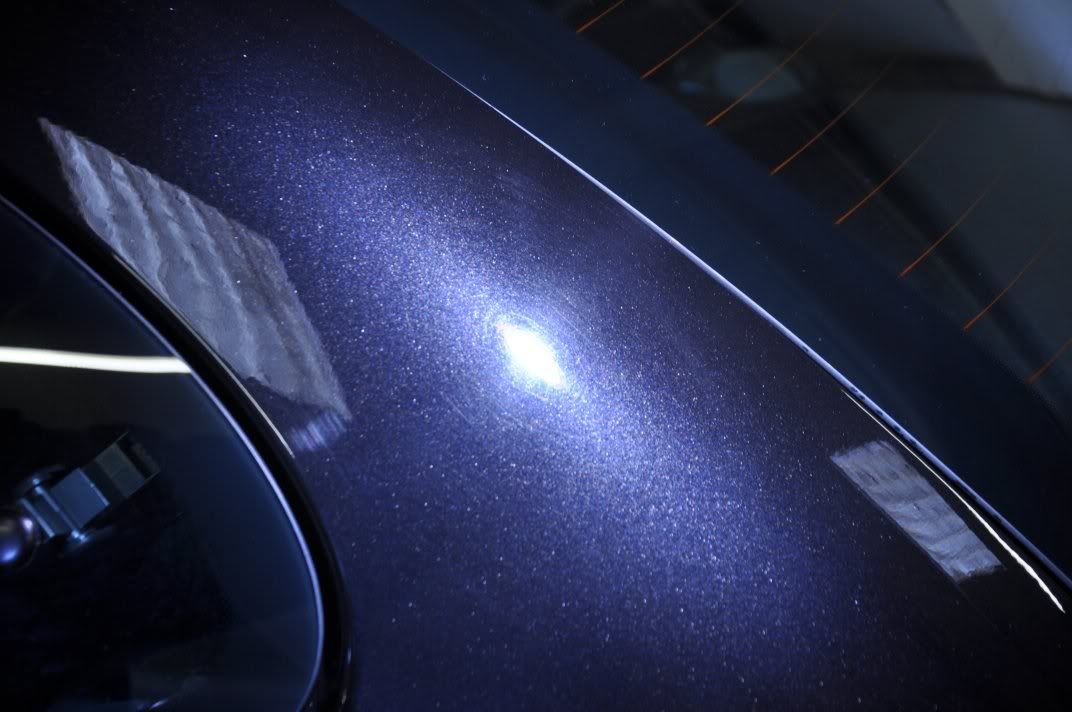
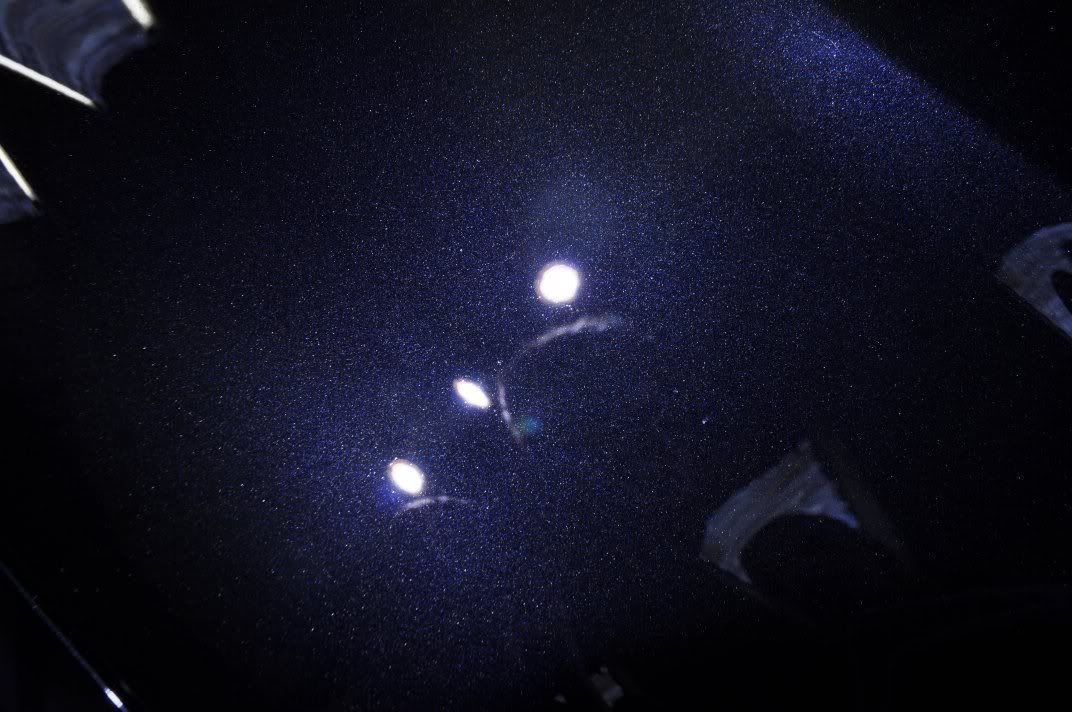
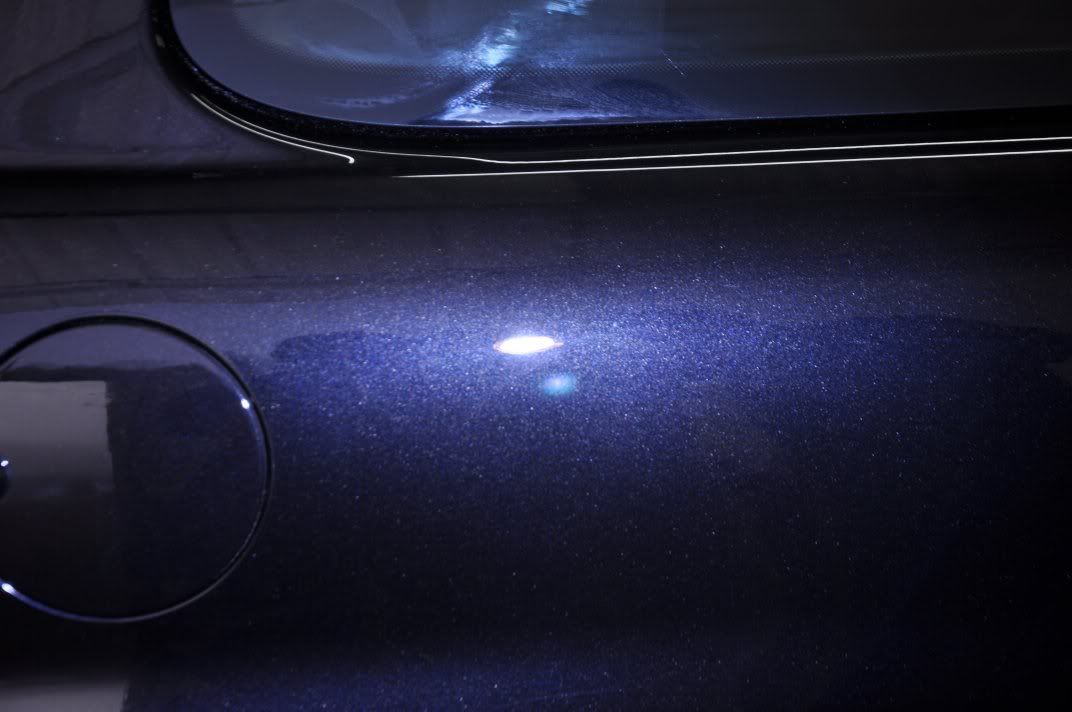
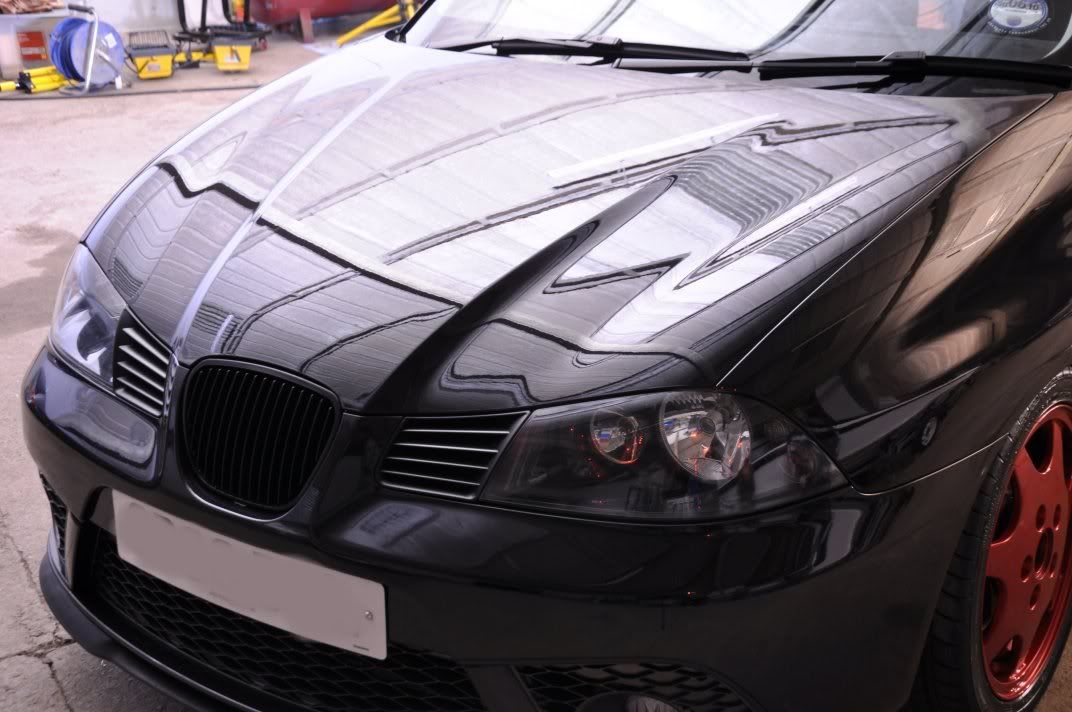
The above are before shots... and this is something to be very aware of, clever use of lighting can mask a lot of imperfections and horrors in a paint finish. Correct assessment of the paintwork requires direct light shots such as the following...
with different focal planes to assess different qualities of the finish. A writeup on picturing defects and assessing the paint finish will follow soon
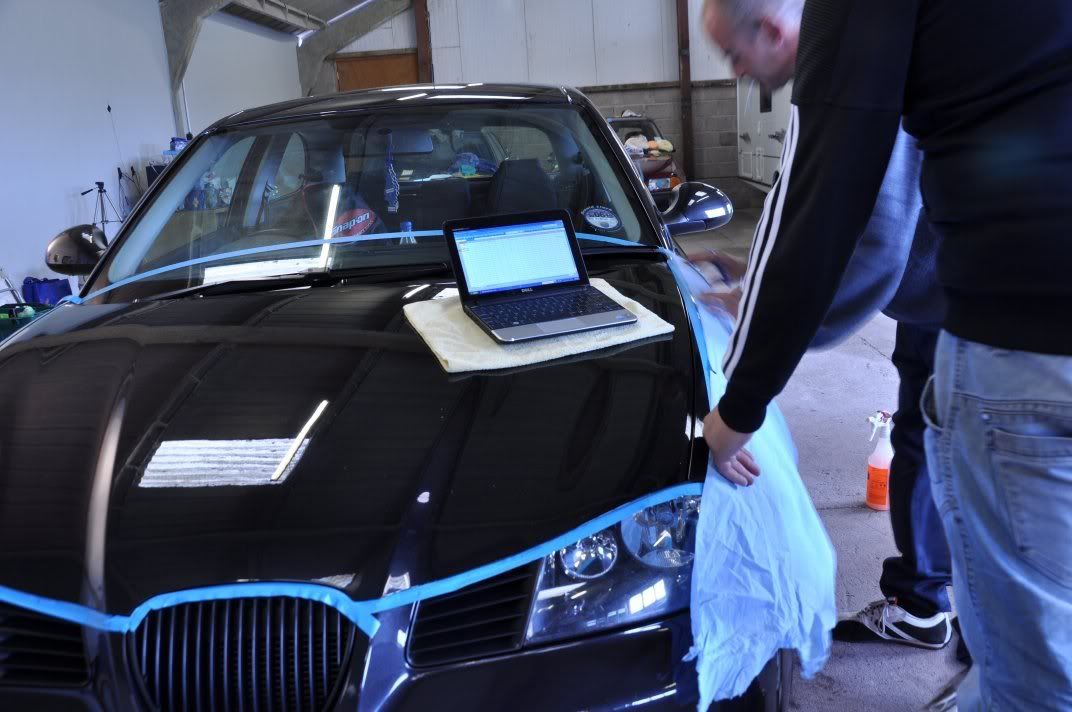
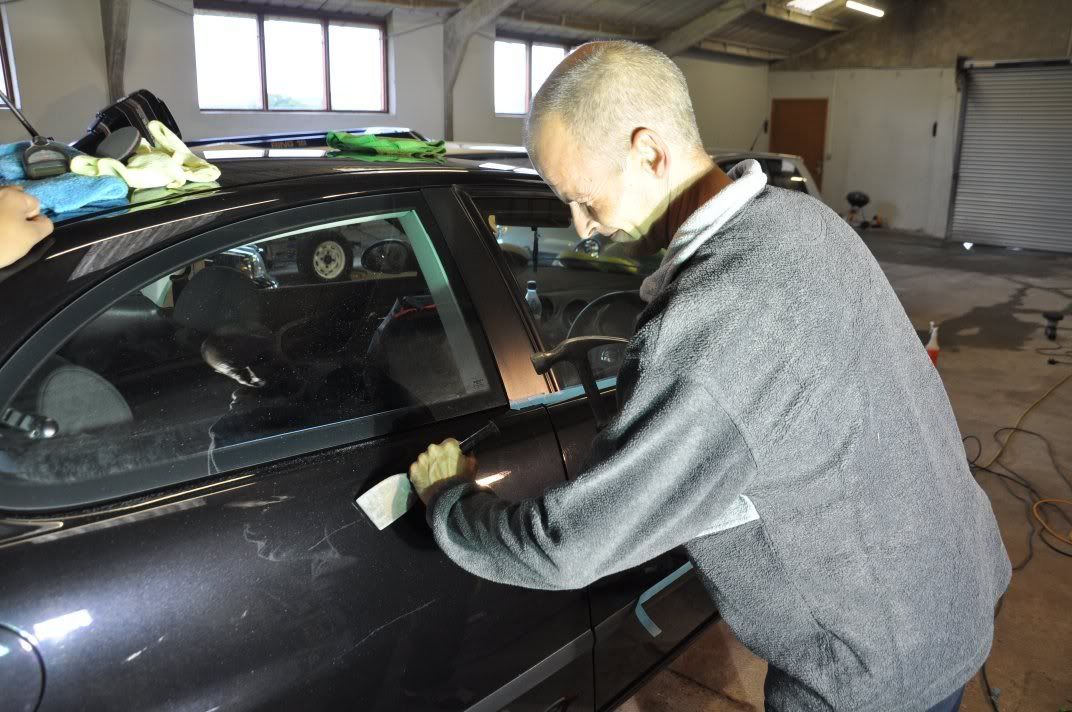
Back to the detail, our first task was to demonstrate paint assessment to the owner, and to show how we go about using a paint thickness gauage to measure paint thicknesses and how we use the data. A single number tells you very little, but using a lot of data together gives you a big picture. Every panel was measures and general numbers on each panel noted, and we look for any inconsistencies (suspiciously thin, or thick panels - of which there were none on this car!). We then proceed to "map" the paint thickness on the panel, here's a pic of Gordon and I preparing to map out the paint thicknesses on the bonnet...
Now this may seem a little gimmicky, but it serves a hugely useful purpose. The paint map for the bonnet before is shown below...
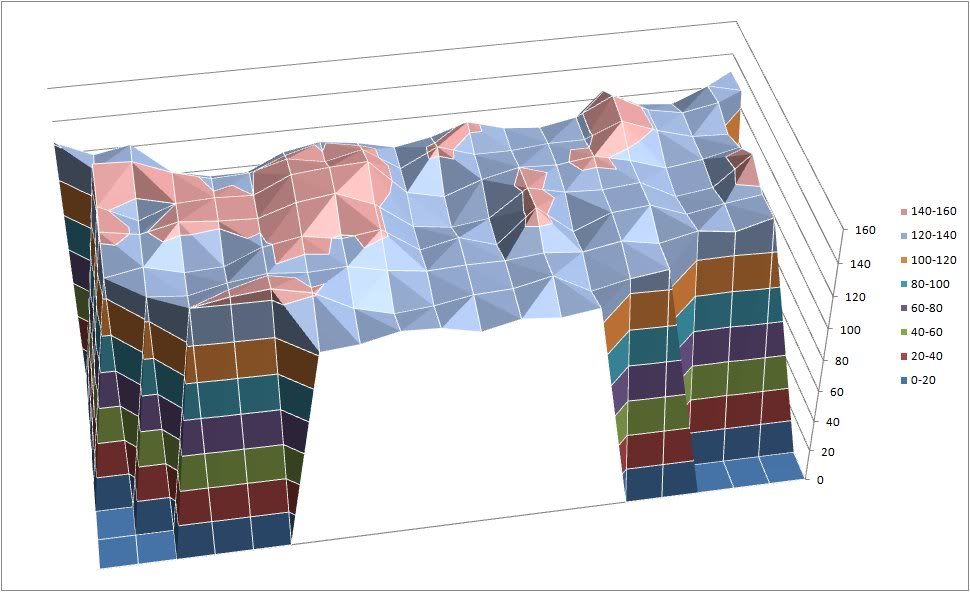
Pictorially this gives a good indication of the thicknesses on the panel and most importantly shows the consistency, highlighting any thick or thin spots of concern at a glance!
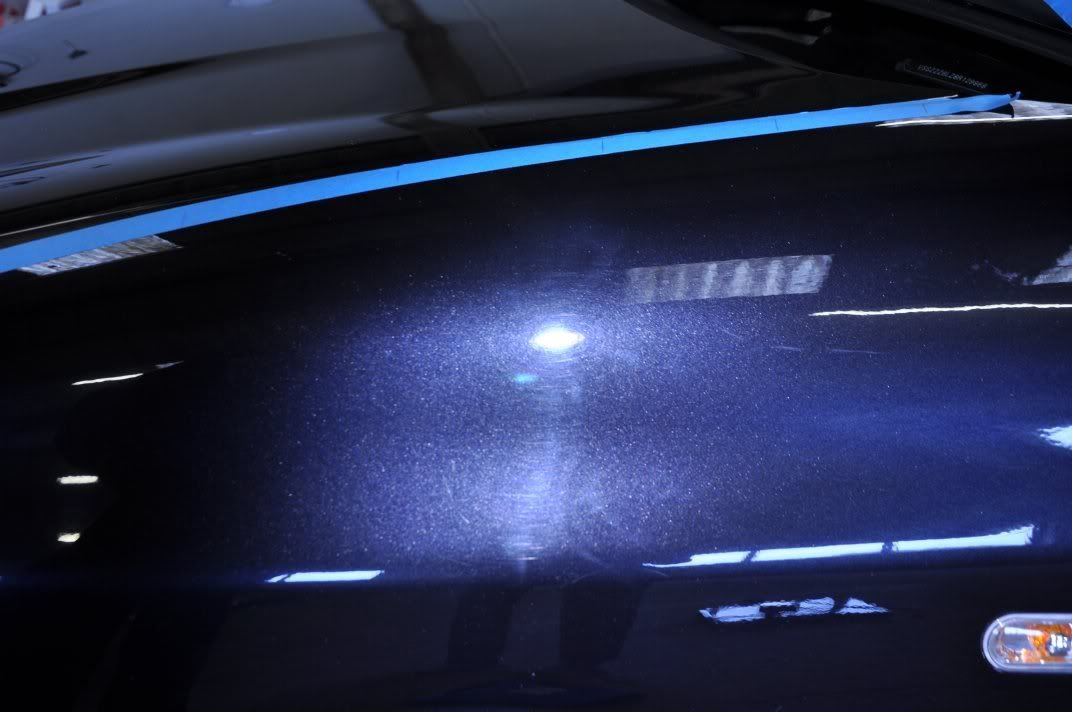
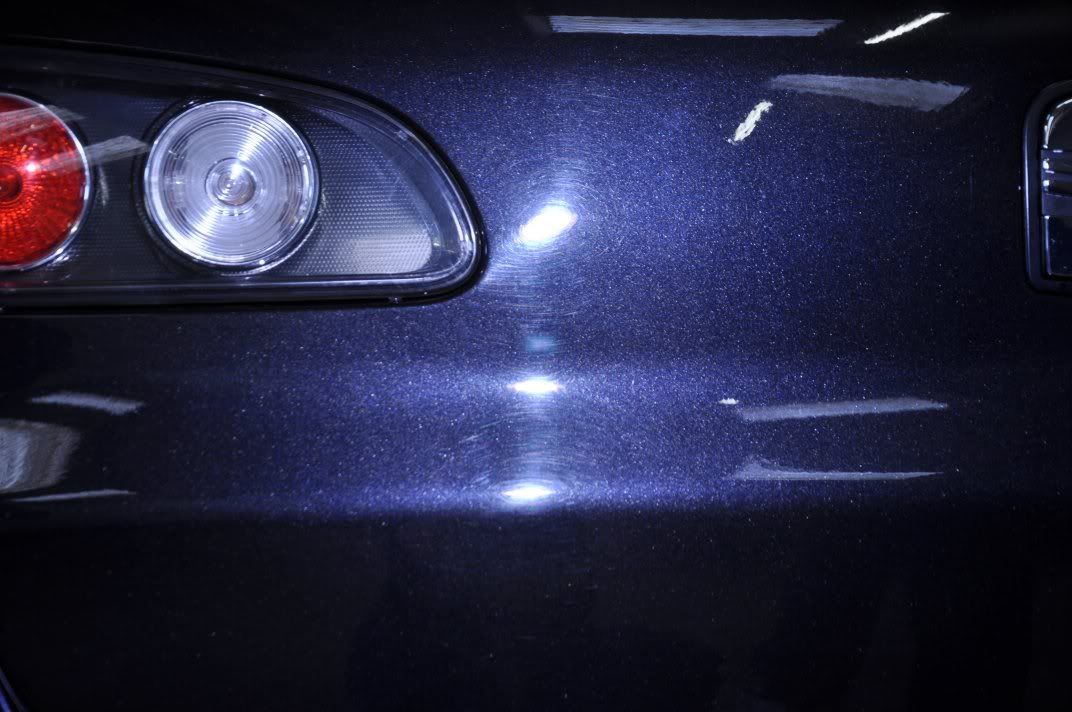
To assess the paintwork we started at the front, on the bonnet with the following defects...
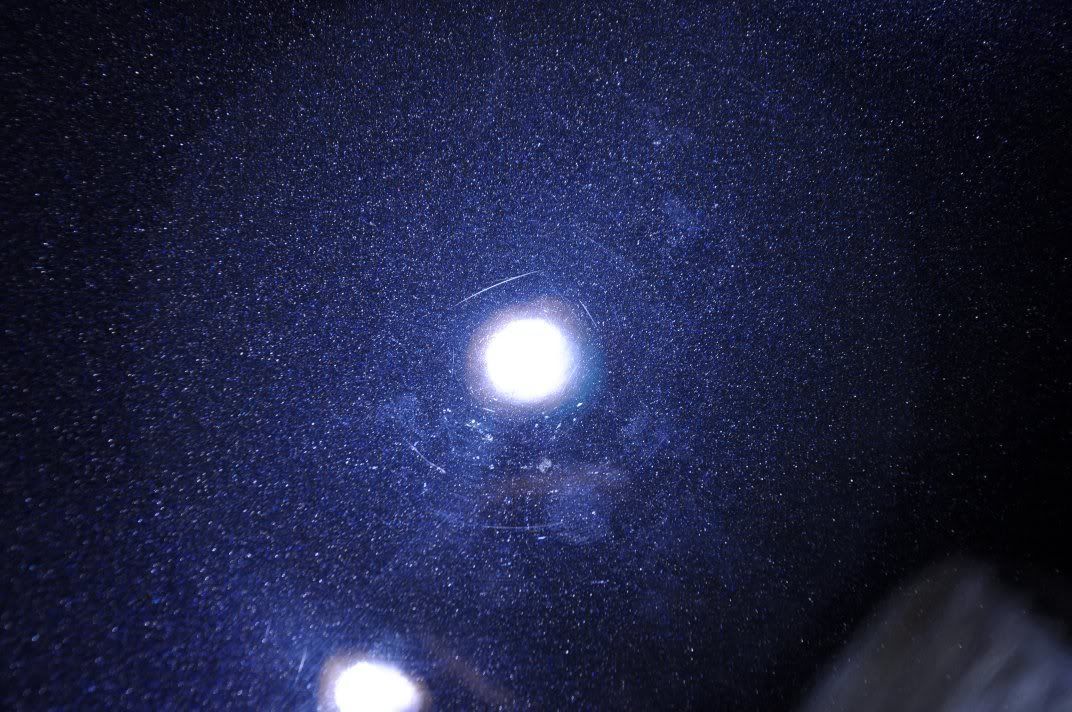
Also a few deeper ones that the strip lights show up better...
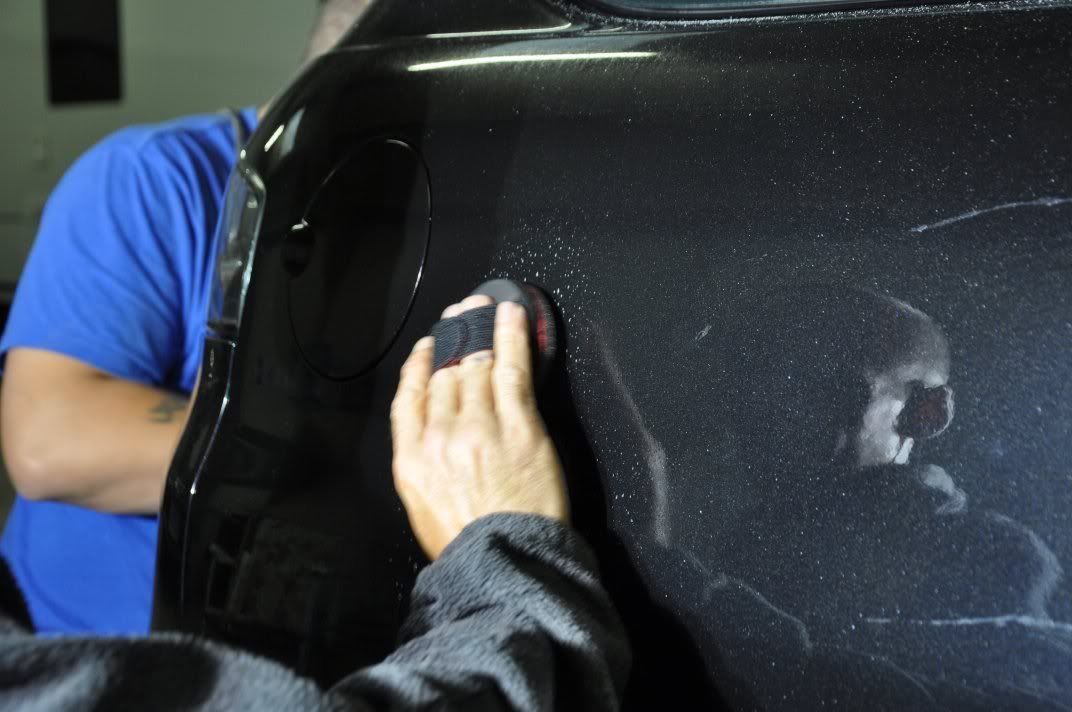
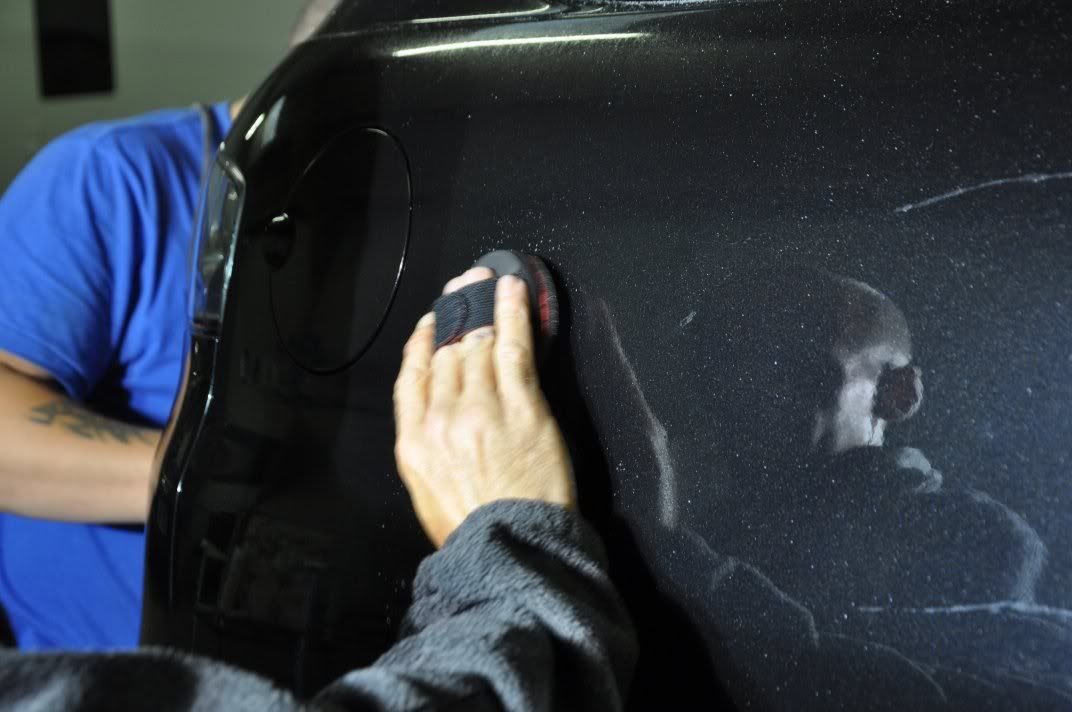
As with all details, we assume nothing! Yes, its VAG, but that does not mean the paint is necessarily hard... so we start with a light finishing polish, Meguiars #205, applied with a Detailers Domain Blue finishing pad as follows, using a Double Zenith technique:
The important thing to remember with the new Meguiars polishes is that they are not like the "traditional" polishes we use on DW, which use diminishing abrasives. The abrasives in the new Meguiars polishes do not break down so you need to vary the pressure and machine speeds (movements and rotation) to vary the amount of cut in a set, so you can go from correcting to finishing. Very flexible as it allows you to tinker with the methods to get the best for the paint you are working on - needs practice and learning, but once mastered, the new Meguiars polishes offer a lot more flexibility and opportunities than traditional diminishing abrasive products.
The end results of just the #205 on a finishing pad was very impressive...
All swirls and the RDS removed. But what remains is a pitting in the paintwork, which in this case we determined to be from dirt getting trapped under the bonnet bra the car was once wearing as there was where the pitting was at its worse, everywhere else was fine.
Given the variety of paint defects across the car, various products were used for correction depending on requirements, and then Meguiars #205, applied as above, was used across the whole car to give the best possible clarity and machine finish to the paint.
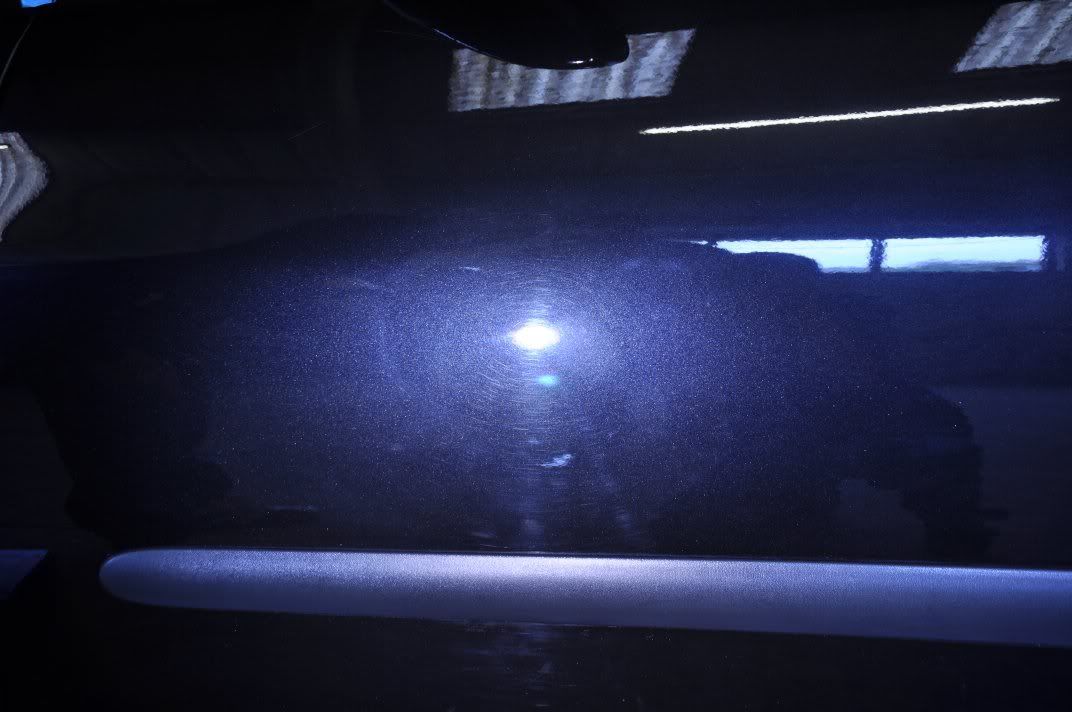
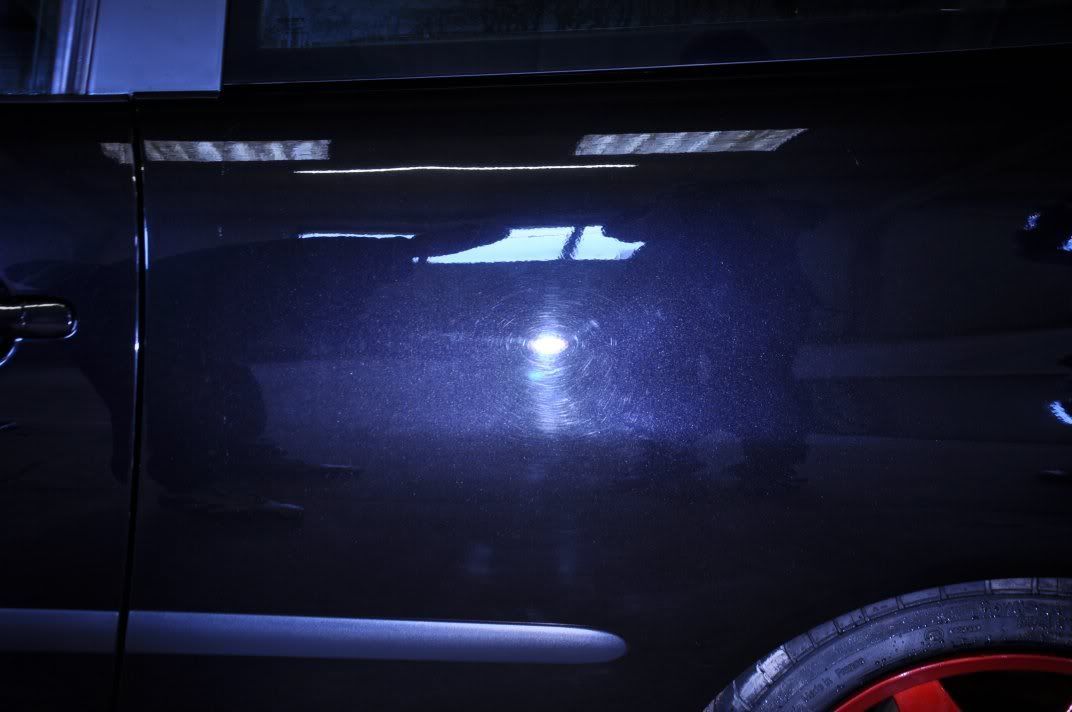
Before shots from around the car...

Oh yes, and the scratches all painted... we'll come back to these

Both 3M Fast Cut Plus and Menzerna PO85Rd3.02 Intensive Polish were used for correction, again depending on level of correction required. They were applied as follows....
3M Fast Cut Plus - 3M Orange Waffle Pad
Menzerna PO85RD3.02 Intensive Polish - Meguiars W8006 Yellow Polising Pad
Each of the above processes was refined using Meguiars #205 and a Double Zentih method discussed above.
General afters from around the car, shown after the finishing polish but before the protection stage...
(bonnet pin pricks sorted out)

Now, remember the scratches from before... well, they were so bad, Gordon adapted a modified correction technique!!

Back to taking things seriously again The marks were then flatted by hand, using 2000 grit then 4000 grit abralon pads as shown...
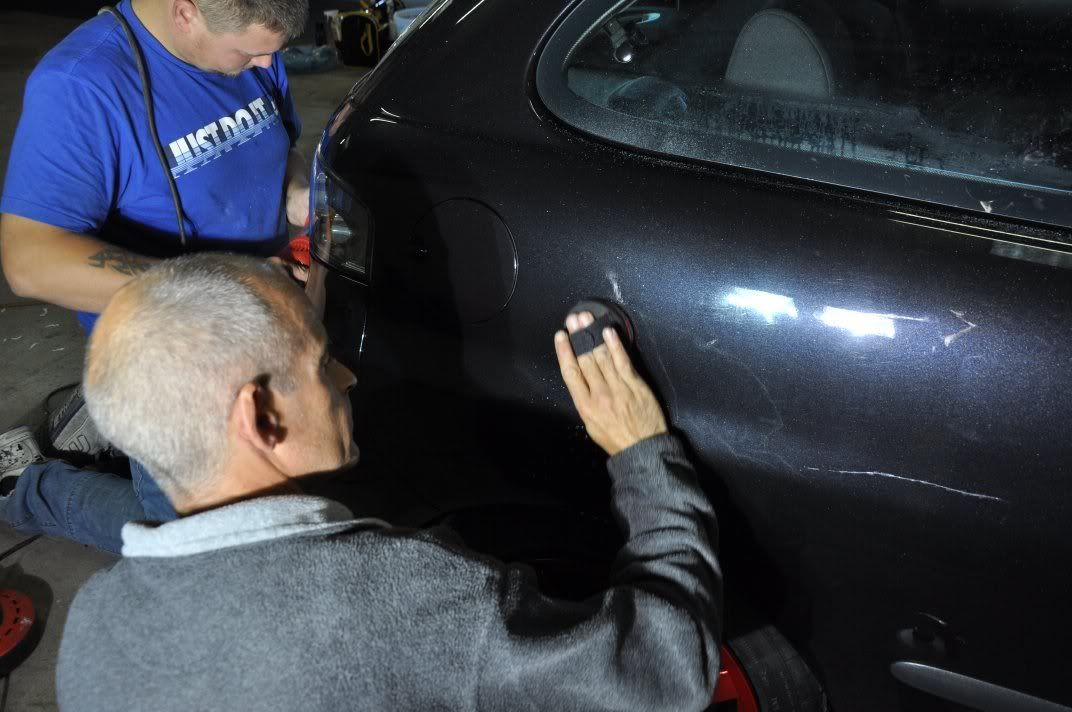
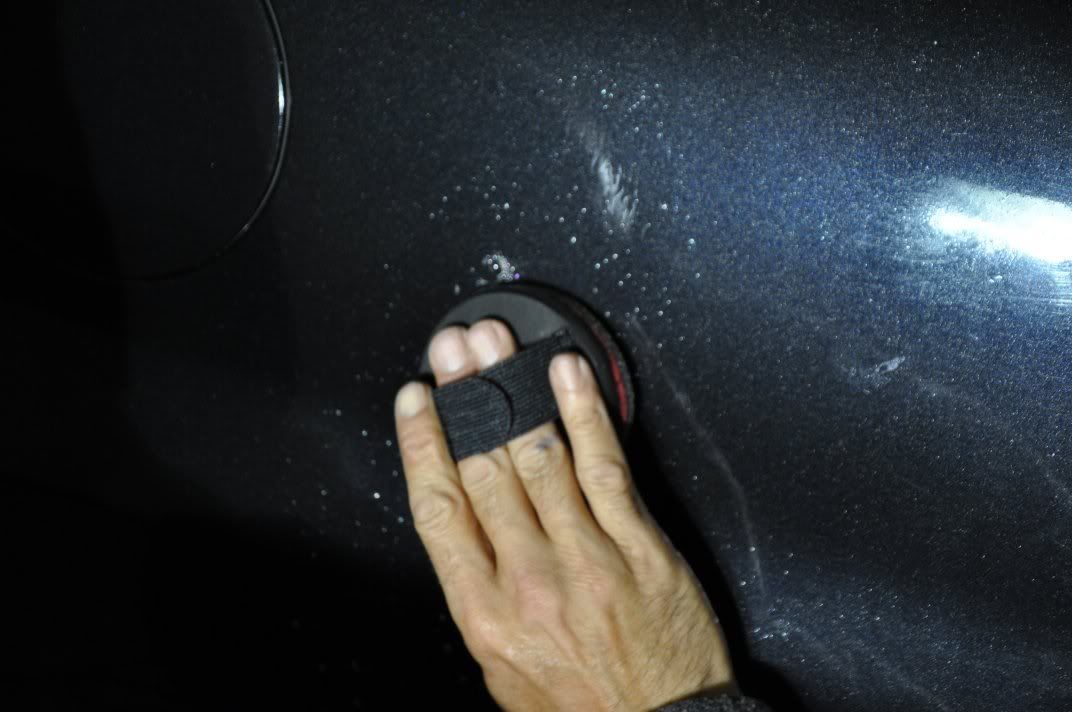
The key here is to ensure you only use light pressure and even pressure to ensure no deep pigtails inflicted. Gentle process, regularly check thickness and keep feeling until the paint feels flat so the repair is blended as shown....

After sanding...
Time to make the owner a strong cup of tea!
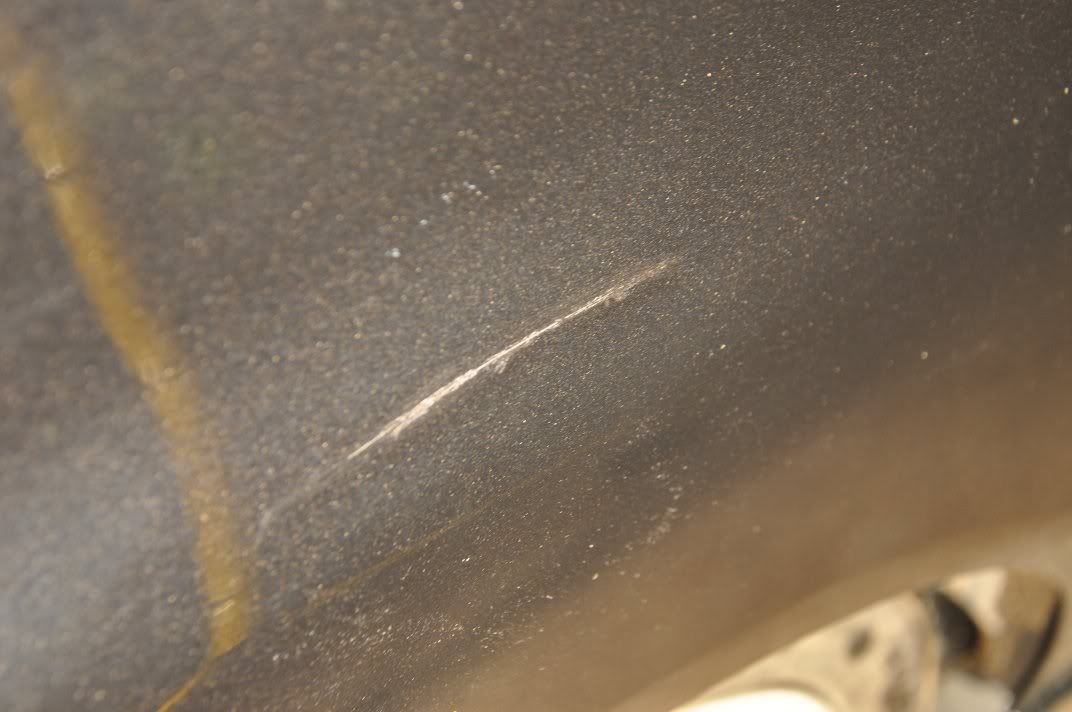
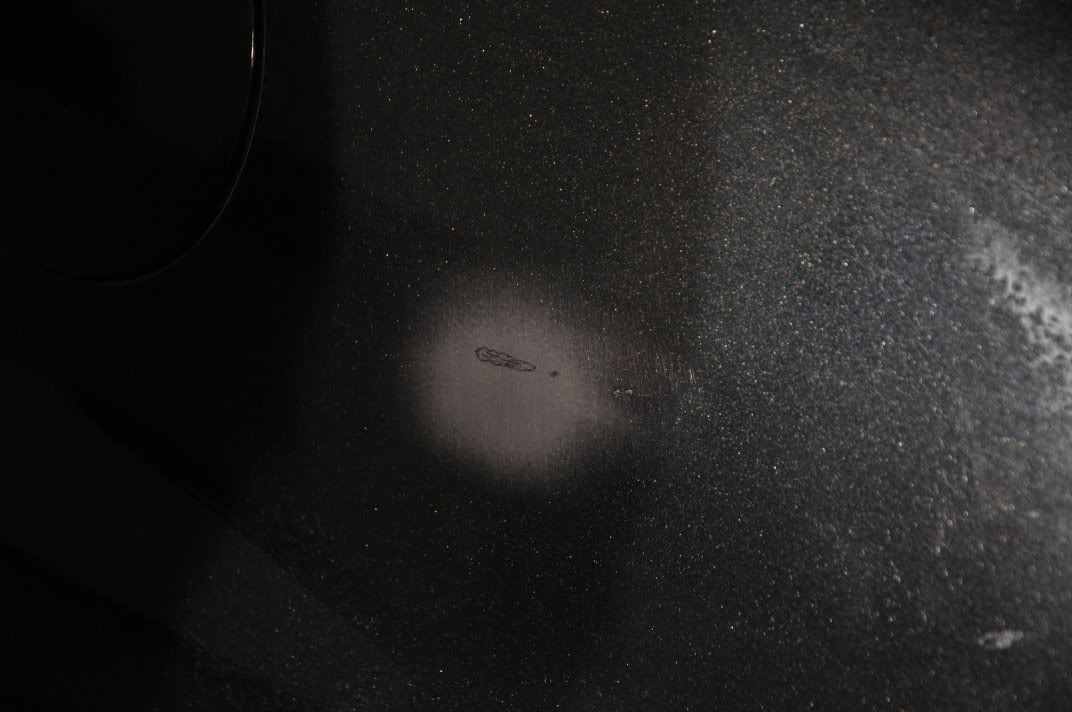
Fast Cut Plus was used to remove the sanding haze, followed by #205 to refine. A nice reflection shot shows the dramatic reduction of the scratches....
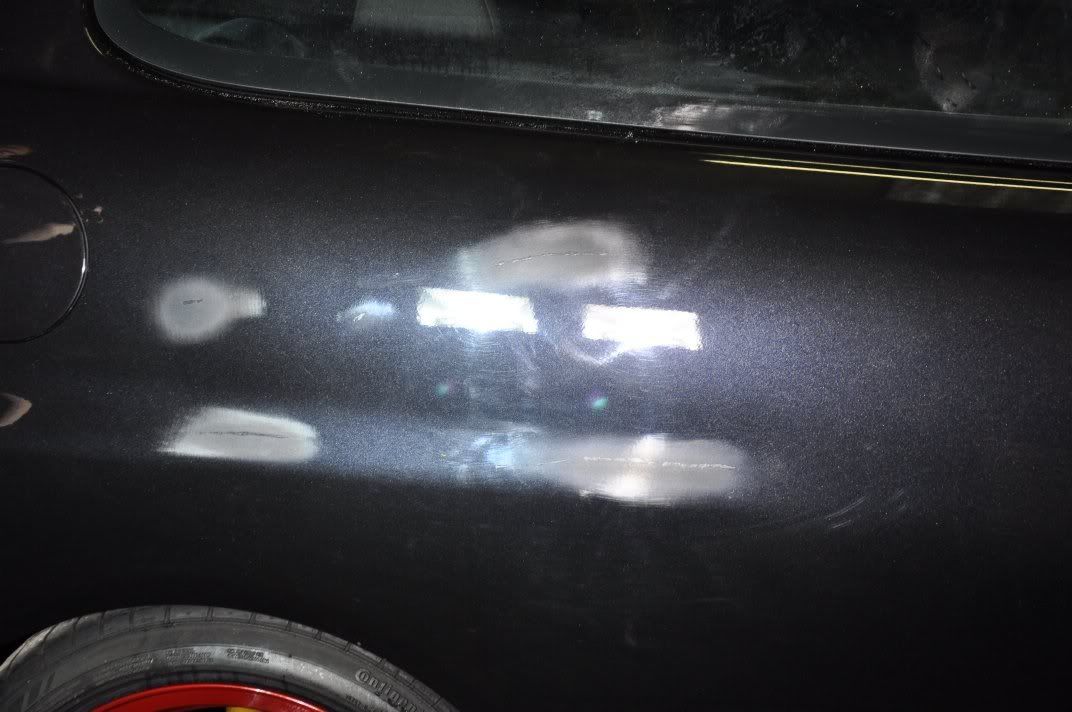
But it doesn't show the amount of correction achieved, nor the quality of the finish and the effectiveness of teh repair. So, direct light shot with the Sun Gun to really highlight the effectiveness of this paint repair...
We were pretty pleased with that The owner was over the moon
A few after polishing and refining pics...
The paintwork was finished off by protecting using Autoglym HD wax - chosen for its good durability and the fact the owner has it himself so he can top up with the same wax used
Tyres dressed with Chemical Guys New Look, glass with Duragloss 751.
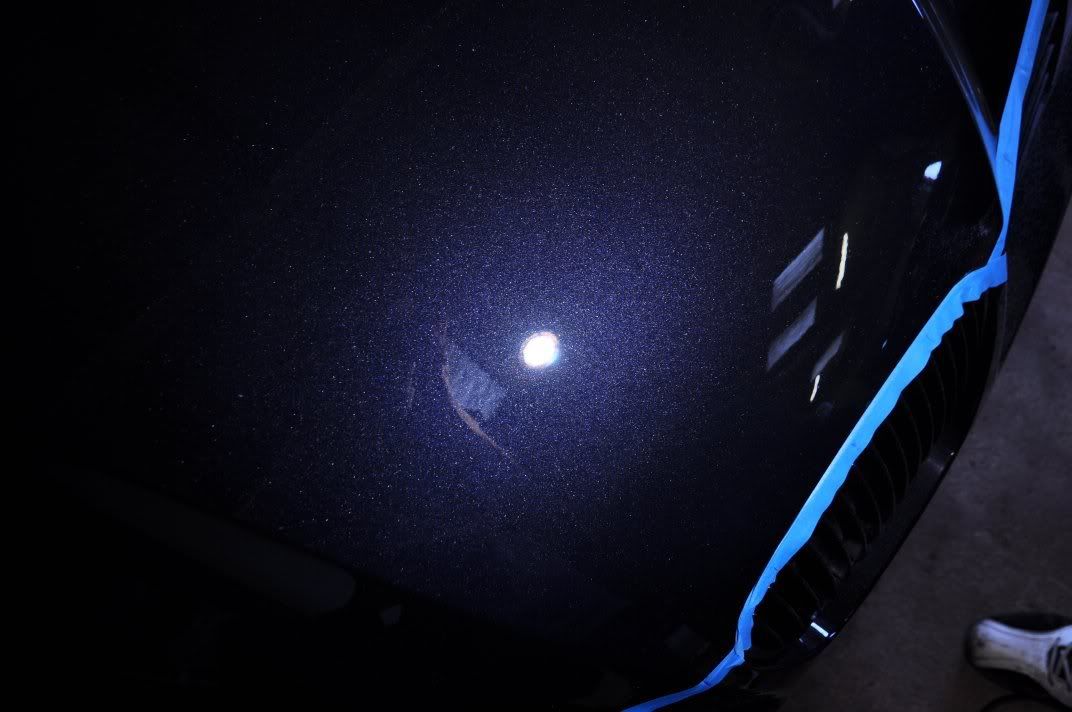
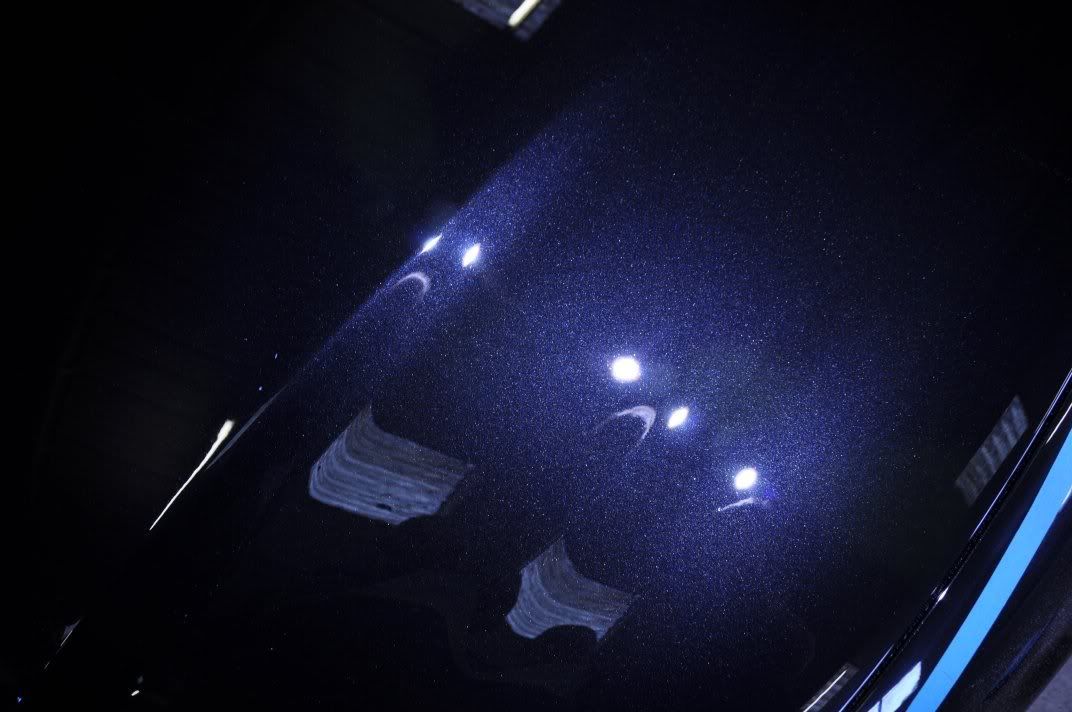
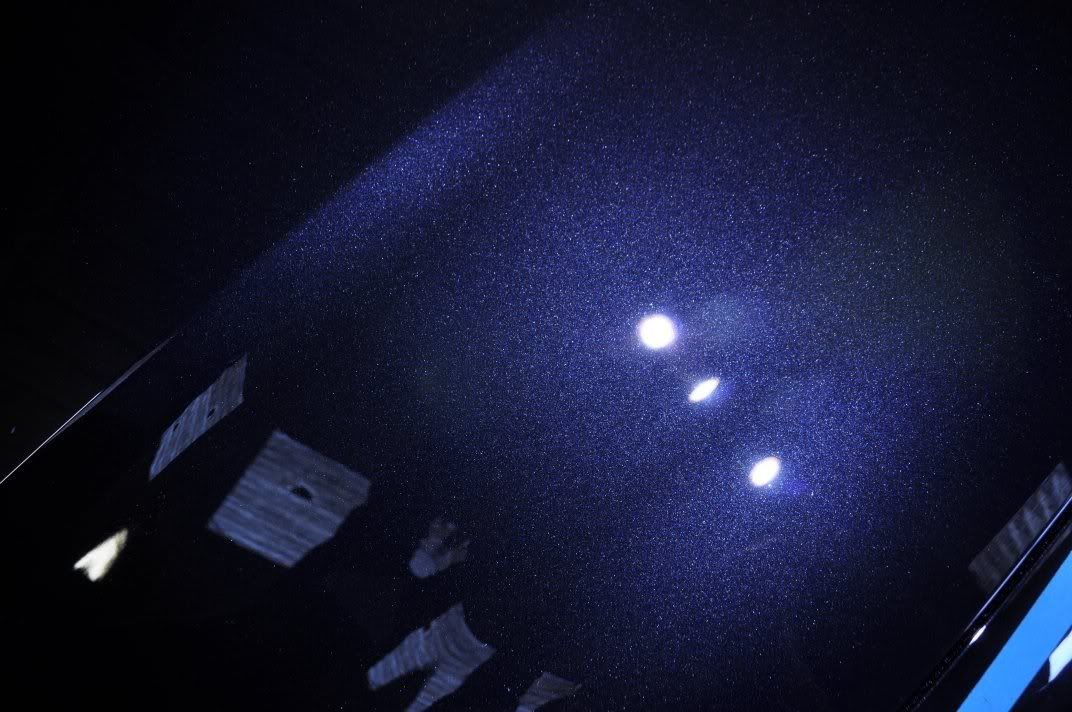
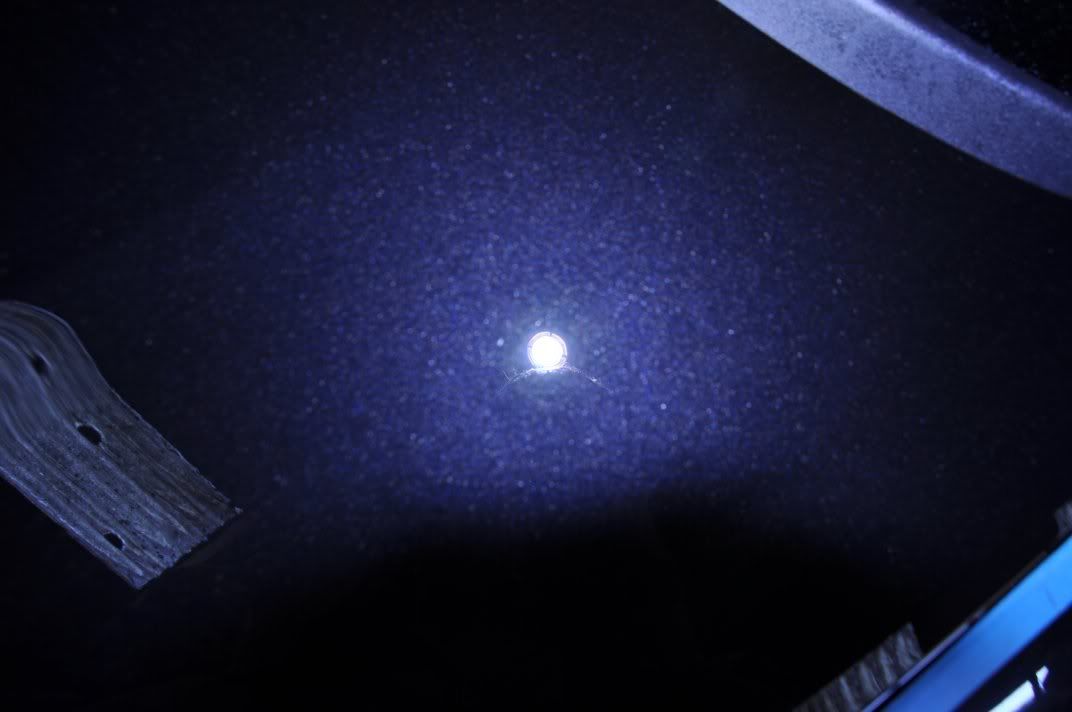
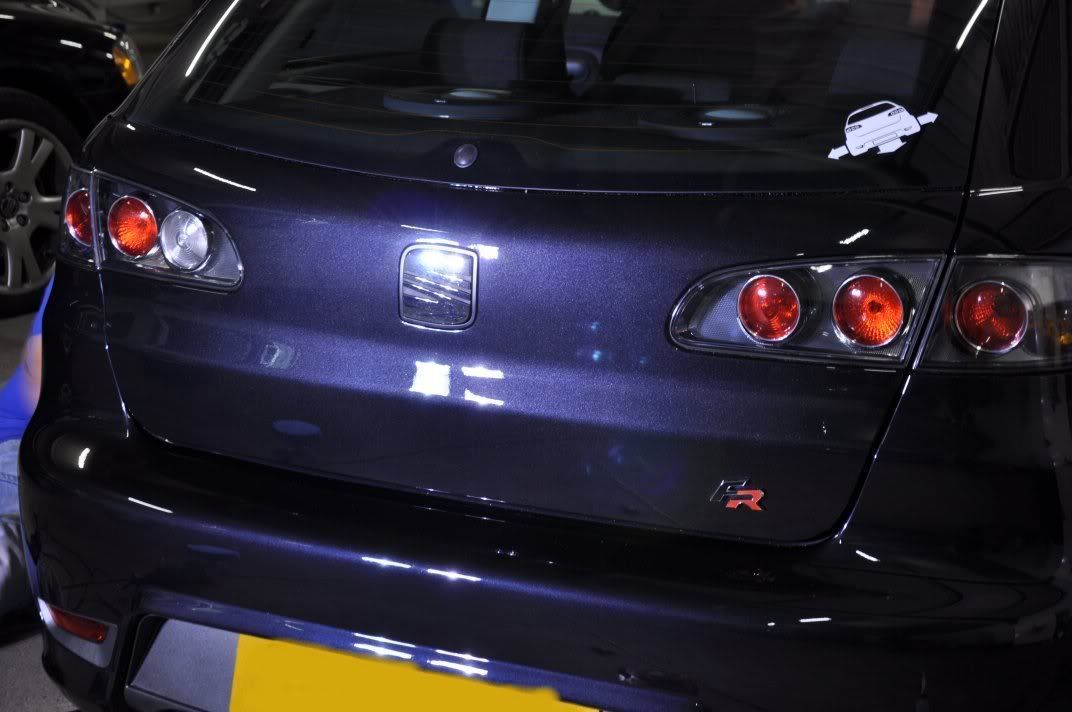
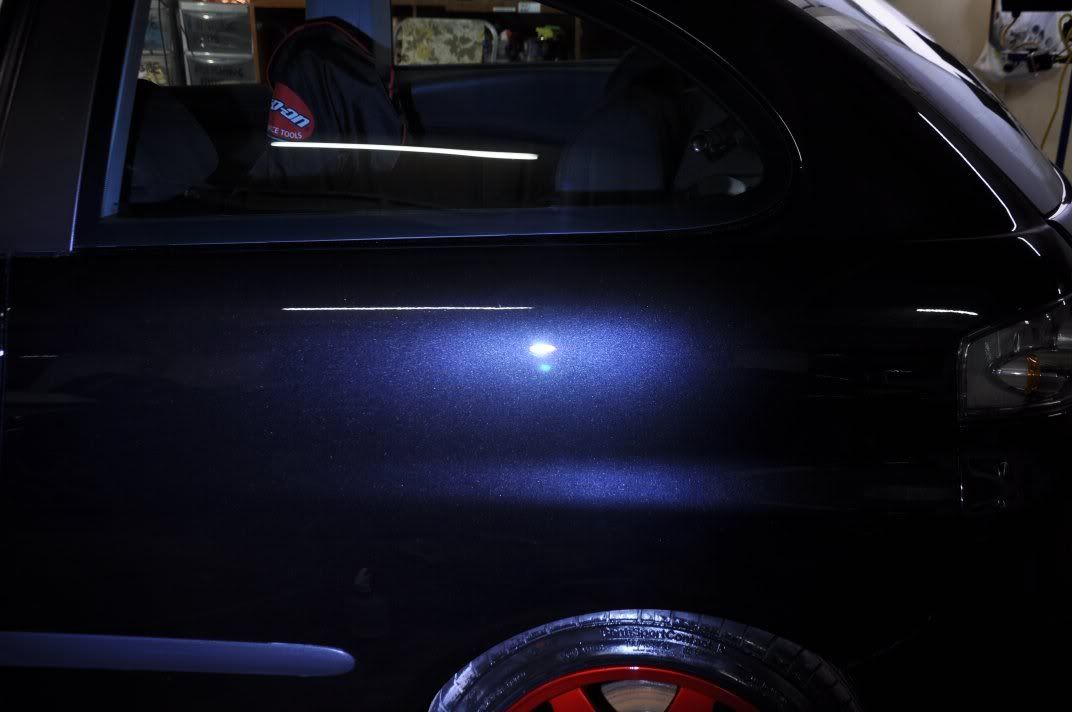
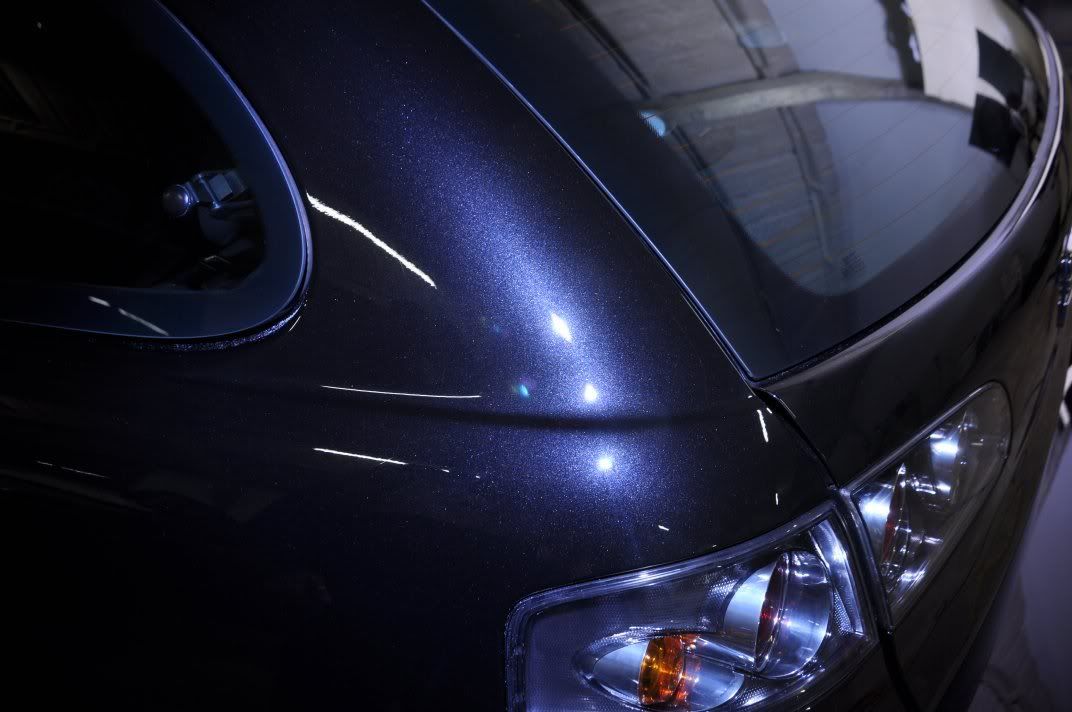
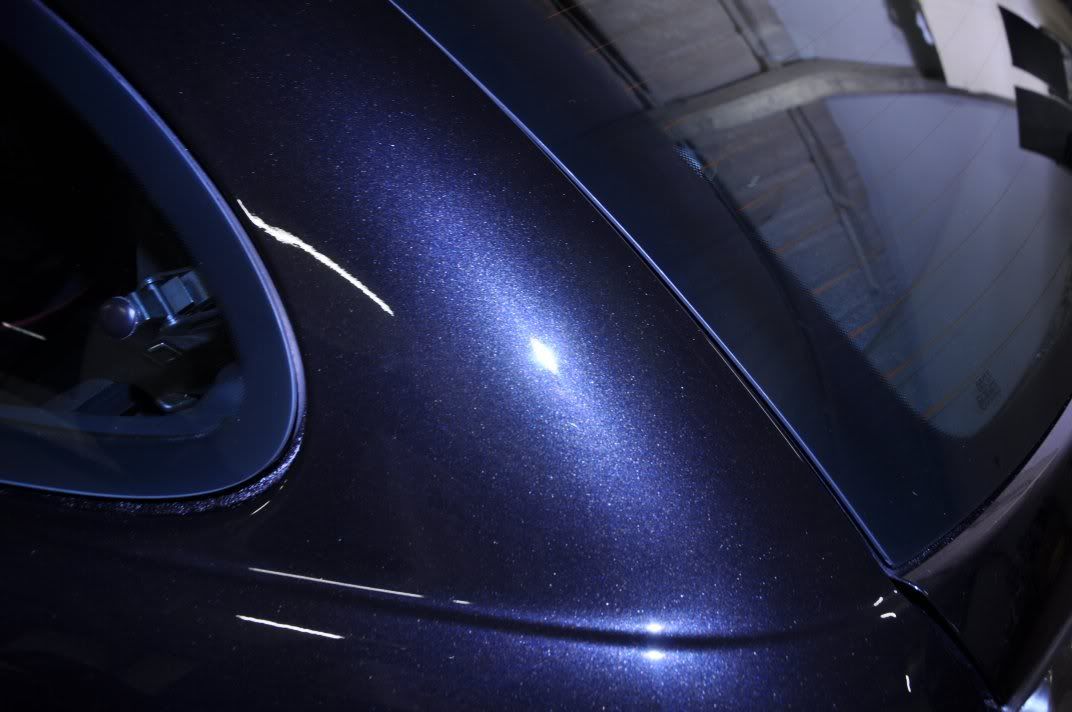
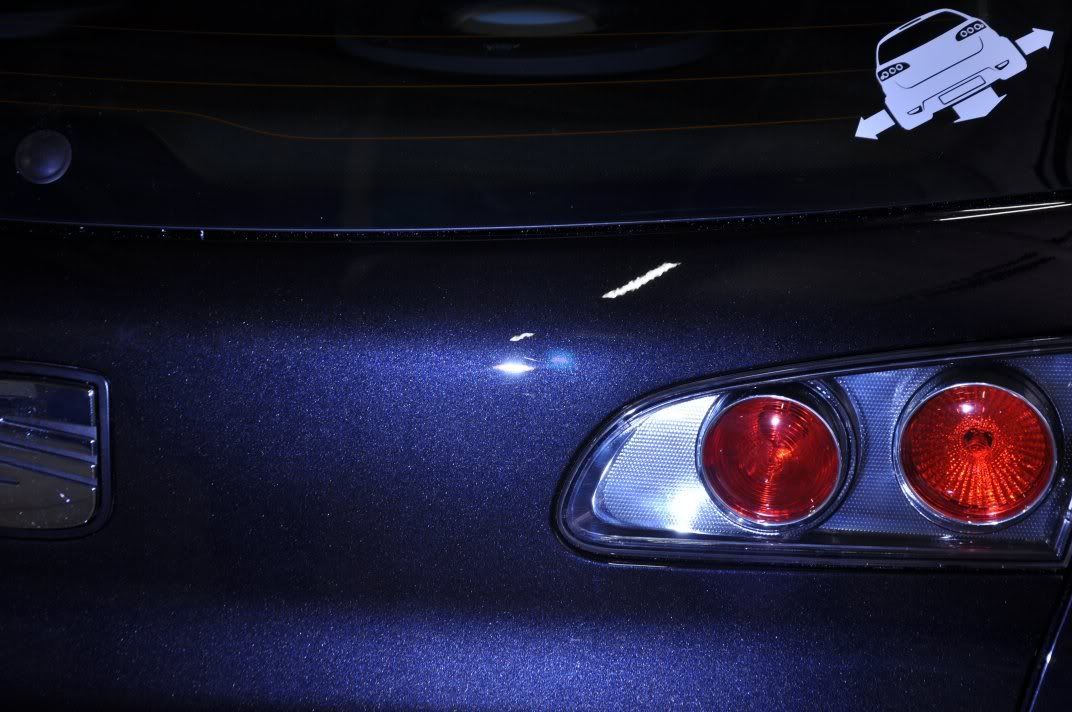
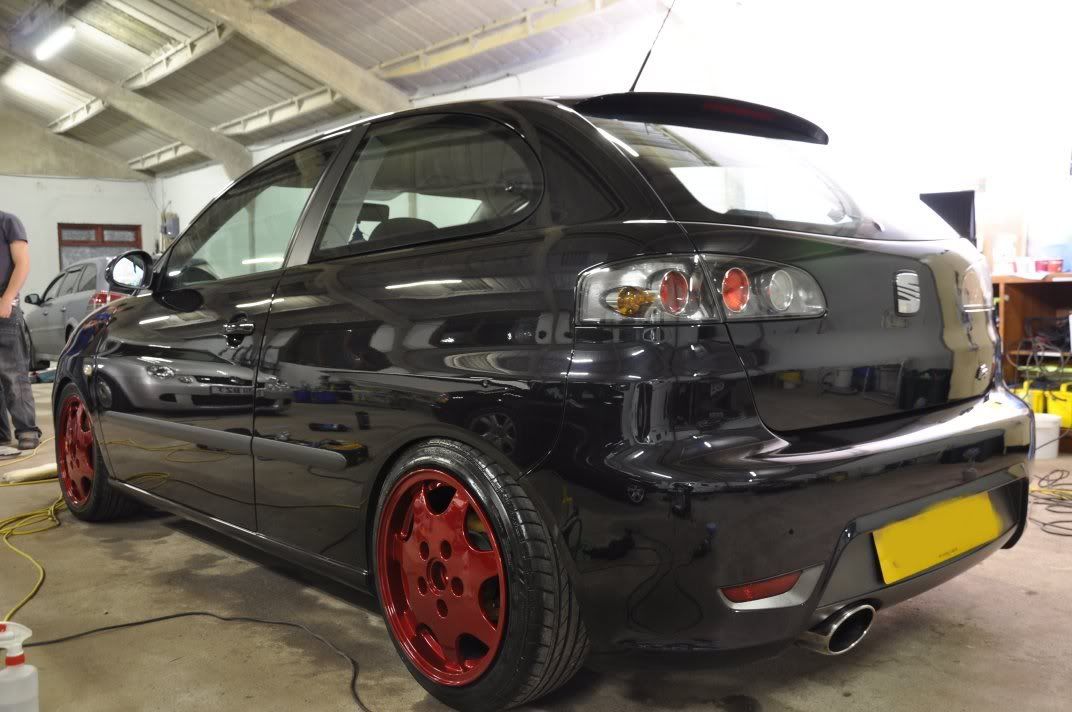
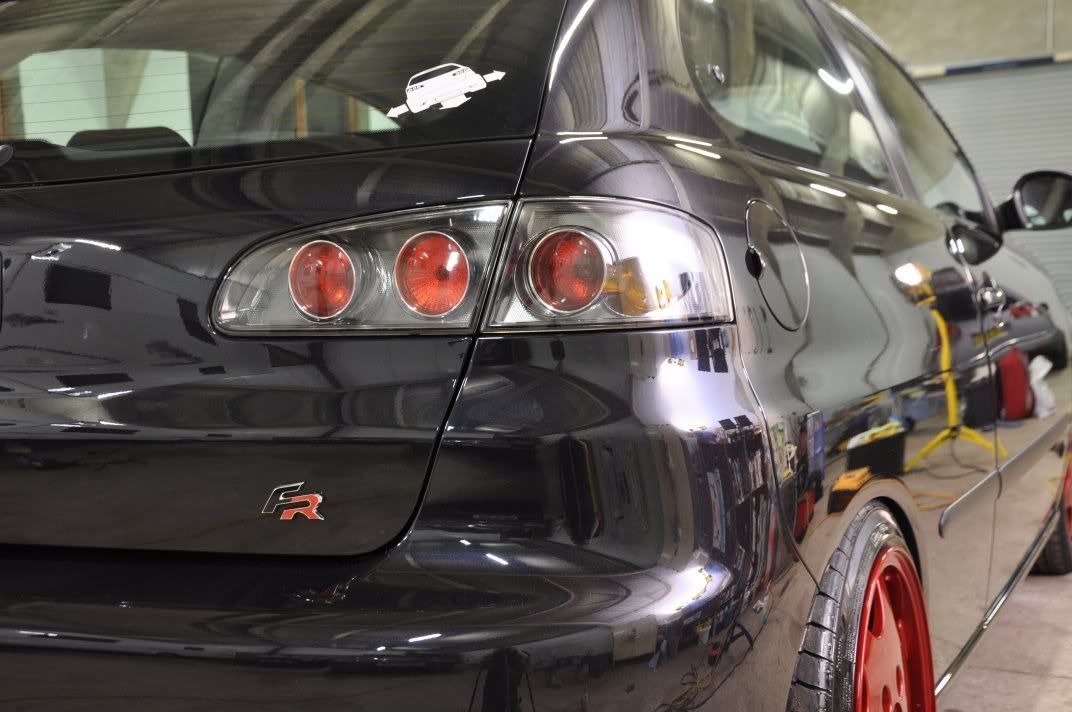
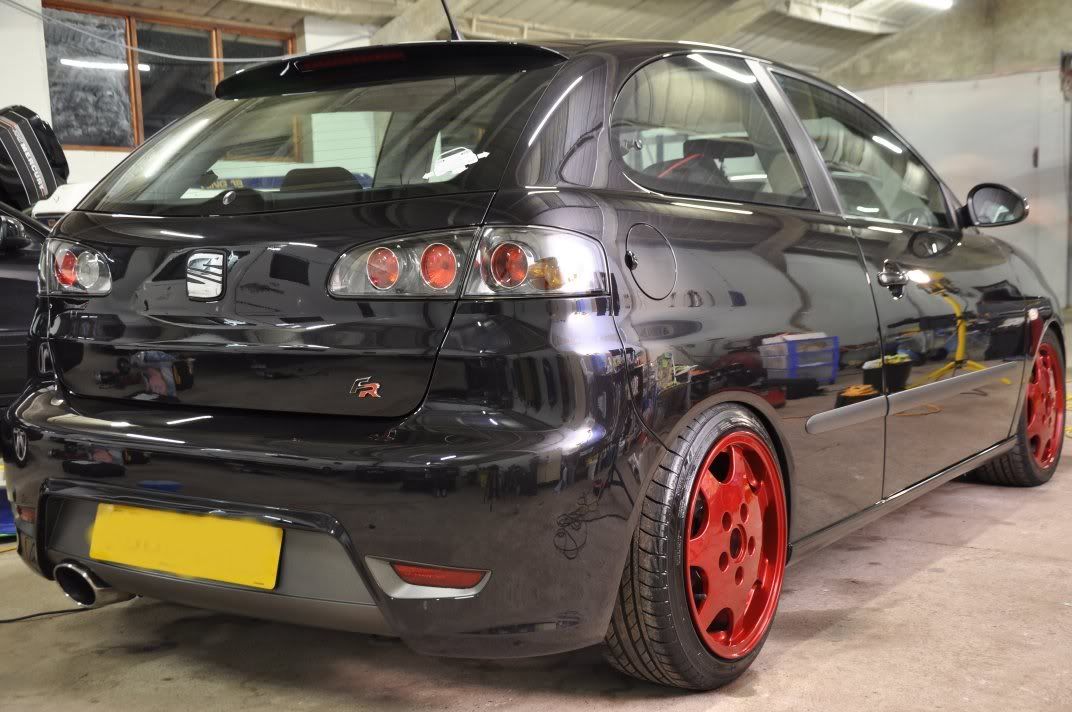
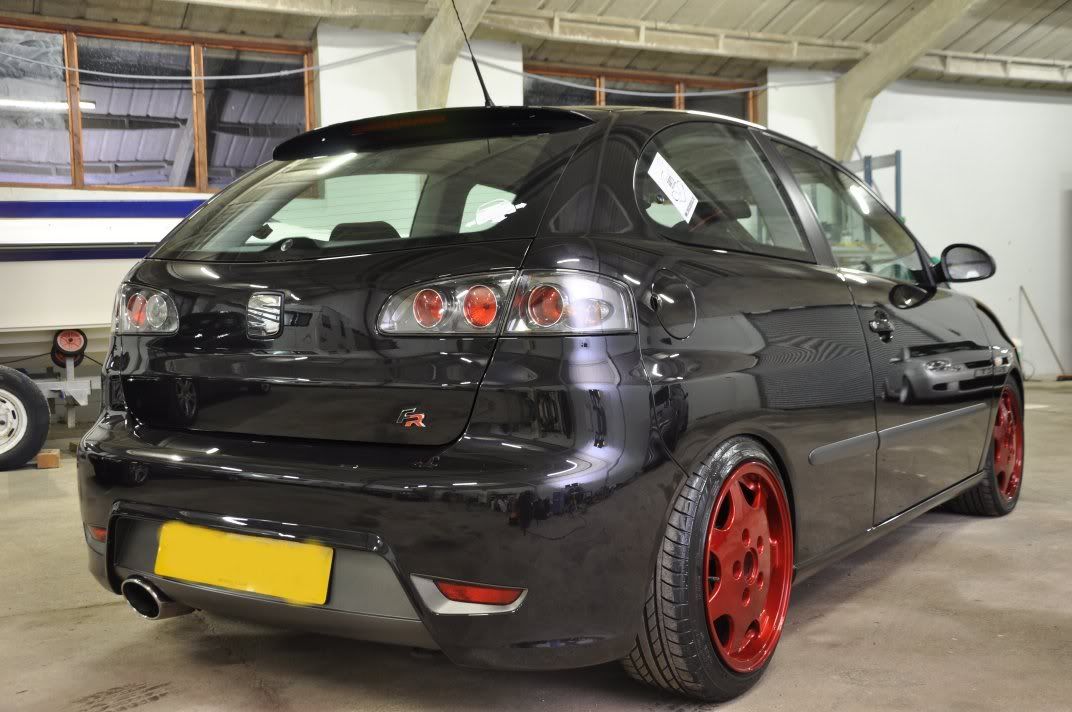
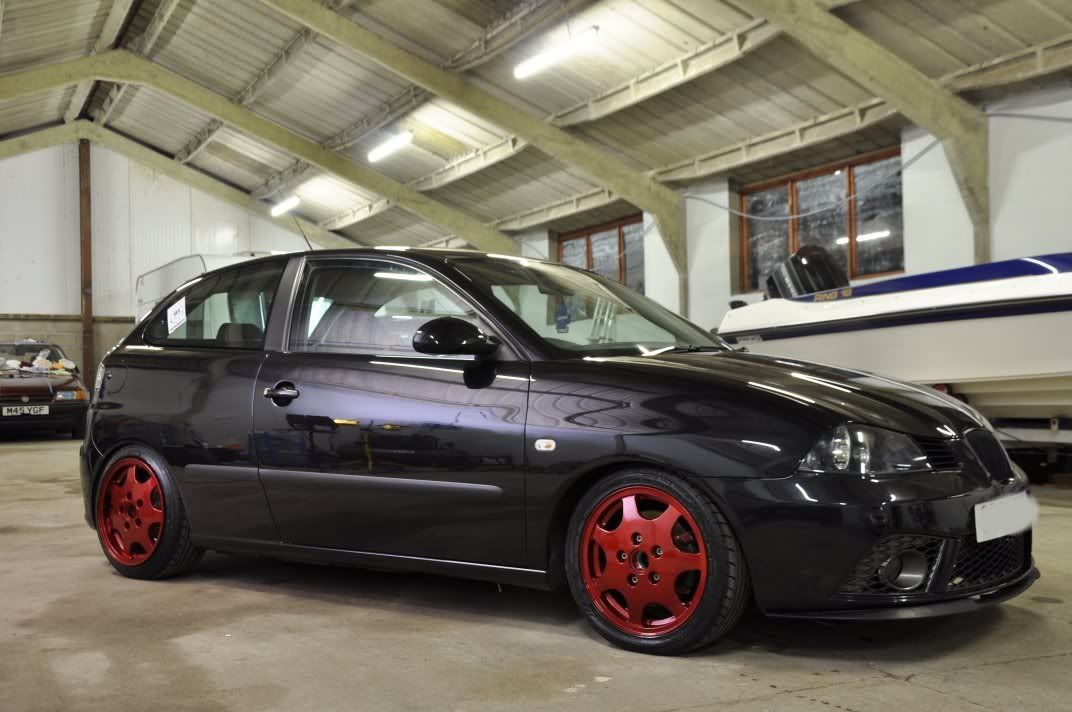
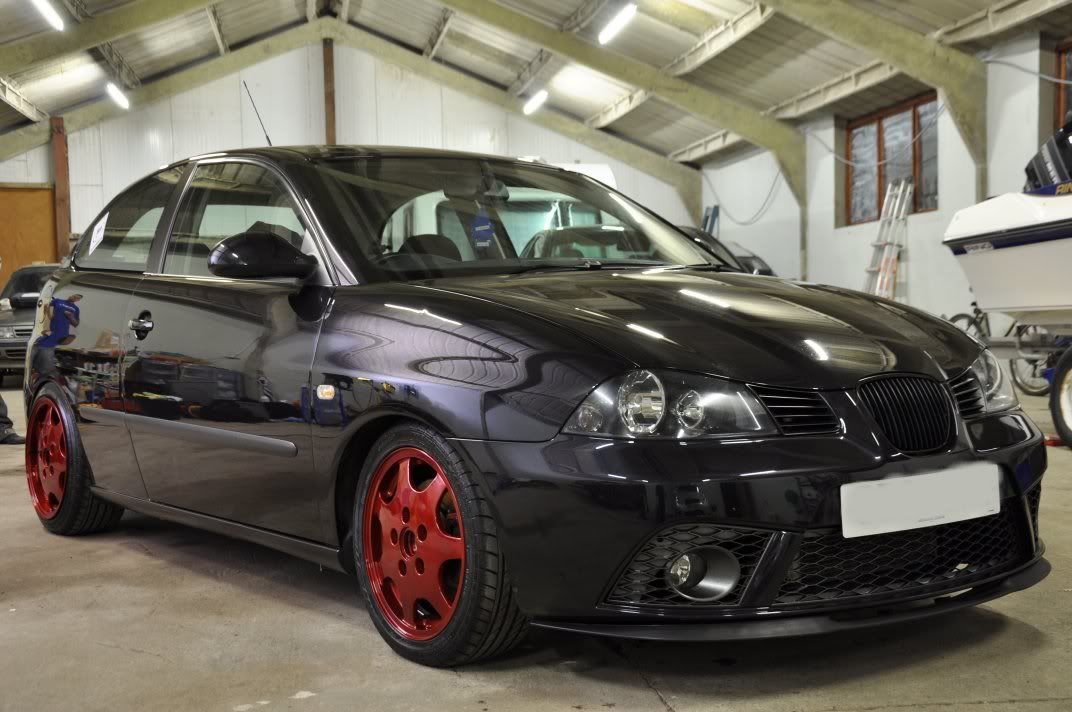
Afraid the end results are photographed inside the unit here, it was pitch dark outside when we finished so indoor only shots I'm afraid... hopefully though, the above shots with the lights show the quality of the finish achieved. Afters...

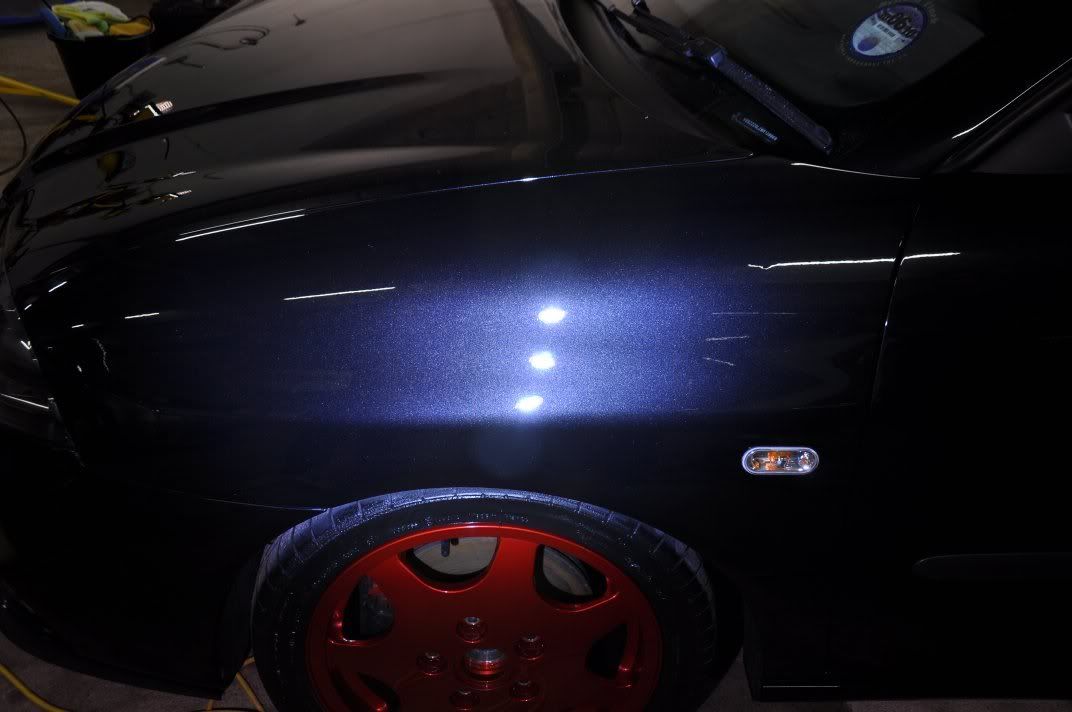
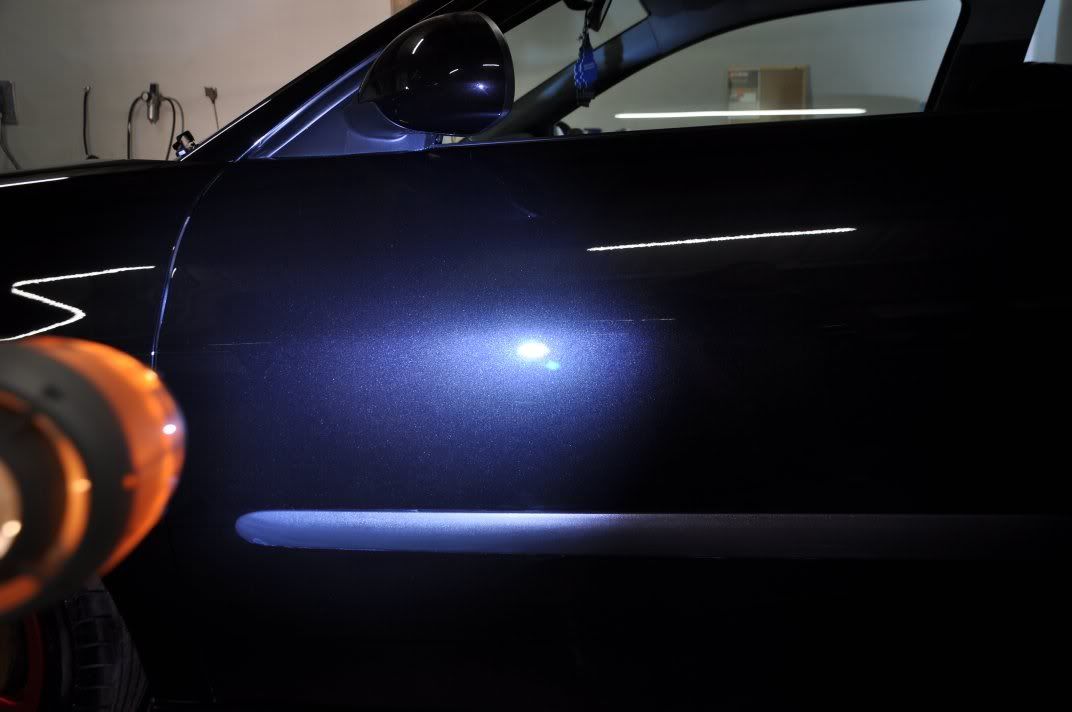
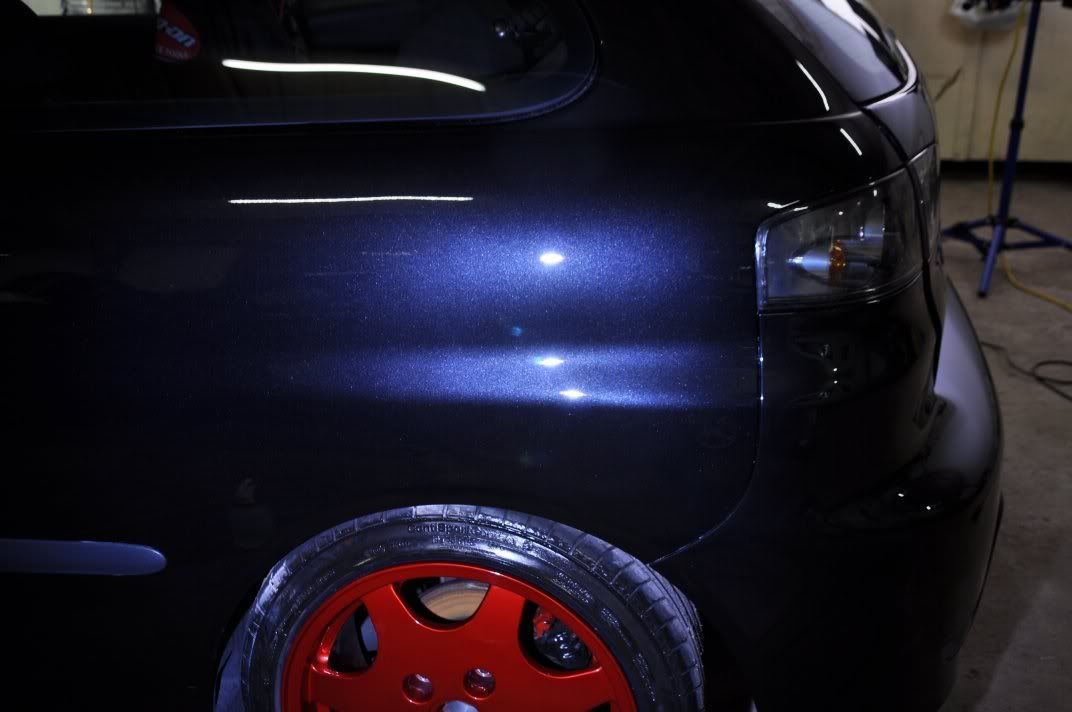
Now, just for fun, we decided to play around with lighting in the unit... These photographs have not been edited in any way in Photoshop etc, but we have played around with the lighting in the unit so as far as I am concerned these are not "bona fide" after shots, but rather photographically pleasing after shots (there's a difference). But just for fun, some more piccies...
Joined by a friend for some more pics

And back to normal for some more after pics...
We hope you enjoy the detailing (most importantly) and the pics as well
Big thanks go to the team: Gordon, Davy, and Kara.
And to Chris, the owner of the car, who was never shy of mucking in and giving everything a go and did a lot of the correction and finishing work you see here! Top man
However, quite a few folks do derive a lot of pleasure out of working on their own car and achieving the results themselves while learning about detailing as they go, and this is where the tuition detail comes in - a chance to be involved in a full detail on your own car, pick up new skills, hone current skills and get your car detailed at the same time
The subject of this tuition detail was a year old Seat Ibiza in black, the owner keen to get it ready for Edition 38. The detail actually started a few days prior, with the aim being to correct these deep key scratches on the side of the car....
These marks were deep, and down to the primer layer so no amount of machine polishing would see them removed... a general rule of thumb test is that if the marks catch the nail, they cannot be fully removed and these caught the nail! In order to sort these on a timescale that the car would be ready for Edition 38, and to avoid the need to go to the bodyshop for a respray, these scratches were repaired by "touch-up" painting and flatting back.
First of all, the painting process - the key here is thin layers, very thin! And lots of thin layers to build up the paint thickness. No point kin ladelling in the paint thickly as it will not properly cure, and will be flicked out during the polishing. Lots of thin layers ensures the paint hardens fully and the repair remains sound. Paint here was applied using a **** tail stick to direct small amounts of the paint into the scratches with minimum overspill to surrounding paint. The paint used was a paint which included the lacquer in the mix, made up to the car's paint code. The pics below show the results after a couple of layers of paint applied and you can still clearly see the scratch which is to be expected, paining requires a lot of time and patience.
Over the remaining days before the detail, the owner added a few more paint layers to complete the painting stage of the repair, ready for flatting and blending as part of the main detail...
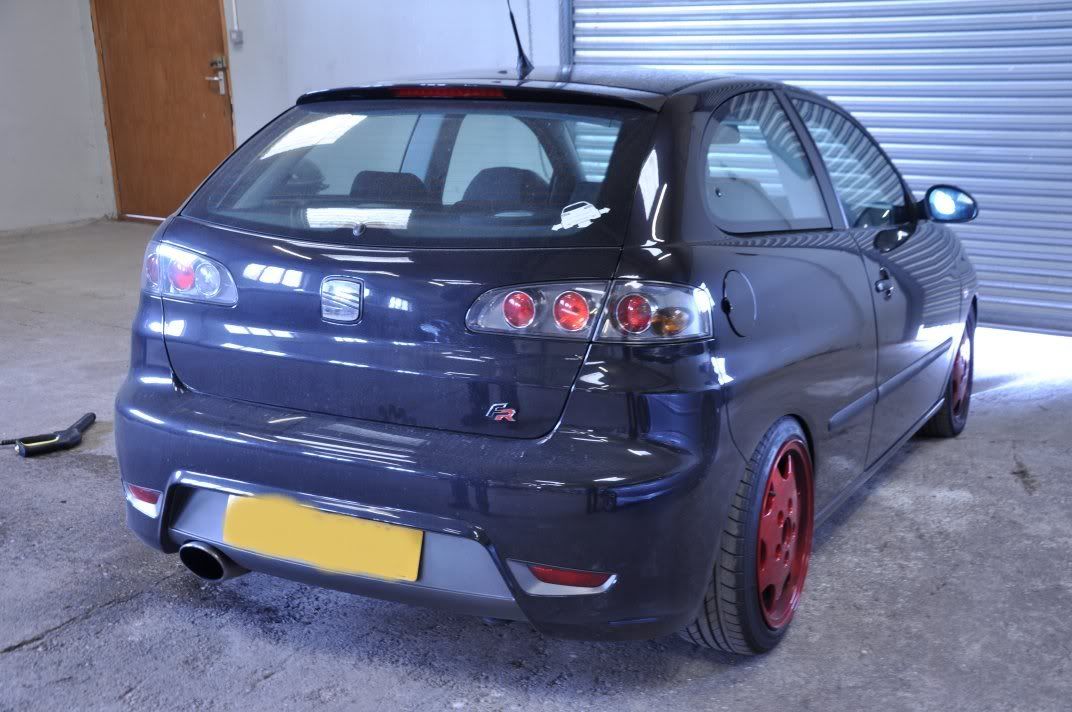
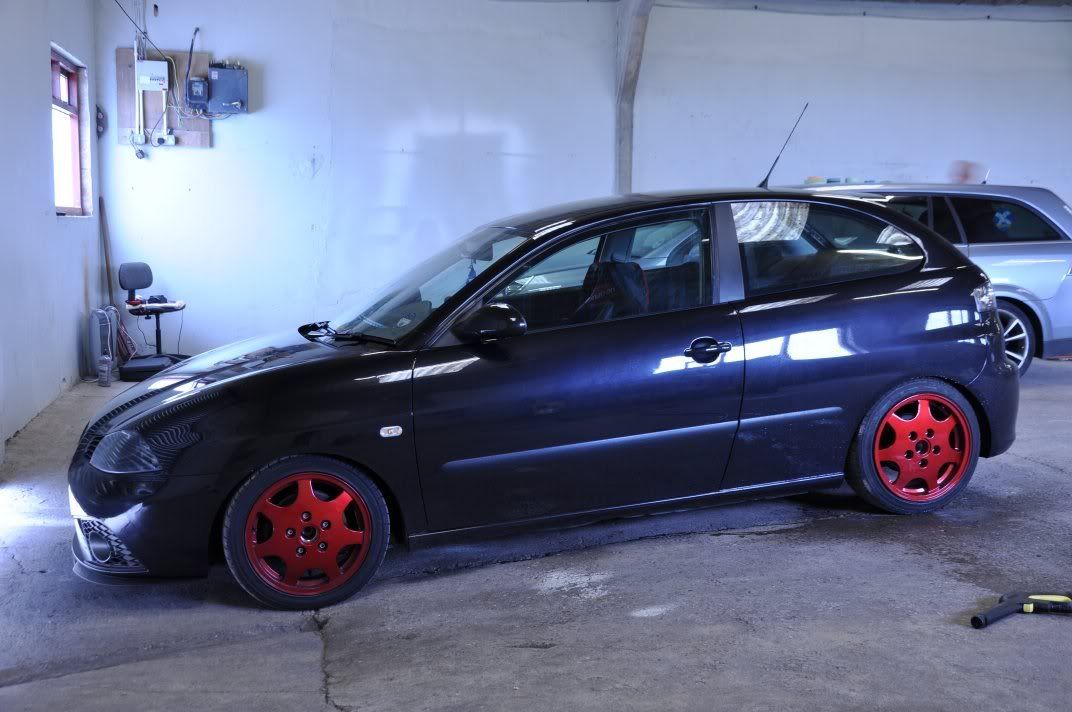
The car arrived for the main detail looking pretty good - just general road grime on the car really...
After washing the car and claying the car, it was already looking a lot better... but the finish was now showing itself not to be defect free! The natural lighting of the unit was enough to show a lack in depth of the paint...
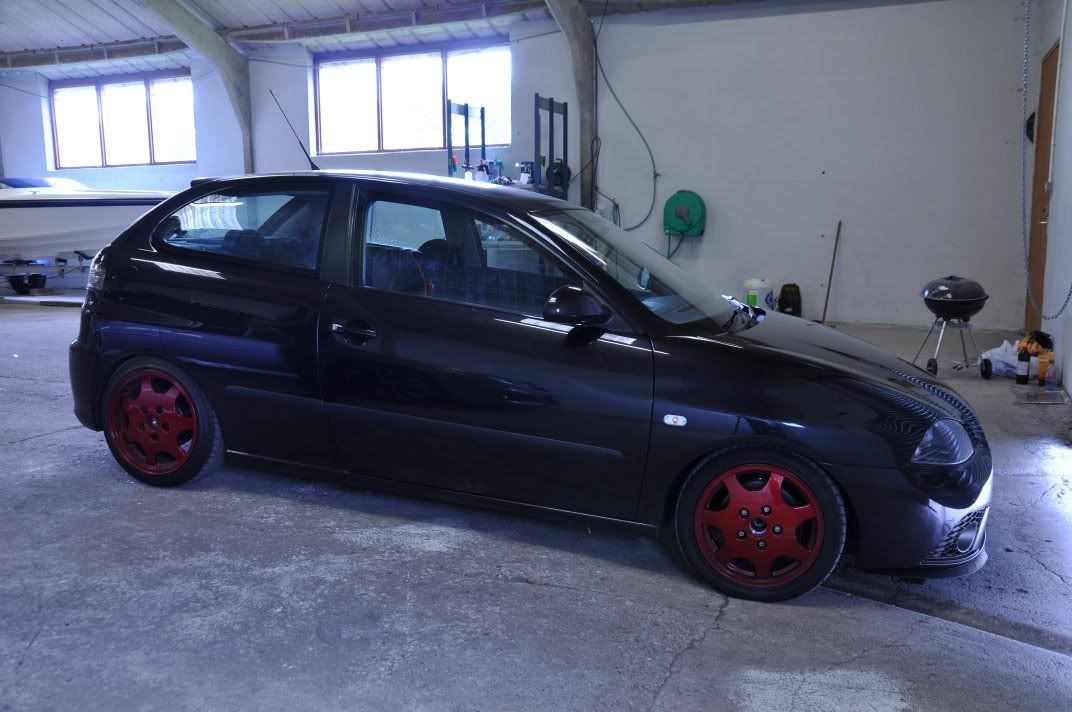
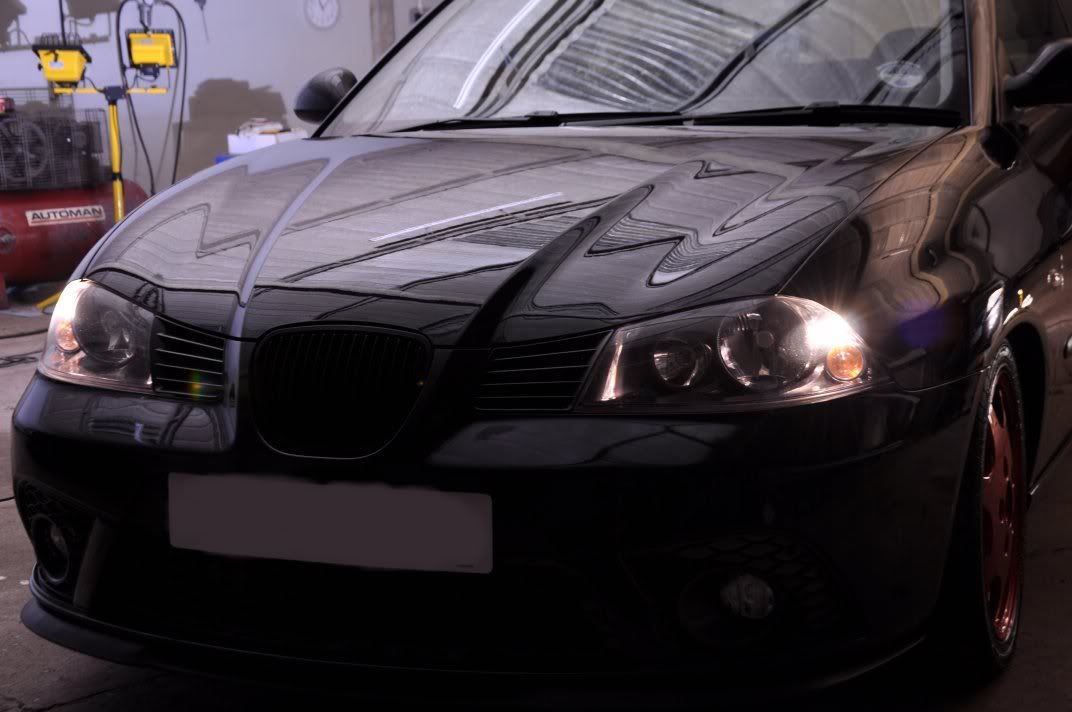
A little bit of clever lighting, however, and the car was looking miles better!!
The above are before shots... and this is something to be very aware of, clever use of lighting can mask a lot of imperfections and horrors in a paint finish. Correct assessment of the paintwork requires direct light shots such as the following...
with different focal planes to assess different qualities of the finish. A writeup on picturing defects and assessing the paint finish will follow soon
Back to the detail, our first task was to demonstrate paint assessment to the owner, and to show how we go about using a paint thickness gauage to measure paint thicknesses and how we use the data. A single number tells you very little, but using a lot of data together gives you a big picture. Every panel was measures and general numbers on each panel noted, and we look for any inconsistencies (suspiciously thin, or thick panels - of which there were none on this car!). We then proceed to "map" the paint thickness on the panel, here's a pic of Gordon and I preparing to map out the paint thicknesses on the bonnet...
Now this may seem a little gimmicky, but it serves a hugely useful purpose. The paint map for the bonnet before is shown below...
Pictorially this gives a good indication of the thicknesses on the panel and most importantly shows the consistency, highlighting any thick or thin spots of concern at a glance!
To assess the paintwork we started at the front, on the bonnet with the following defects...
Also a few deeper ones that the strip lights show up better...
As with all details, we assume nothing! Yes, its VAG, but that does not mean the paint is necessarily hard... so we start with a light finishing polish, Meguiars #205, applied with a Detailers Domain Blue finishing pad as follows, using a Double Zenith technique:
- Spread at 600rpm, light pressure, fast machine movement
- Begin working at 1200rpm, light machine pressure, moderate movement speed
- Work at 1800rpm, moderate to heavy pressure over machine hear, moderate to slow machine movement speeds
- Reduce pressure over head, continue polishing at 1800rpm, faster machine movements
- Reduce speed to 1200rpm, pressure to light, slow machine movements to refine
- Burnish at 900rpm, supporting weight of rotary, slow machine movements
The important thing to remember with the new Meguiars polishes is that they are not like the "traditional" polishes we use on DW, which use diminishing abrasives. The abrasives in the new Meguiars polishes do not break down so you need to vary the pressure and machine speeds (movements and rotation) to vary the amount of cut in a set, so you can go from correcting to finishing. Very flexible as it allows you to tinker with the methods to get the best for the paint you are working on - needs practice and learning, but once mastered, the new Meguiars polishes offer a lot more flexibility and opportunities than traditional diminishing abrasive products.
The end results of just the #205 on a finishing pad was very impressive...
All swirls and the RDS removed. But what remains is a pitting in the paintwork, which in this case we determined to be from dirt getting trapped under the bonnet bra the car was once wearing as there was where the pitting was at its worse, everywhere else was fine.
Given the variety of paint defects across the car, various products were used for correction depending on requirements, and then Meguiars #205, applied as above, was used across the whole car to give the best possible clarity and machine finish to the paint.
Before shots from around the car...
Oh yes, and the scratches all painted... we'll come back to these
Both 3M Fast Cut Plus and Menzerna PO85Rd3.02 Intensive Polish were used for correction, again depending on level of correction required. They were applied as follows....
3M Fast Cut Plus - 3M Orange Waffle Pad
- Spread at 600rpm
- Begin working at 1200rpm
- Work at 2000rpm with medium to firm head pressure, slow machine movements alternated with faster machine movements to reduce panel temps
Menzerna PO85RD3.02 Intensive Polish - Meguiars W8006 Yellow Polising Pad
- Spread at 600rom
- Begin working at 1200rpm
- Work at 1800rpm, medium head pressure and moderate machine movement
until residue clear
Each of the above processes was refined using Meguiars #205 and a Double Zentih method discussed above.
General afters from around the car, shown after the finishing polish but before the protection stage...
(bonnet pin pricks sorted out
)Now, remember the scratches from before... well, they were so bad, Gordon adapted a modified correction technique!!
Back to taking things seriously again
The marks were then flatted by hand, using 2000 grit then 4000 grit abralon pads as shown...The key here is to ensure you only use light pressure and even pressure to ensure no deep pigtails inflicted. Gentle process, regularly check thickness and keep feeling until the paint feels flat so the repair is blended as shown....
After sanding...
Time to make the owner a strong cup of tea!
Fast Cut Plus was used to remove the sanding haze, followed by #205 to refine. A nice reflection shot shows the dramatic reduction of the scratches....
But it doesn't show the amount of correction achieved, nor the quality of the finish and the effectiveness of teh repair. So, direct light shot with the Sun Gun to really highlight the effectiveness of this paint repair...
We were pretty pleased with that
The owner was over the moon A few after polishing and refining pics...
The paintwork was finished off by protecting using Autoglym HD wax - chosen for its good durability and the fact the owner has it himself so he can top up with the same wax used
Tyres dressed with Chemical Guys New Look, glass with Duragloss 751.
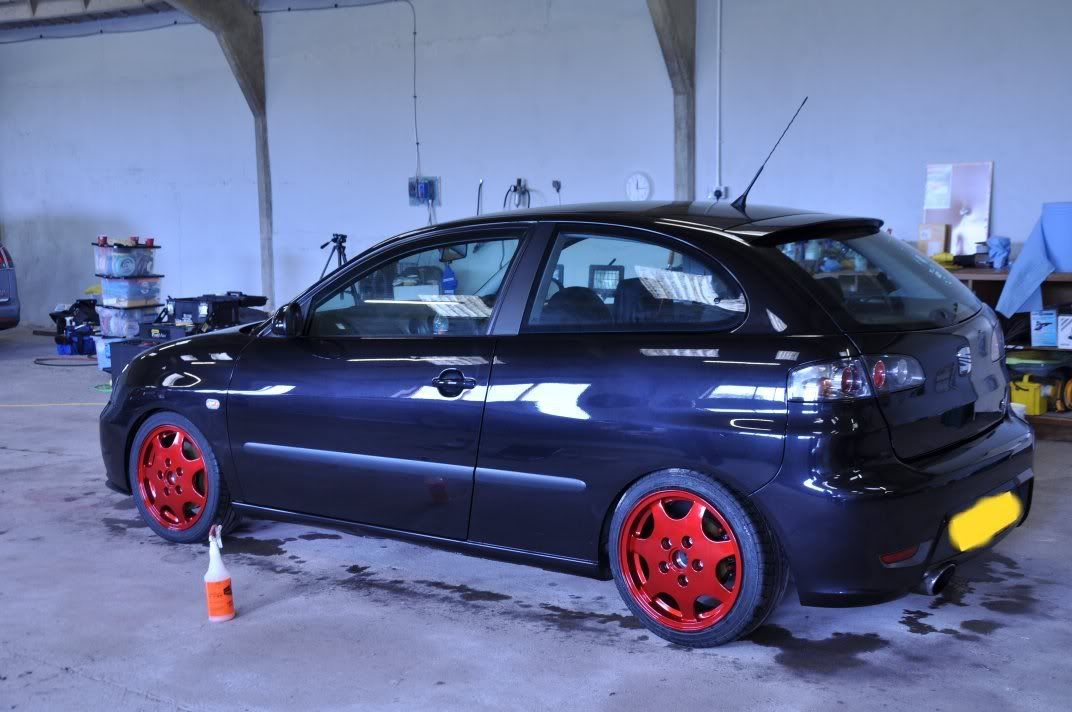
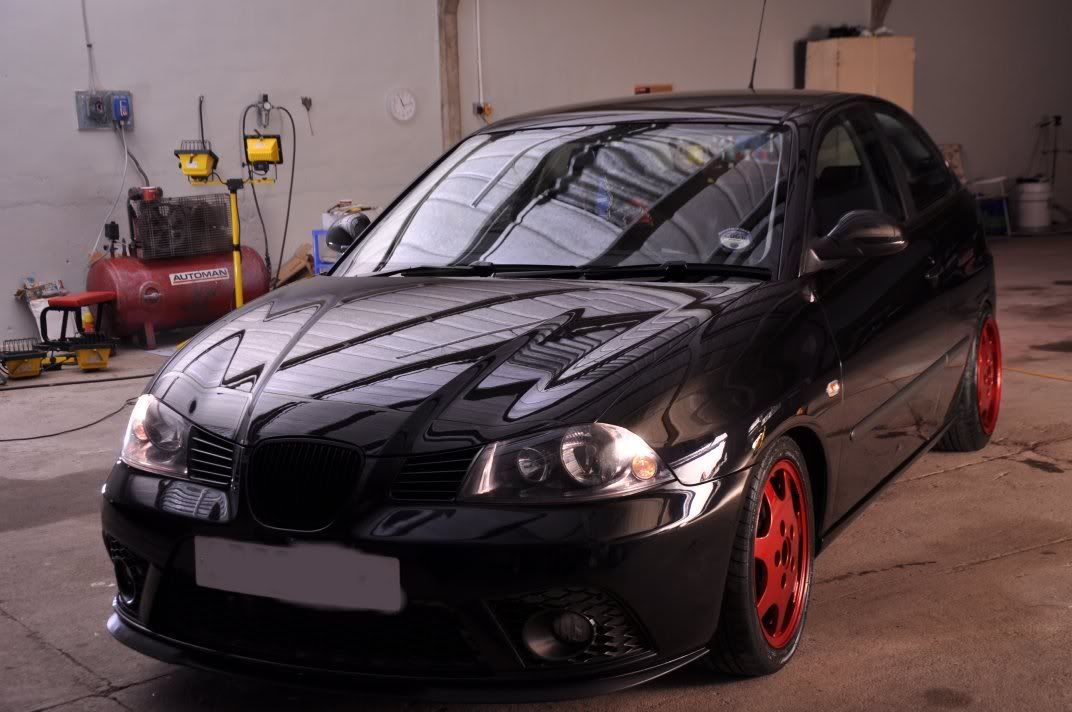
Afraid the end results are photographed inside the unit here, it was pitch dark outside when we finished so indoor only shots I'm afraid... hopefully though, the above shots with the lights show the quality of the finish achieved. Afters...
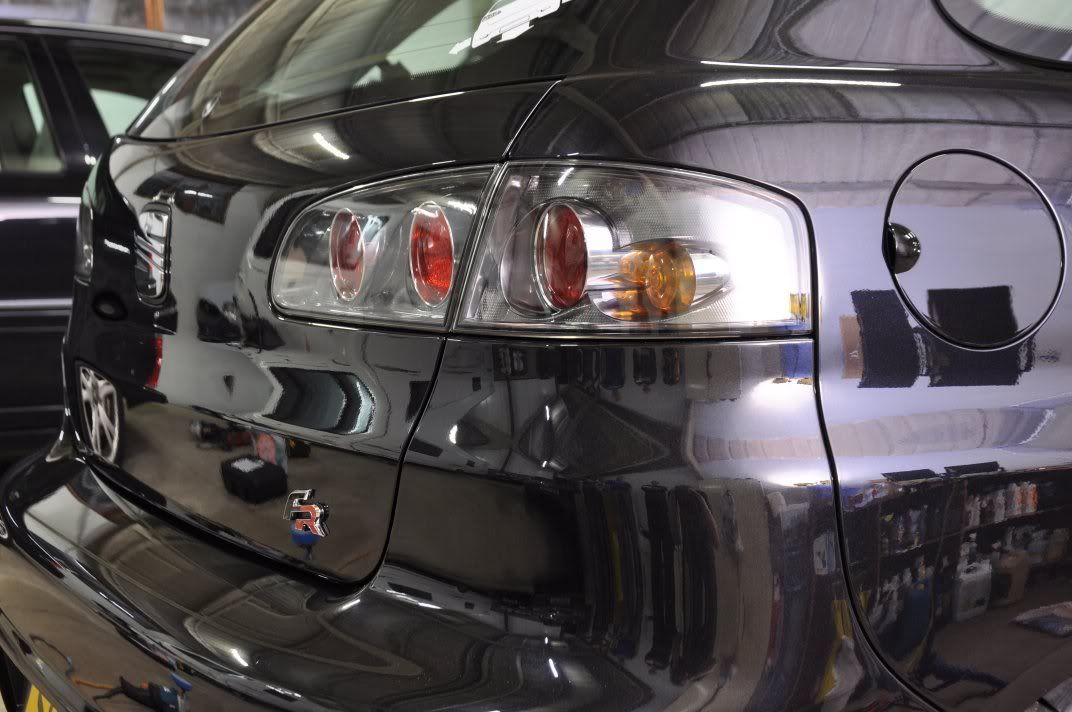
Now, just for fun, we decided to play around with lighting in the unit... These photographs have not been edited in any way in Photoshop etc, but we have played around with the lighting in the unit so as far as I am concerned these are not "bona fide" after shots, but rather photographically pleasing after shots (there's a difference
). But just for fun, some more piccies...Joined by a friend for some more pics
And back to normal for some more after pics...
We hope you enjoy the detailing (most importantly) and the pics as well
Big thanks go to the team: Gordon, Davy, and Kara.
And to Chris, the owner of the car, who was never shy of mucking in and giving everything a go and did a lot of the correction and finishing work you see here! Top man
'About Car' 카테고리의 다른 글
| Audi R8-1st major detail 2010-Gleammachine (6) | 2010.01.13 |
|---|---|
| Valet Pro Products Test (5) | 2010.01.08 |
| Curvacious Beauty - 110 Photos of loveliness (7) | 2009.12.30 |
| Ultimate Shine: Awesome Ferrari 430 Scuderia "Rosso Red" (5) | 2009.12.29 |
| FLEX L 3403 VRG (7) | 2009.12.23 |