Its been a while since I sat down and wrote up some of my detailing work, which I apollogise for - been snowed in with a shed load of PhD work and most of my weekends I've been detailing until silly-o'clock in the morning! Great fun, but leaves no time for writeups.
This detail was carried out by myself and Gordon, and organised by Mark at Raceglaze.
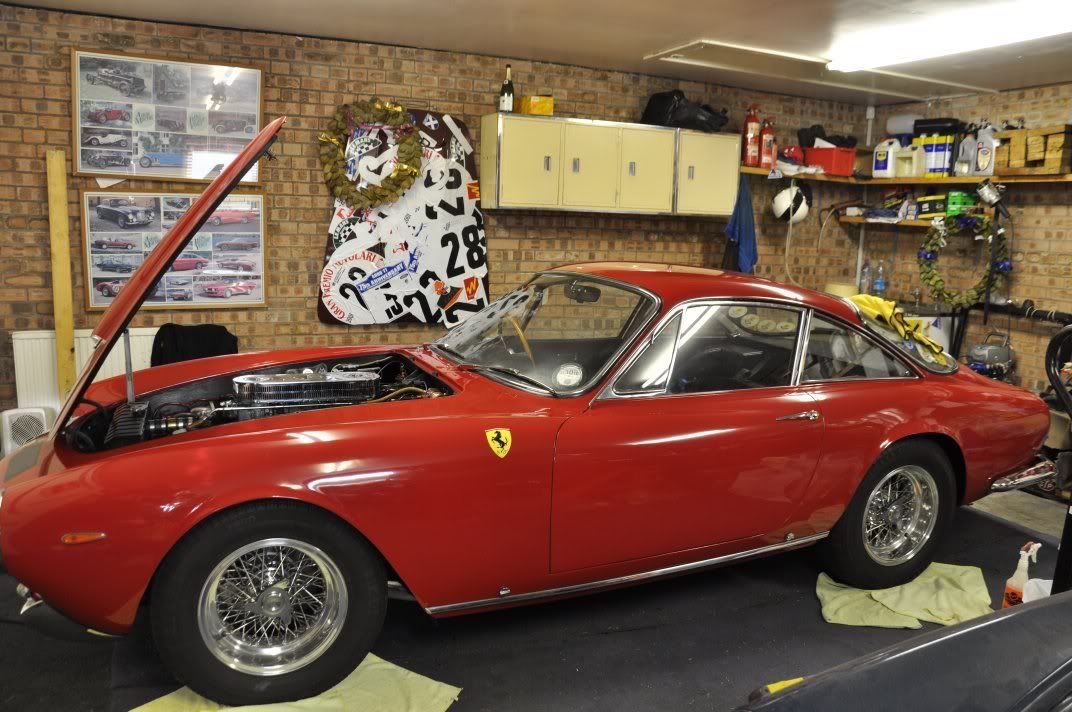
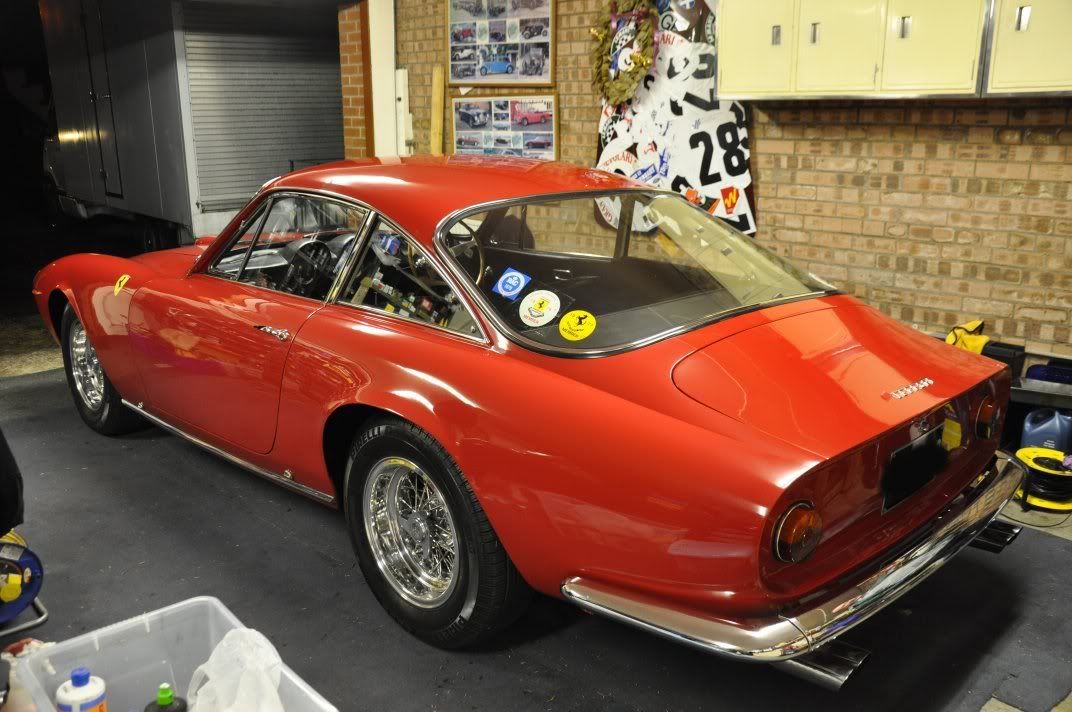
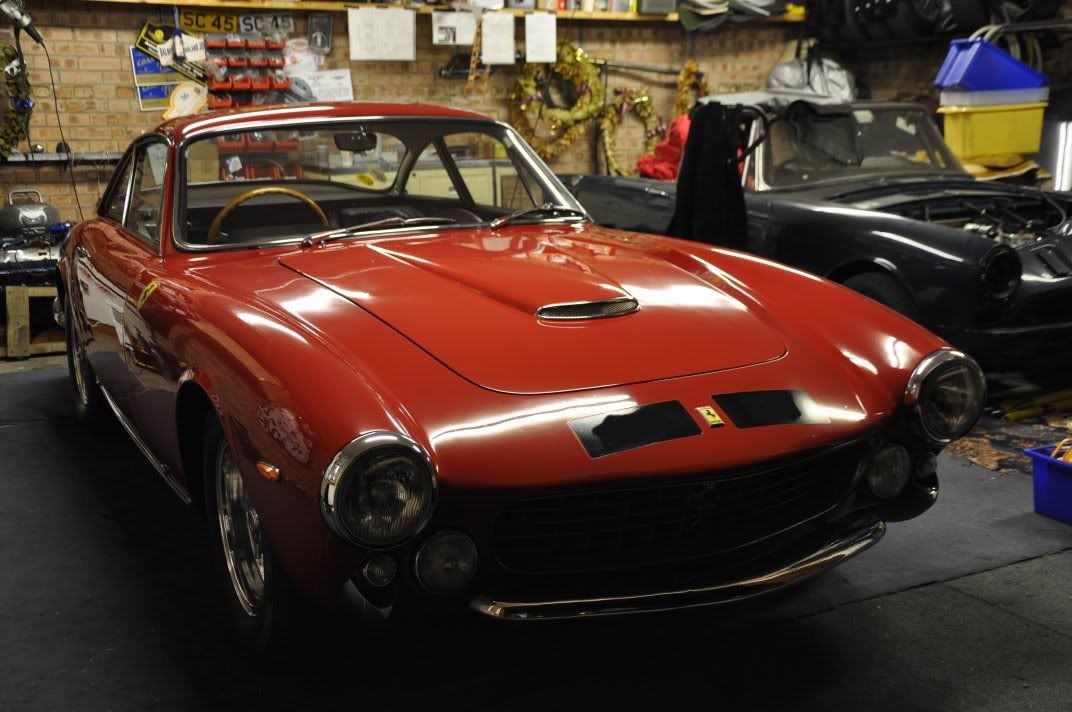
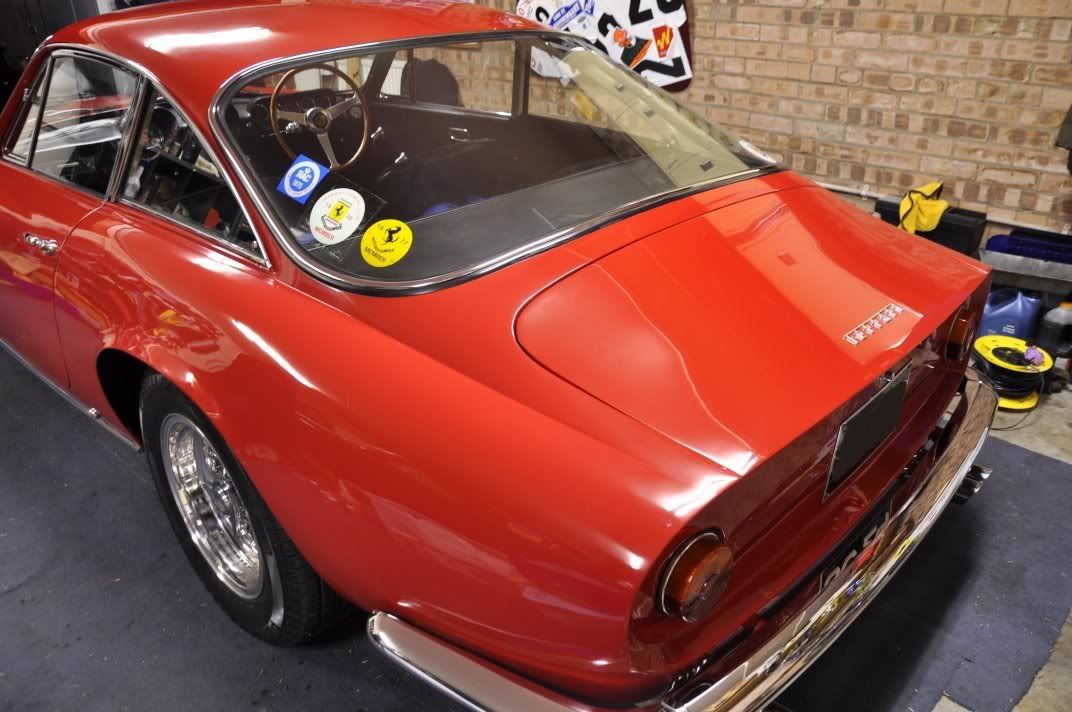
This writeup will be a little different from normal for sure... especially if you are used to my writeups which generally focus around paint correction - however, there is more to detailing than that, and this car was not booked for a paint correction detail. Indeed seeing a lot of wetsanding and extreme paint correction, this detail is at the other end of the scale - enhancing the look of the finish with the minimum of paint removal possible and the reasons for this will become obvious The brief for this detail was to take the car, which was over 40 years old for an loviongly cared for by its owners, and to enhance the look for it being part of a show. You may think that a paint correction detail would achieve this, but as you will see, this was simply not possible on the car in question. The car, well, here she is...
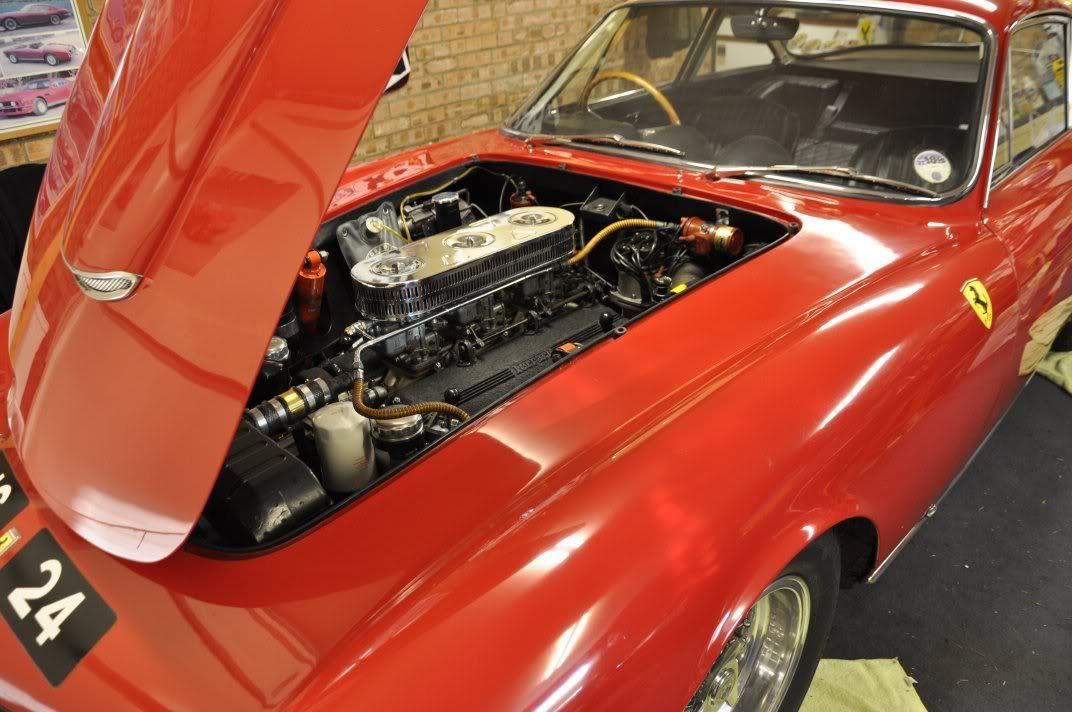
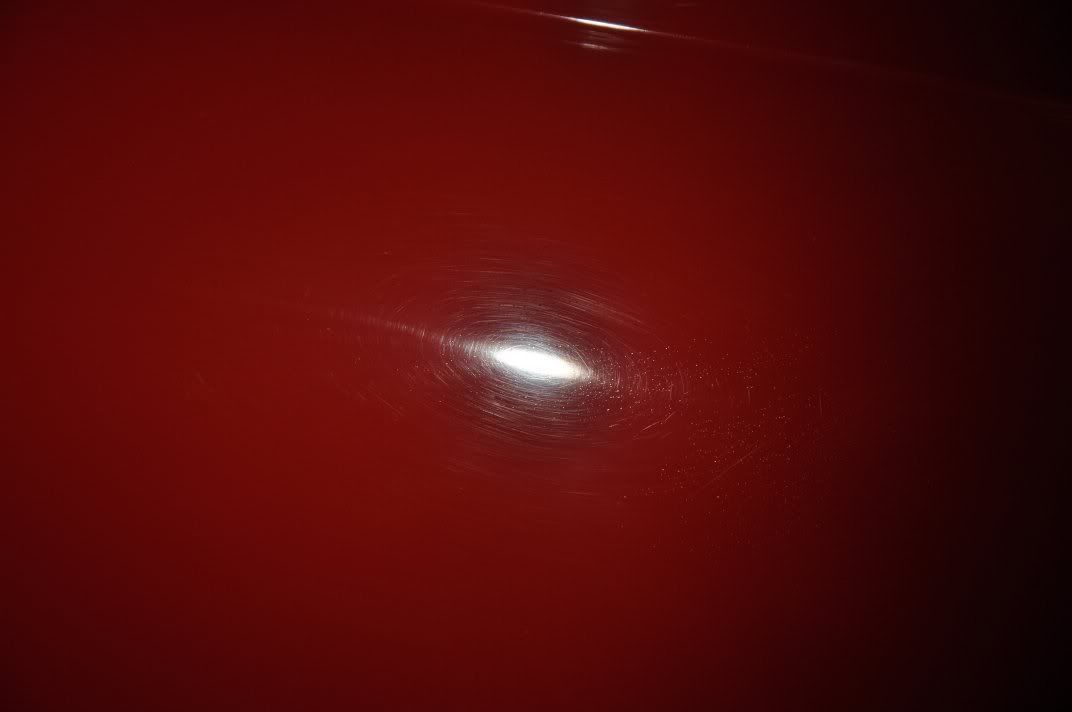
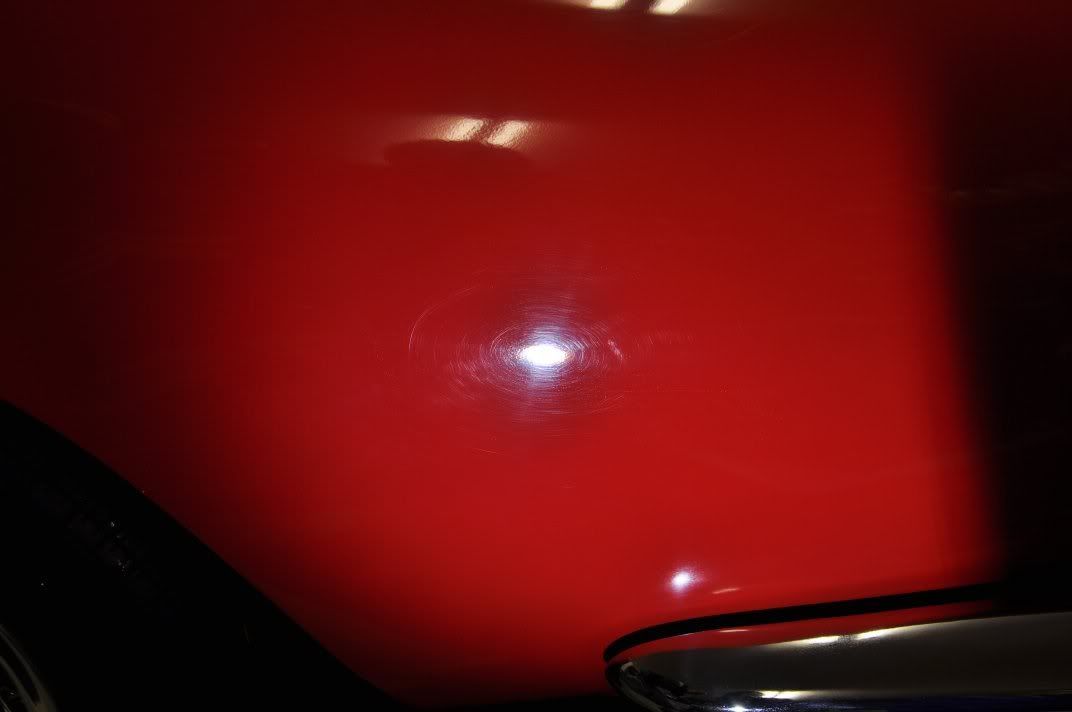
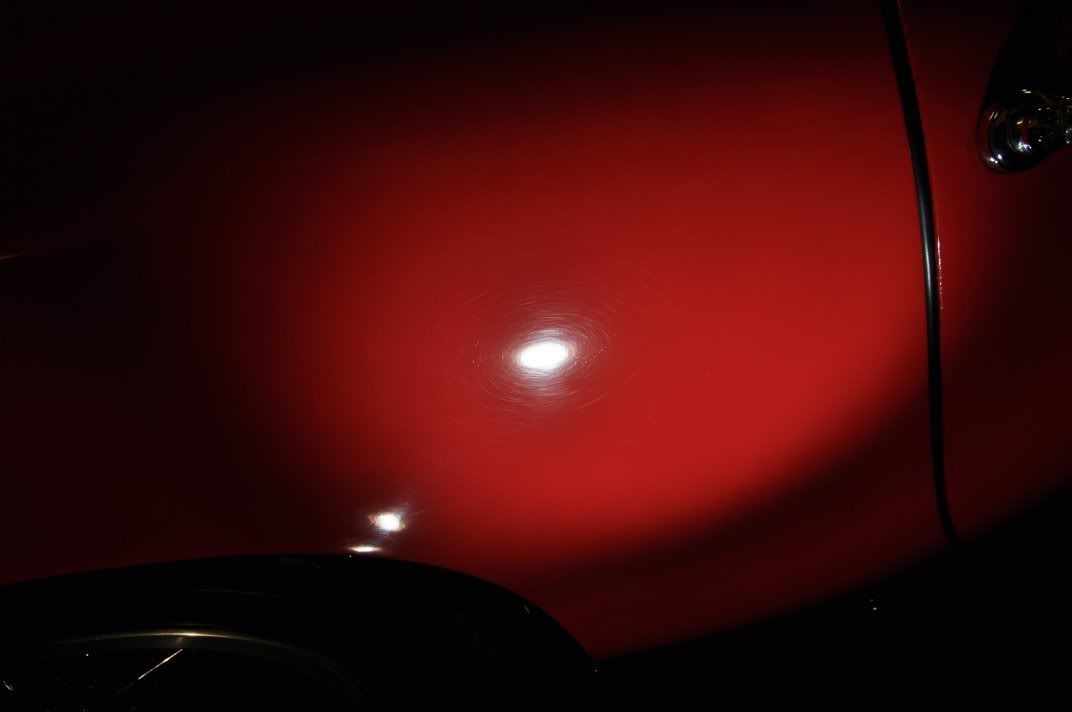
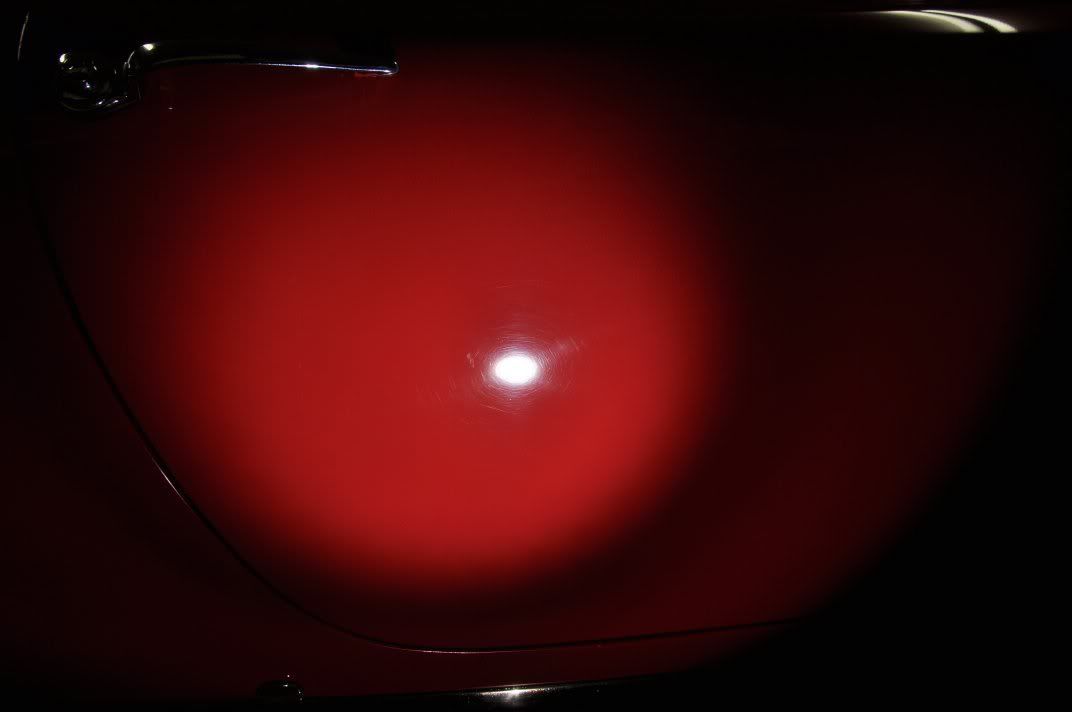
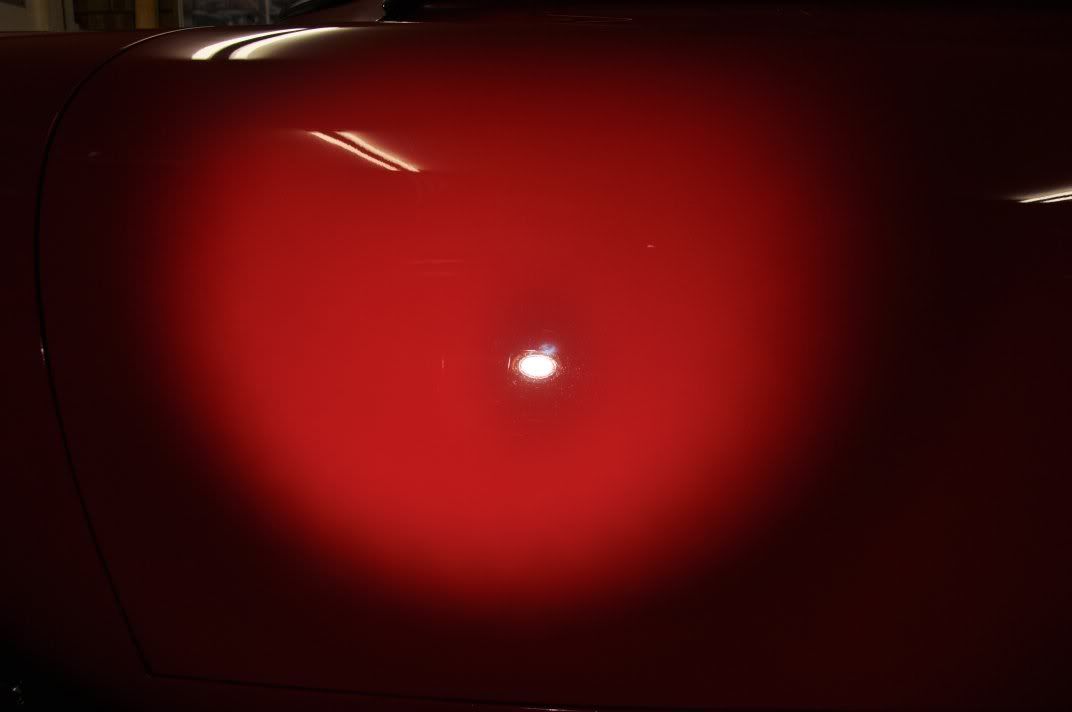
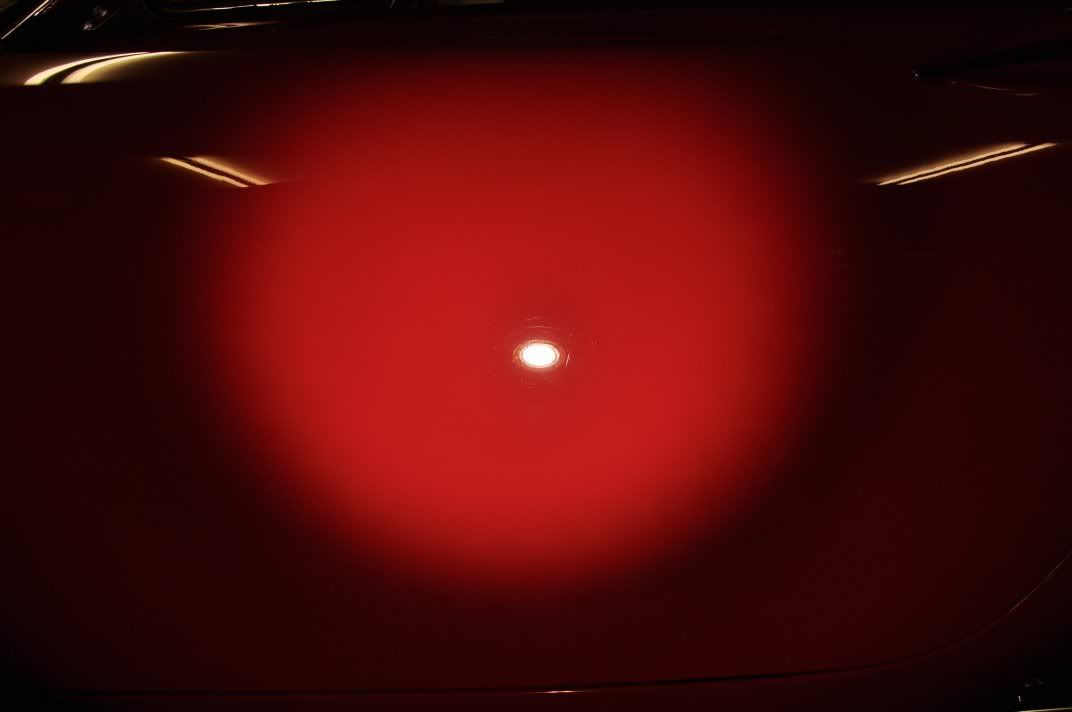
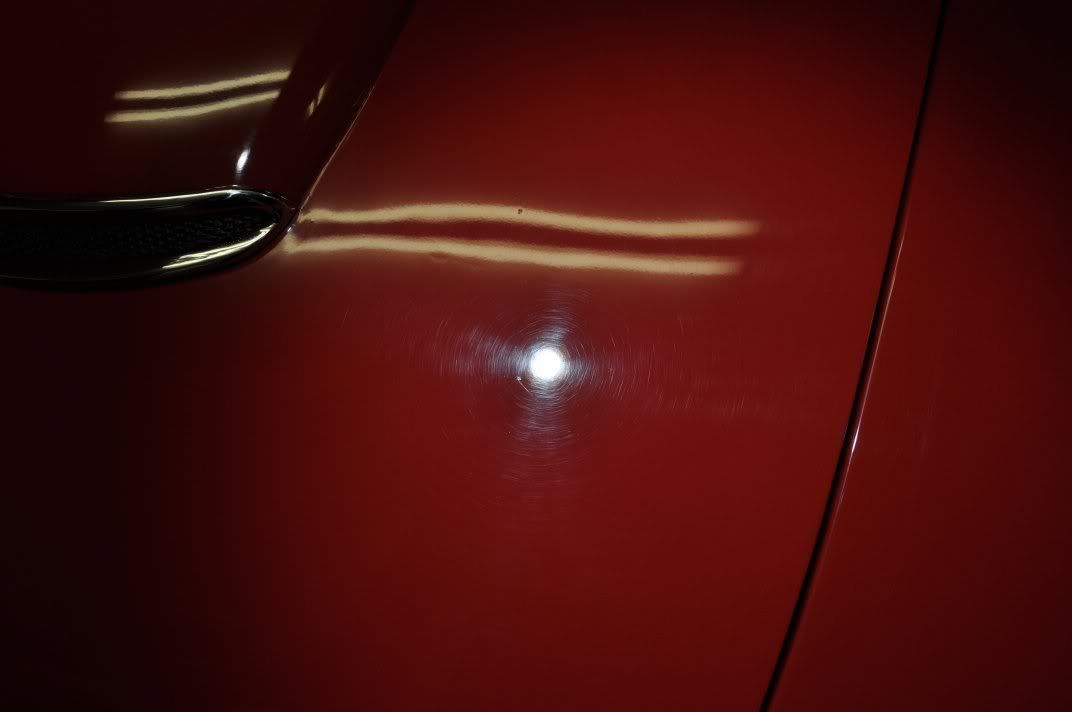
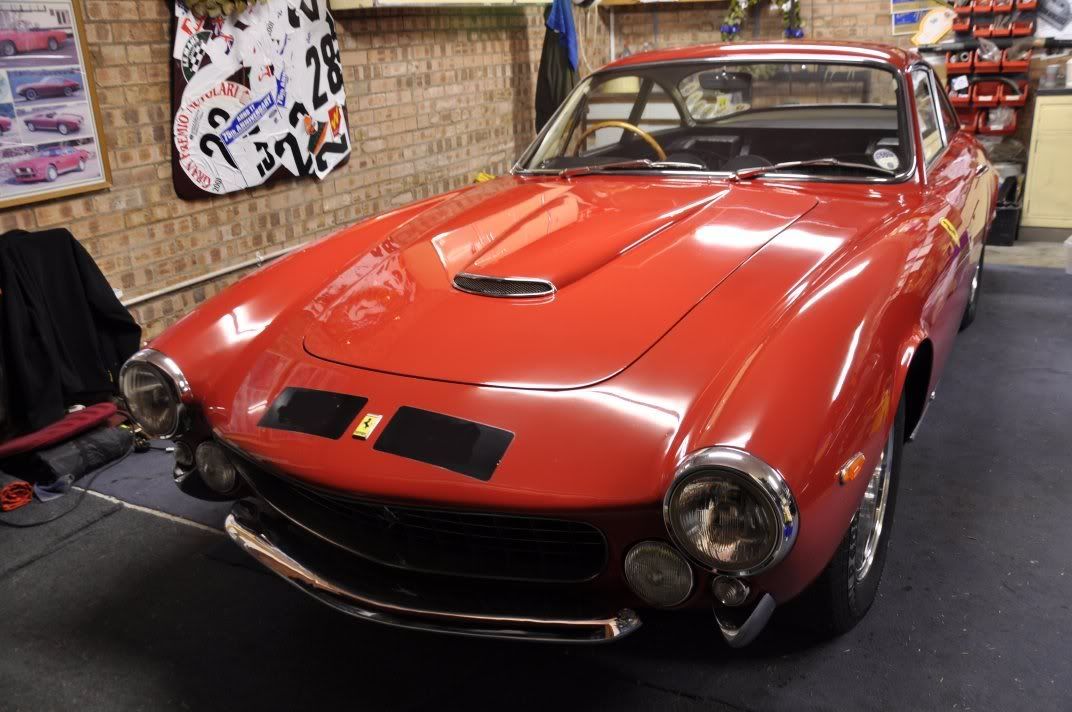
The paintwork on the car was looking a little dull and faded, but certainly not in poor condition, especially when you consider that this is a 47 year old car. Under the lights, you could see some swirling however...
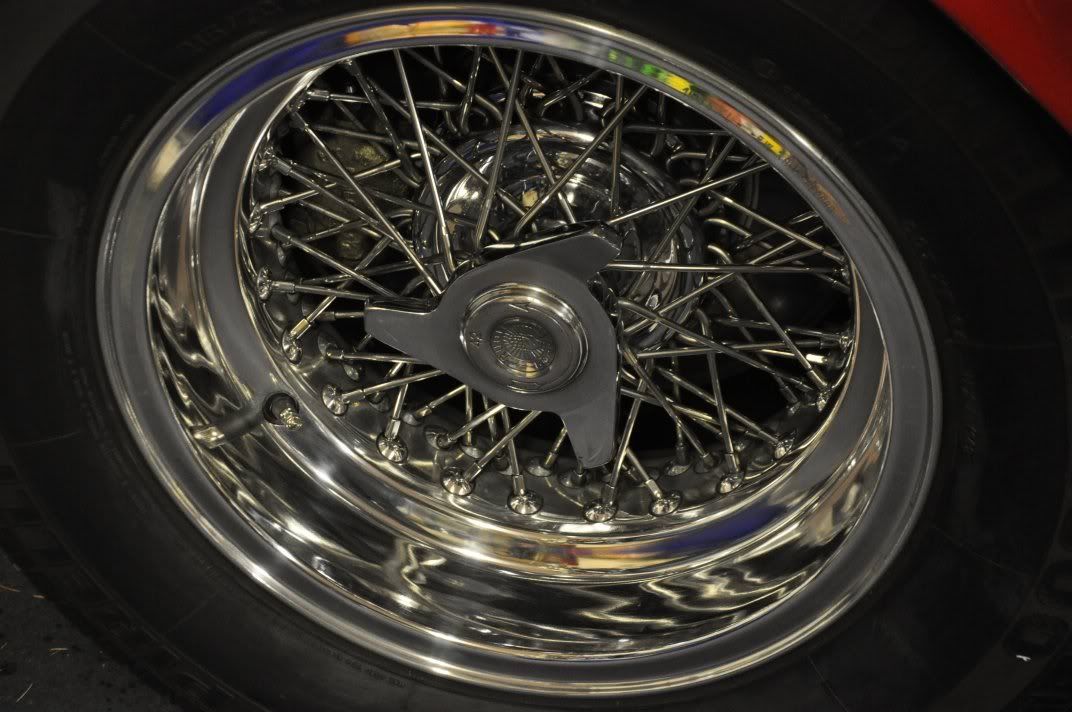
And these lovely wire wheels were also looking just a little cloudy...
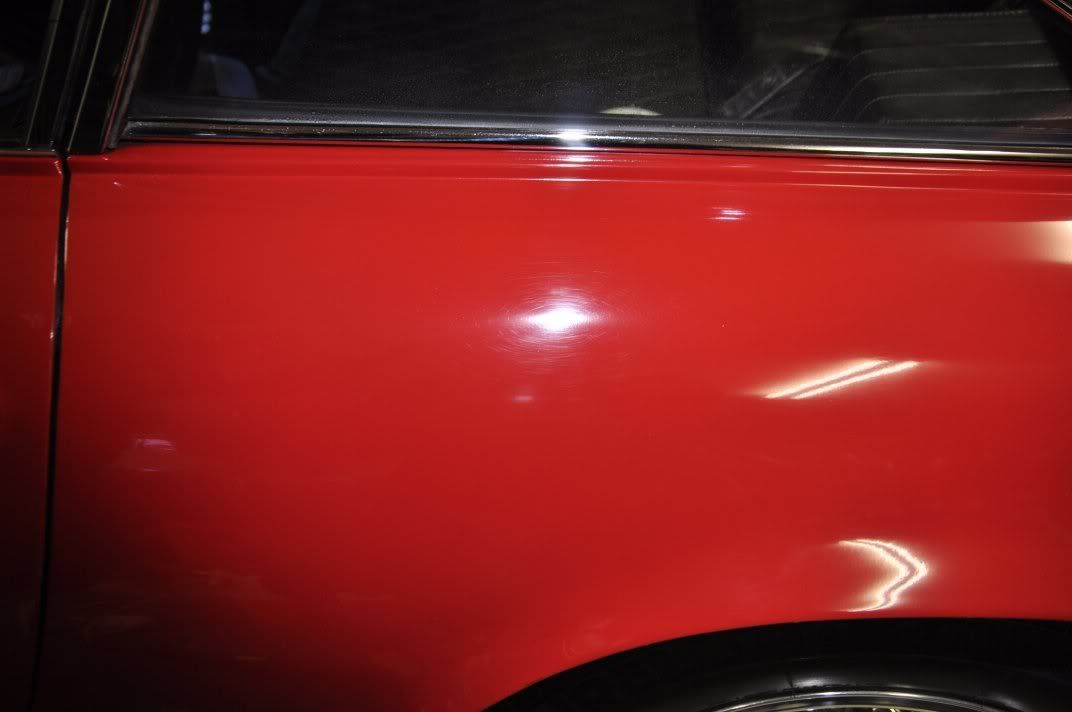
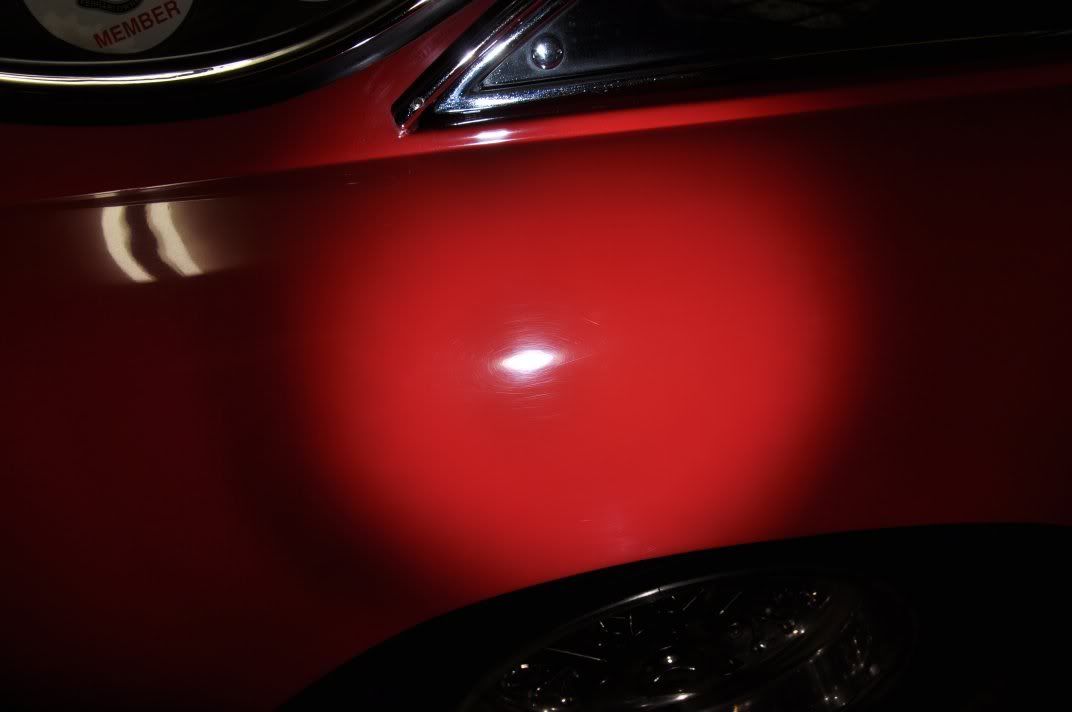
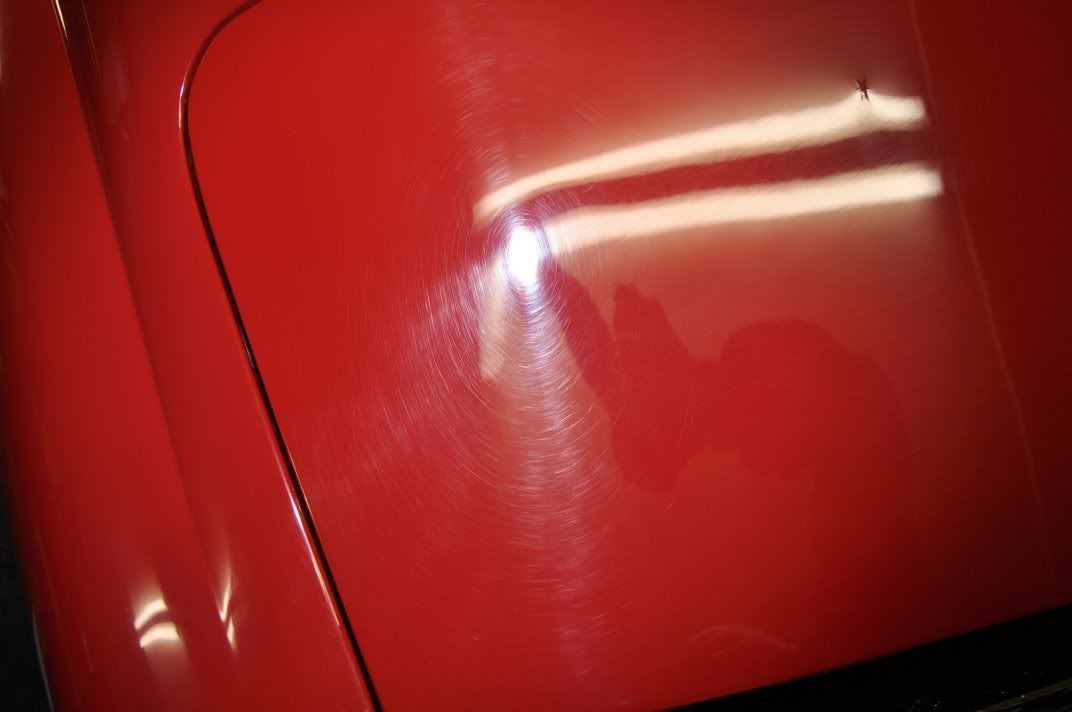
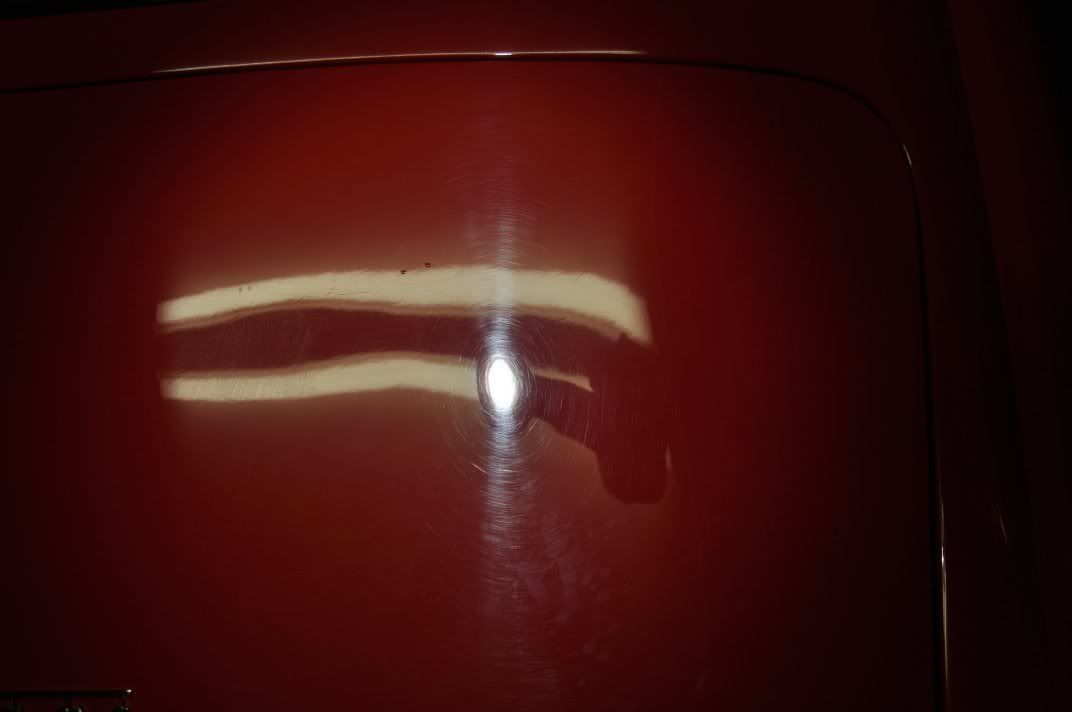
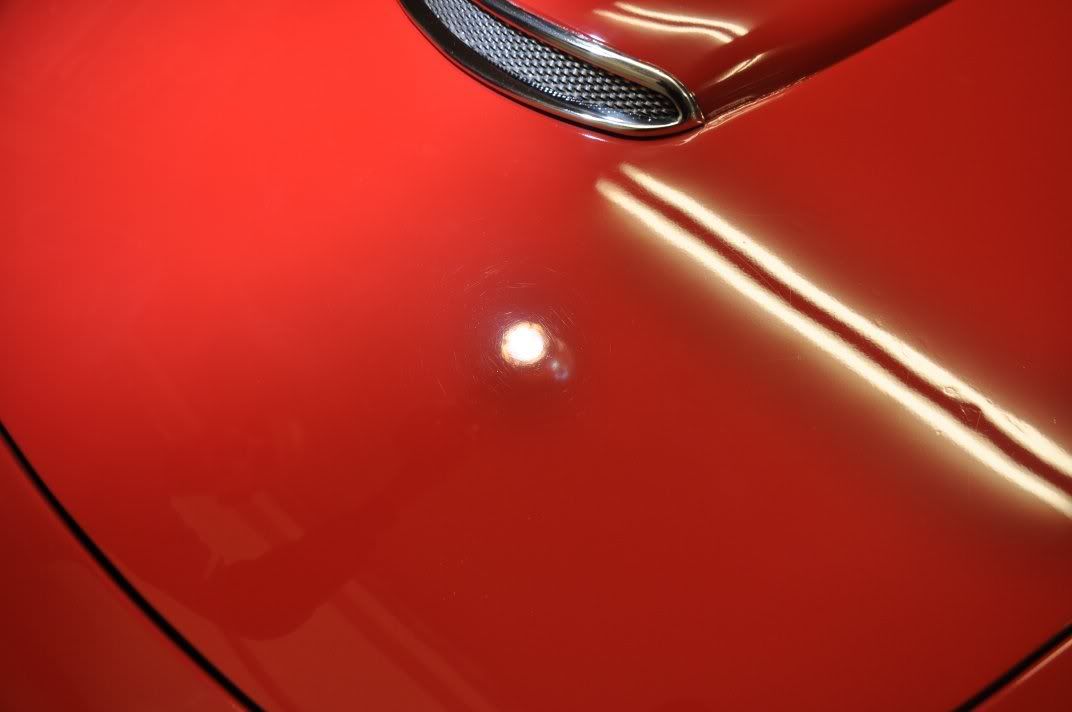
Now at this stage, you may think that we got out the machine polishers and began merrily fully correcting the paint and restoring the finish to its original lustre... err, no. We'd have loved to. But, this car has been lovingly cared for for forty odd years, and also lovingly polished for the same length of time... alas, this had already resulted in regions of the finish, the primary areas being the front wing tops, already having been struck through! Any further machine polishing would have simply made this situation worse! Readings on the struck-through areas were, as you would expect, much thinner than areas of no damage but seeing this on a car instantly makes you tread very carefully indeed.
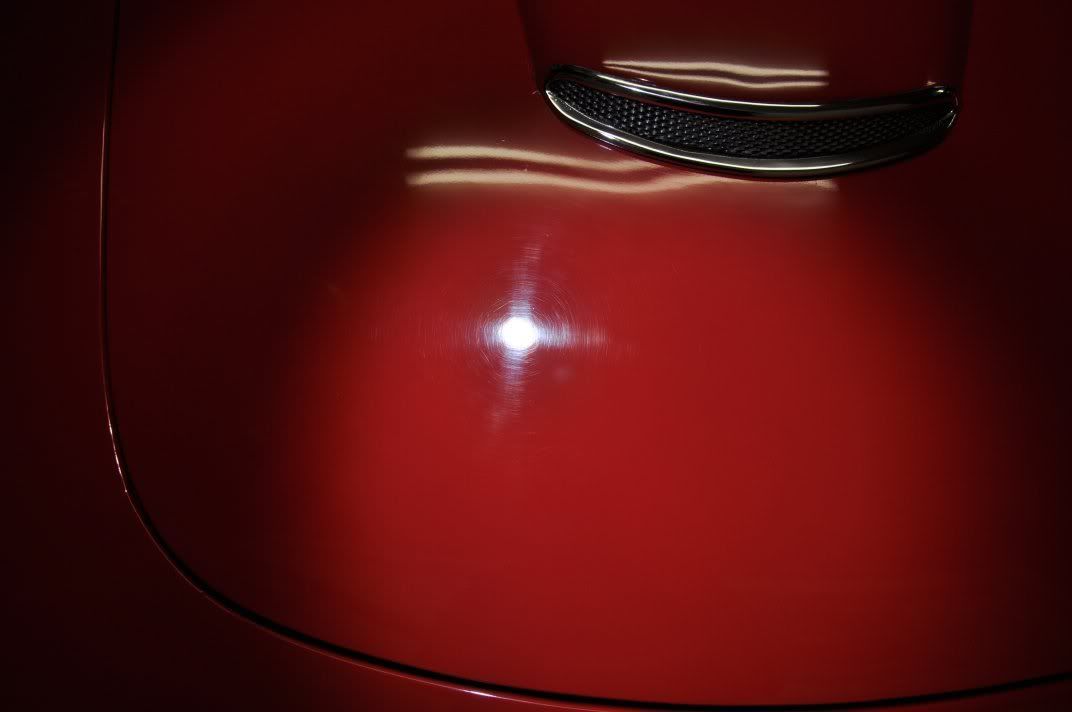
For a lot of regions, we machine polished the car by rotary using Menzerna PO85RD Final Finish on a polishing pad, just to tickle the finish and remove the worst of the swirls with minimum paint removal. Some before shots from the thicker regions on the car...
After using Menzerna PO85RD, a lot of the general swirls were removed with only very small paint removal - the key here was to enhance the gloss and remove the worst of the marring to improve the finish as far as possible. Full correction would have required a more aggressive combination but the key here was to enhance the finish safely. We achieved;


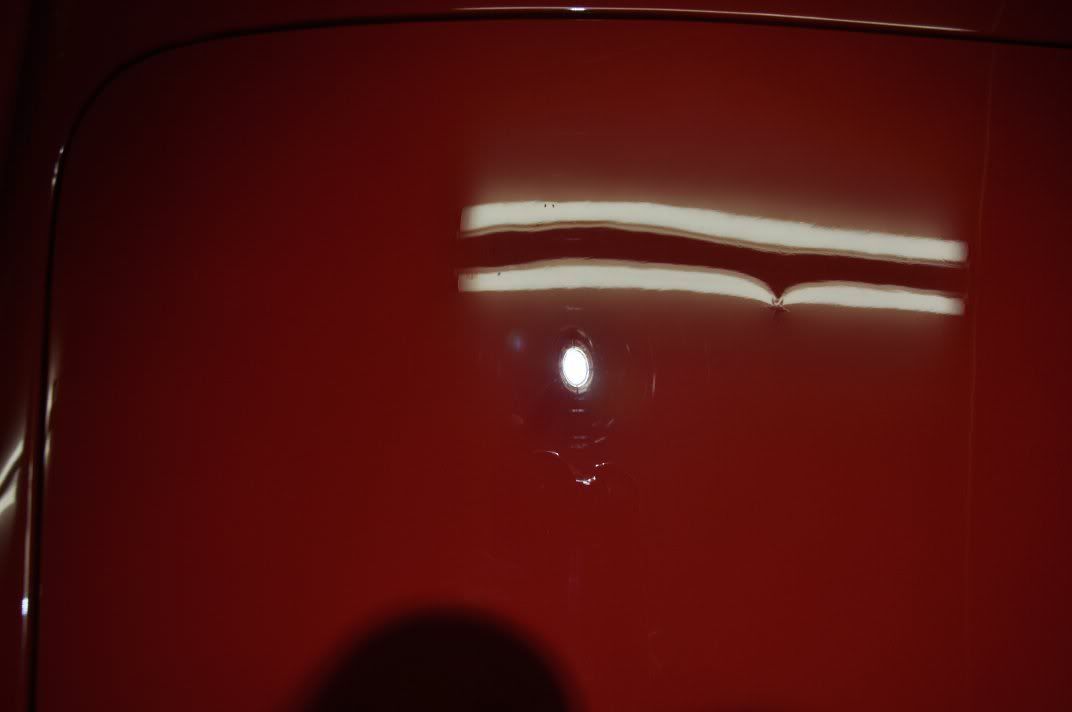
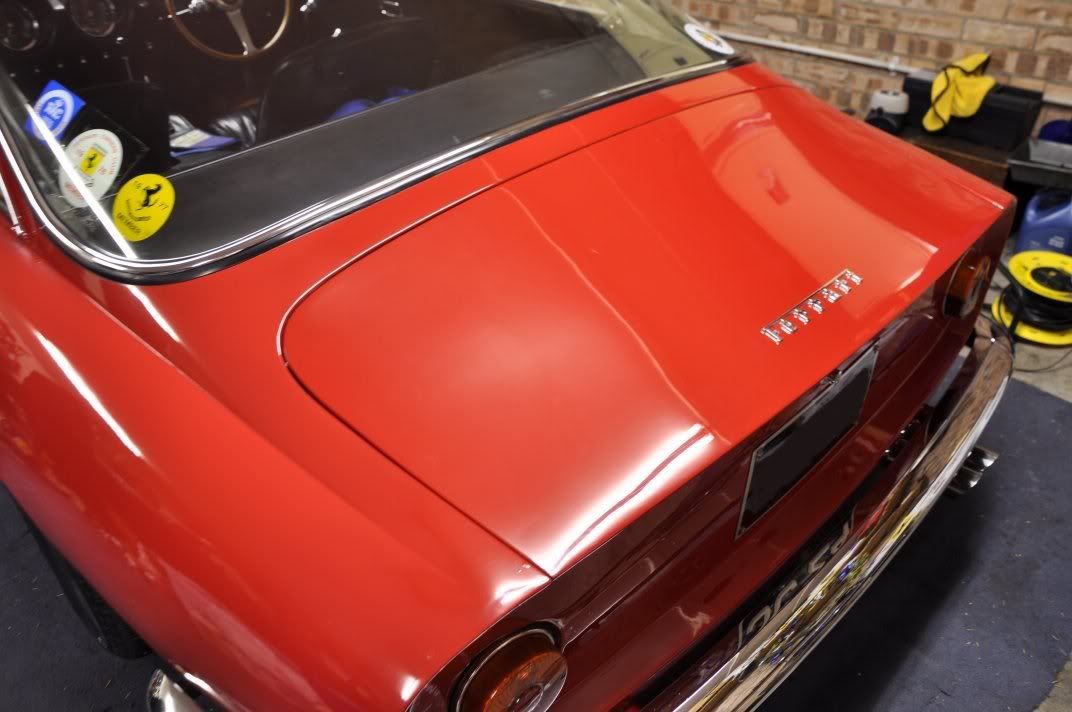
Its not perfect, but it is miles better given what we were working with in this detail. The boot lid was particularly badly marked...

After taking many paint readings and satisfying ourselves that a slightly more aggressive polish would be suitable here, we stepped to PO106FA Final Finish on this, the thickest reading panel on the car by a comfortable 20 - 30um. This allowed a little fuller correction here...

The front wings and bonnet of the car were reading the thinnest, and this is where the strike throughs were already present. For this reason we had to find a completely non-abrasive method of dealing with the marks on these panels...
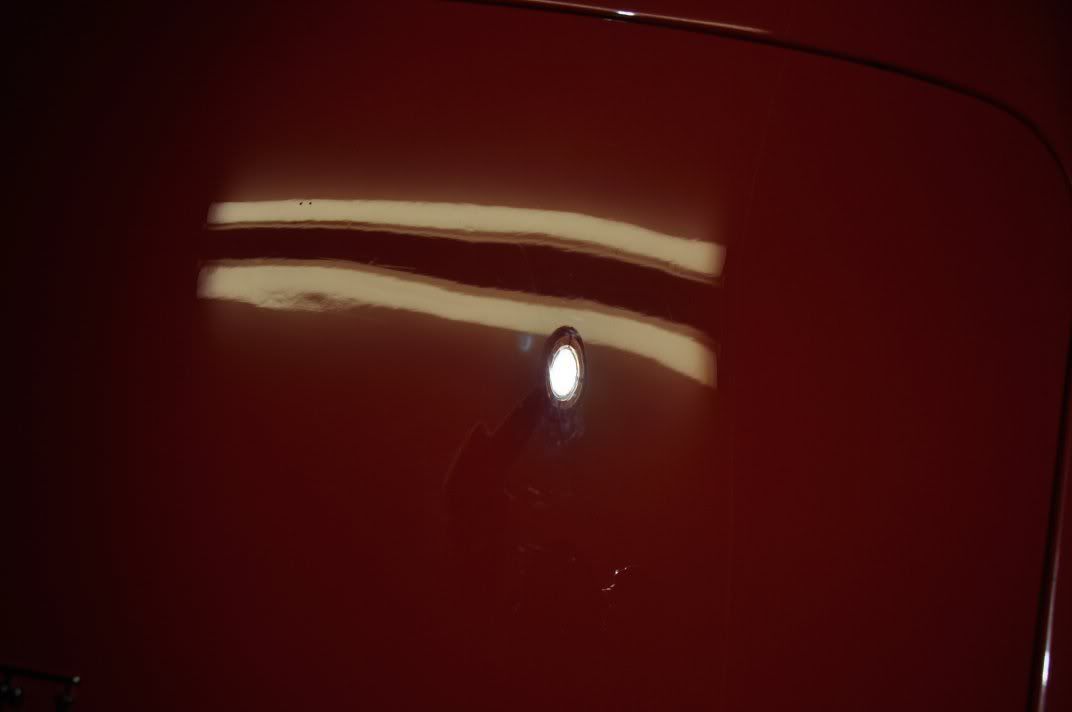
In the end we chose Clearkote Red Moose Machine Glaze applied by hand with a soft foam applicator pad, where the key here was on filling the marks (the only other choice, short of a respray). The results, as you would expect from this method, were not perfect but a notable improvement was achieved...
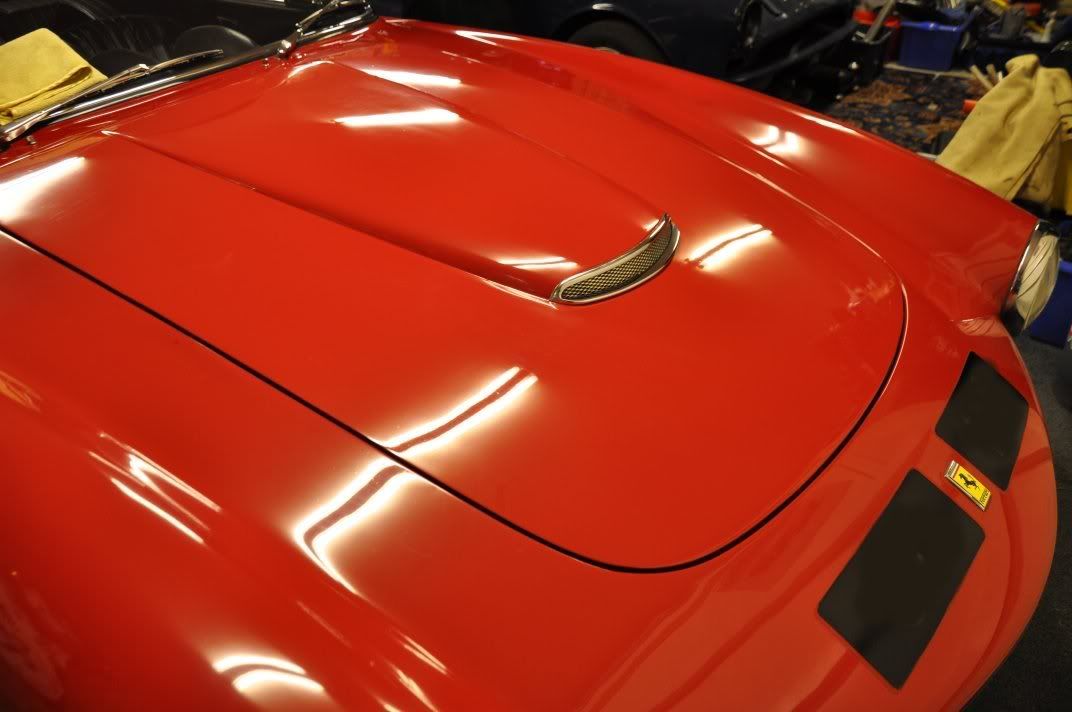
And a good gloss restored...
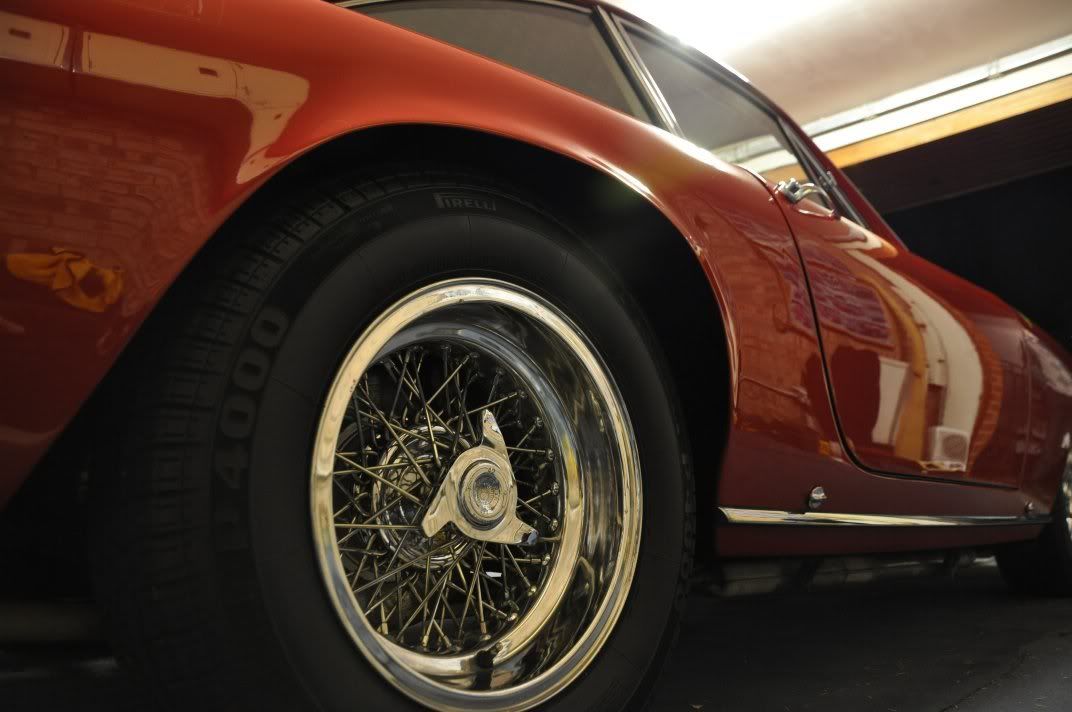
The lovely wire wheels and brightwork around the car were treated with Zeppelin polishes - a new range developped with Briliant who for me make some of the finest metal polishes in the world. Zeppelin Custome Metal Polish was used by hand with a microfibre cloth and firm pressure, each small section worked for a good couple of minutes. Here, the dish of the alloy before...
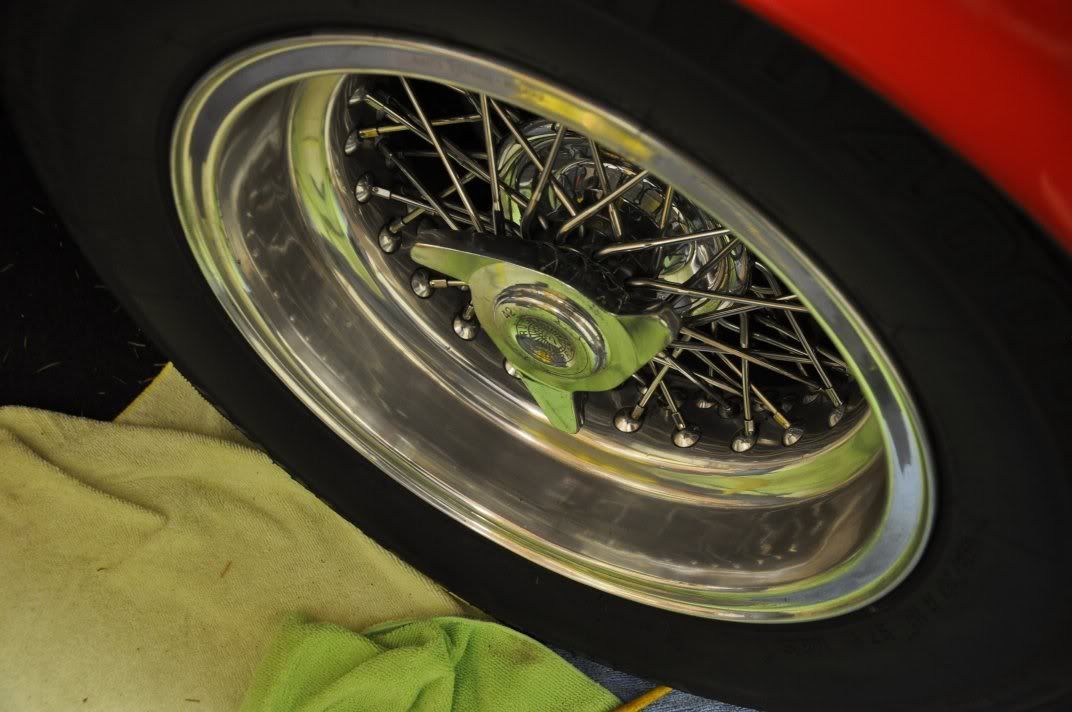
and after...
Spokes were polished again by hand, wrapping a microfibre around the spokes to fully reach them. The new metal polishes from Zeppelin were easy to use, like their Briliant counterparts and proved very effective. They will be seeing more use from me in the coming months, but initial impressions in testing were good enough for me to use them on this detail and they didn't disappoint here.
The car was protected using Raceglaze Signature Series 55 wax, a boutique wax that I know well for its durability in my experience of it compared to other waxes in and around its price-class. Lovely to use as well Tyres were dressed using Espuma RD50, buffed to leave a more matt look. Glass cleaned with Stoner Invisible Glass.
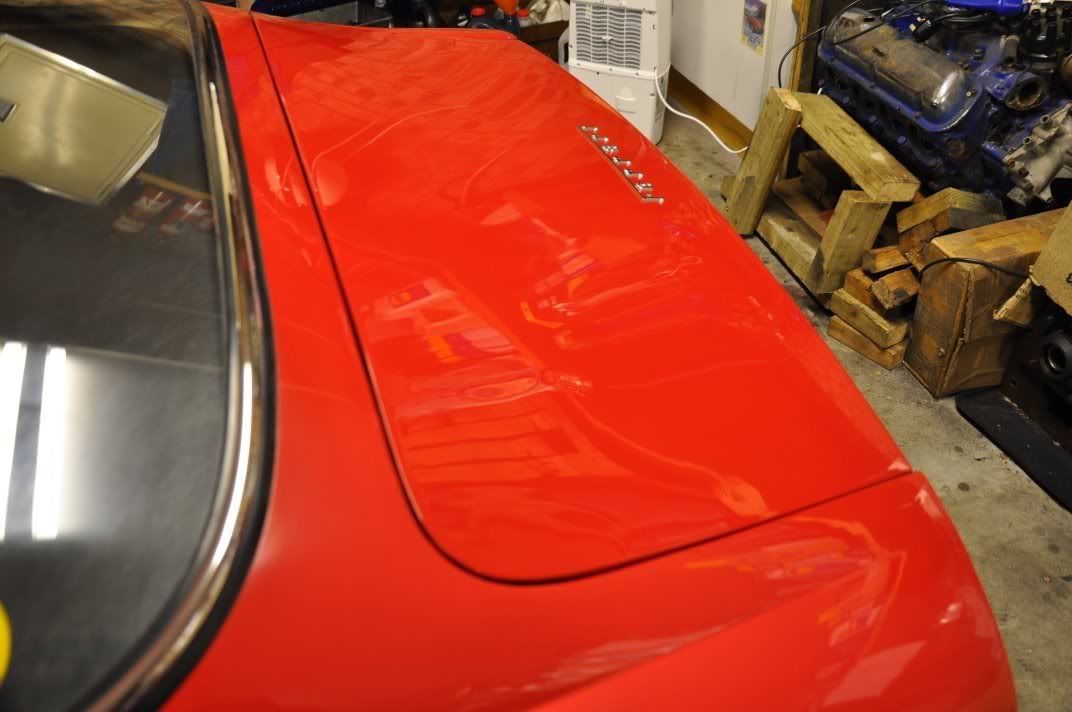
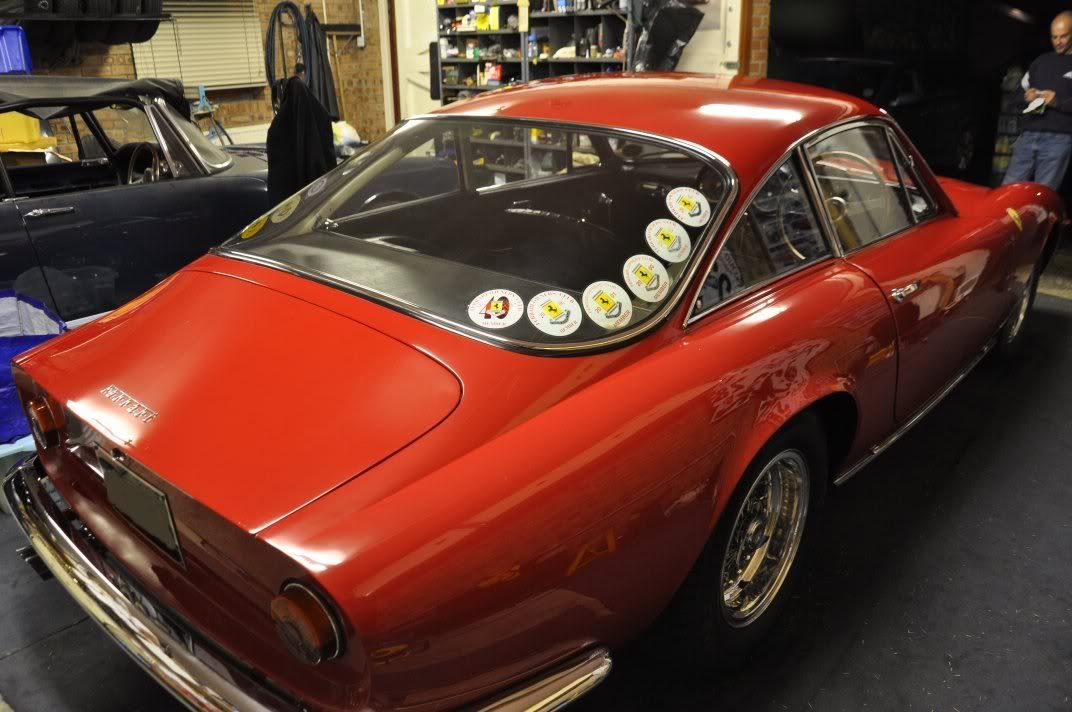
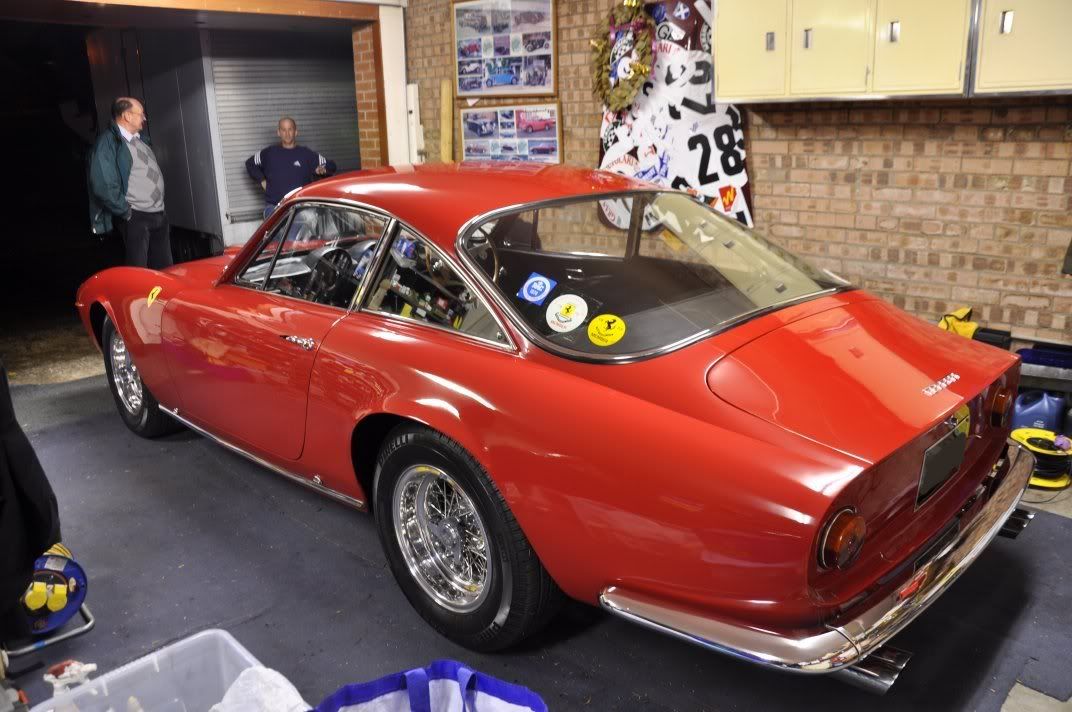
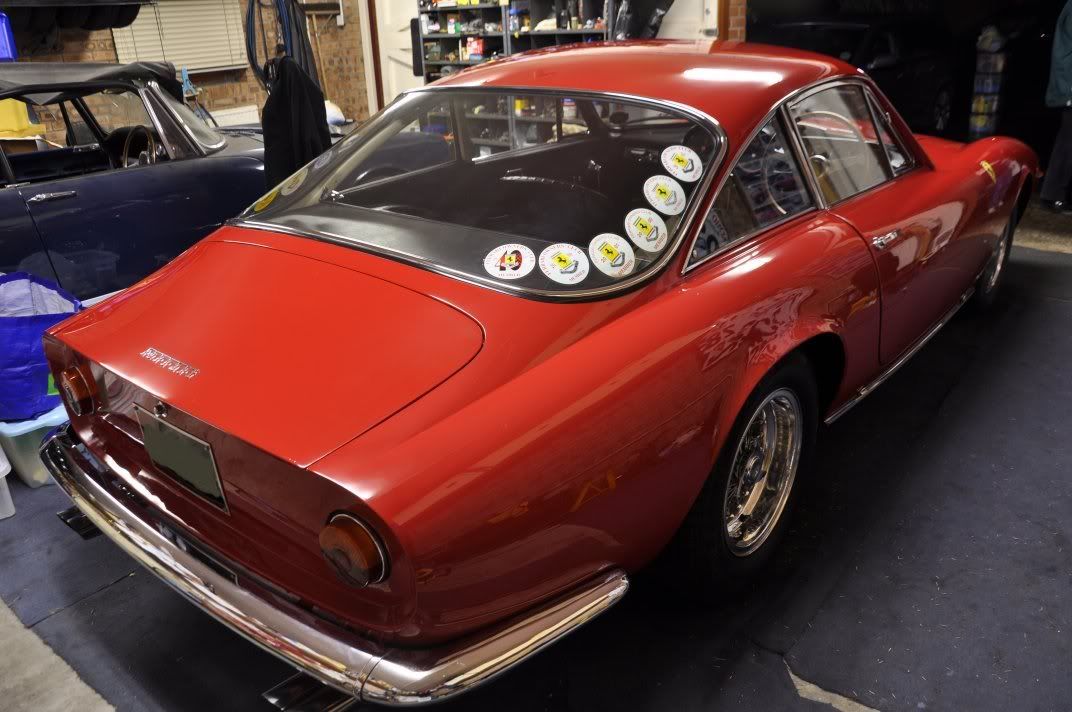
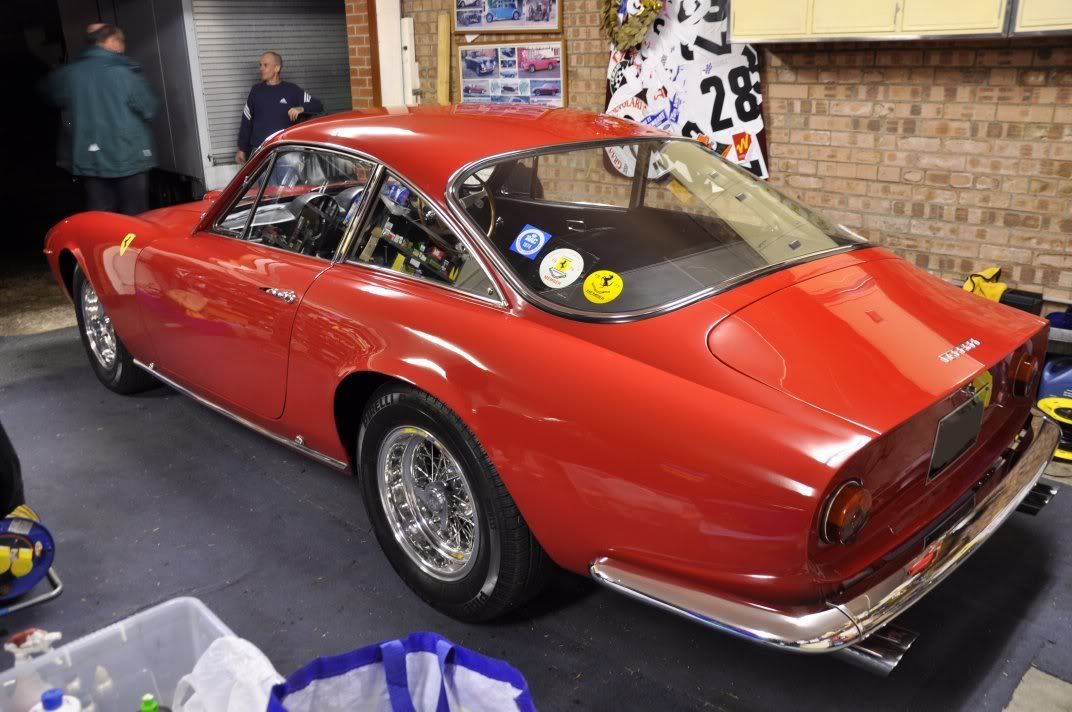
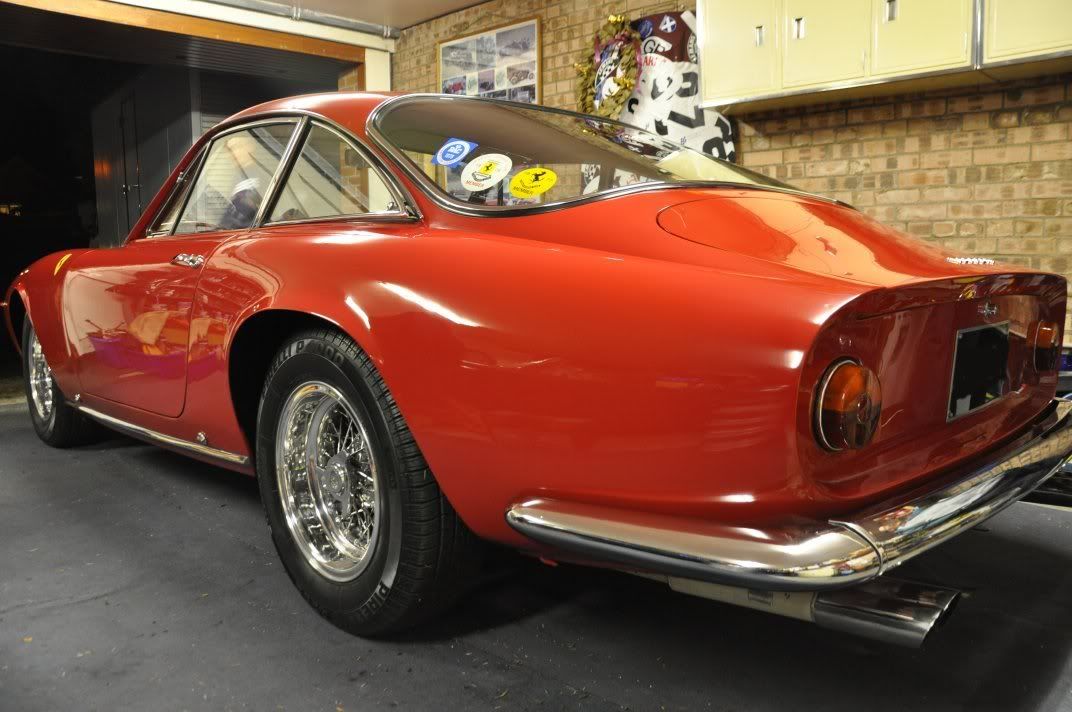
The end results of this "enhancement" detail:
As mentioned at the start, this detail is quite different to the norm and required very different approaches and style... not a full correction, even if we wanted to, we wouldn't have been able to on this car. But they key was to enhance the finish, make the car look as best as we could in the scope of our brief This is one of the differences when it comes to working on classic cars - you do have to be prepared to significantly alter your ways, but this is what makes a car like this all very rewarding - we had to work to get the results using methods that we wouldn't normally choose... the end result is what matters though, and the owner was delighted with the car and we were pretty proud of our "enhancement" 
This detail was carried out by myself and Gordon, and organised by Mark at Raceglaze.
This writeup will be a little different from normal for sure... especially if you are used to my writeups which generally focus around paint correction - however, there is more to detailing than that, and this car was not booked for a paint correction detail. Indeed seeing a lot of wetsanding and extreme paint correction, this detail is at the other end of the scale - enhancing the look of the finish with the minimum of paint removal possible and the reasons for this will become obvious
The brief for this detail was to take the car, which was over 40 years old for an loviongly cared for by its owners, and to enhance the look for it being part of a show. You may think that a paint correction detail would achieve this, but as you will see, this was simply not possible on the car in question. The car, well, here she is...The paintwork on the car was looking a little dull and faded, but certainly not in poor condition, especially when you consider that this is a 47 year old car. Under the lights, you could see some swirling however...
And these lovely wire wheels were also looking just a little cloudy...
Now at this stage, you may think that we got out the machine polishers and began merrily fully correcting the paint and restoring the finish to its original lustre... err, no. We'd have loved to. But, this car has been lovingly cared for for forty odd years, and also lovingly polished for the same length of time... alas, this had already resulted in regions of the finish, the primary areas being the front wing tops, already having been struck through! Any further machine polishing would have simply made this situation worse! Readings on the struck-through areas were, as you would expect, much thinner than areas of no damage but seeing this on a car instantly makes you tread very carefully indeed.
For a lot of regions, we machine polished the car by rotary using Menzerna PO85RD Final Finish on a polishing pad, just to tickle the finish and remove the worst of the swirls with minimum paint removal. Some before shots from the thicker regions on the car...
After using Menzerna PO85RD, a lot of the general swirls were removed with only very small paint removal - the key here was to enhance the gloss and remove the worst of the marring to improve the finish as far as possible. Full correction would have required a more aggressive combination but the key here was to enhance the finish safely. We achieved;
Its not perfect, but it is miles better given what we were working with in this detail. The boot lid was particularly badly marked...
After taking many paint readings and satisfying ourselves that a slightly more aggressive polish would be suitable here, we stepped to PO106FA Final Finish on this, the thickest reading panel on the car by a comfortable 20 - 30um. This allowed a little fuller correction here...
The front wings and bonnet of the car were reading the thinnest, and this is where the strike throughs were already present. For this reason we had to find a completely non-abrasive method of dealing with the marks on these panels...
In the end we chose Clearkote Red Moose Machine Glaze applied by hand with a soft foam applicator pad, where the key here was on filling the marks (the only other choice, short of a respray). The results, as you would expect from this method, were not perfect but a notable improvement was achieved...
And a good gloss restored...
The lovely wire wheels and brightwork around the car were treated with Zeppelin polishes - a new range developped with Briliant who for me make some of the finest metal polishes in the world. Zeppelin Custome Metal Polish was used by hand with a microfibre cloth and firm pressure, each small section worked for a good couple of minutes. Here, the dish of the alloy before...
and after...
Spokes were polished again by hand, wrapping a microfibre around the spokes to fully reach them. The new metal polishes from Zeppelin were easy to use, like their Briliant counterparts and proved very effective. They will be seeing more use from me in the coming months, but initial impressions in testing were good enough for me to use them on this detail and they didn't disappoint here.
The car was protected using Raceglaze Signature Series 55 wax, a boutique wax that I know well for its durability in my experience of it compared to other waxes in and around its price-class. Lovely to use as well
Tyres were dressed using Espuma RD50, buffed to leave a more matt look. Glass cleaned with Stoner Invisible Glass.The end results of this "enhancement" detail:
As mentioned at the start, this detail is quite different to the norm and required very different approaches and style... not a full correction, even if we wanted to, we wouldn't have been able to on this car. But they key was to enhance the finish, make the car look as best as we could in the scope of our brief
This is one of the differences when it comes to working on classic cars - you do have to be prepared to significantly alter your ways, but this is what makes a car like this all very rewarding - we had to work to get the results using methods that we wouldn't normally choose... the end result is what matters though, and the owner was delighted with the car and we were pretty proud of our "enhancement" 'About Car' 카테고리의 다른 글
| Detailer's Domain: New Car Prep BMW 135 (6) | 2009.12.08 |
|---|---|
| Envy Valeting의 Swiss detailing adventures with a Lamborghini Murciélago LP 670-4 SV (7) | 2009.12.08 |
| Good Beeding Shots (11) | 2009.12.03 |
| P21s 100% Carnauba Review (5) | 2009.12.03 |
| Lamborghini Murcielago Roadster... (4) | 2009.11.28 |
