Werkstat Detail: Silver VW Fox
I detailed my GF’s VW Fox about a month ago now using the Werkstat products I have bought to use on my new TT in White when it arrives at the end of this year. I wanted to try them out (along with a few other new products to me) before using them on my new car so this provided the perfect opportunity, and being my daily drive at the moment it also will give me a good idea on how it will hold up. As we have had the car from new and I am the only one who washes it (other than the odd dealer wash despite specifically not asking for it) the paint work is in top condition so after some trials I decided Megs #205 on a Megs Polishing Pad would offer the correction I needed whilst leaving behind some nice glossy paint.
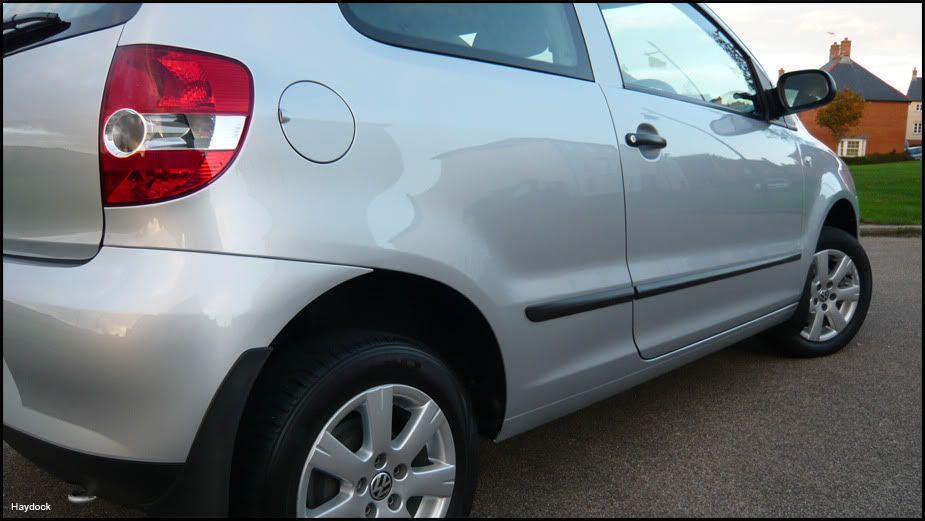
So here are a few befores (not that dirty I know) and afters. You will have to forgive the N/S wheel as I had the spare fitted whilst the Alloy was having a refurb.
Before:

After:
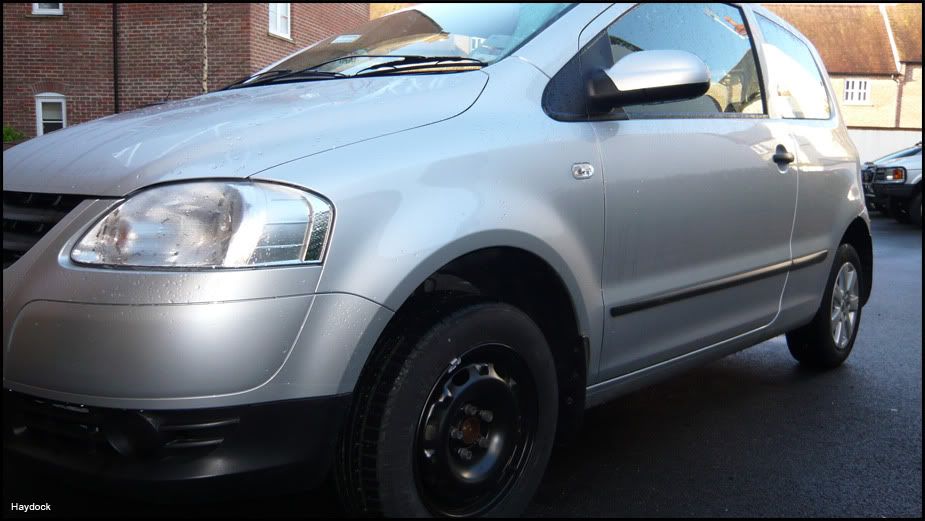
Before:
After:
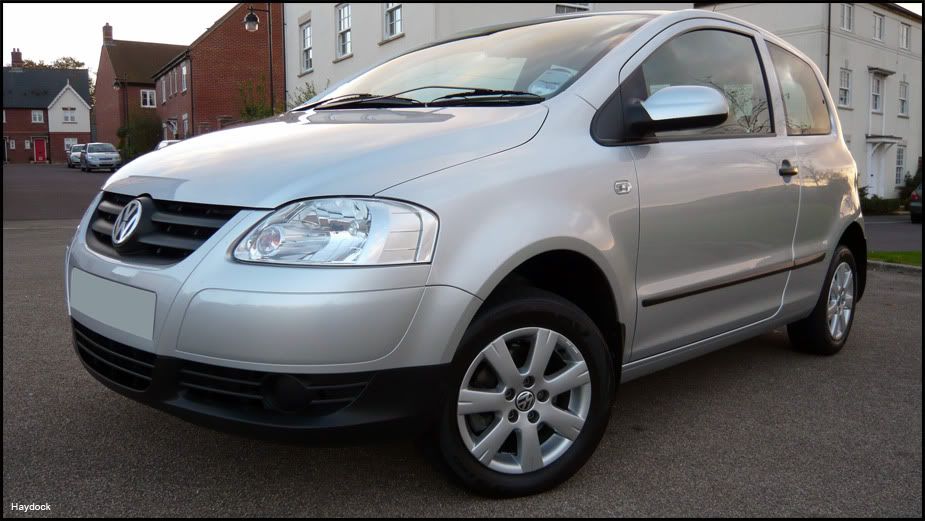
Before:
After:
Before:
After:
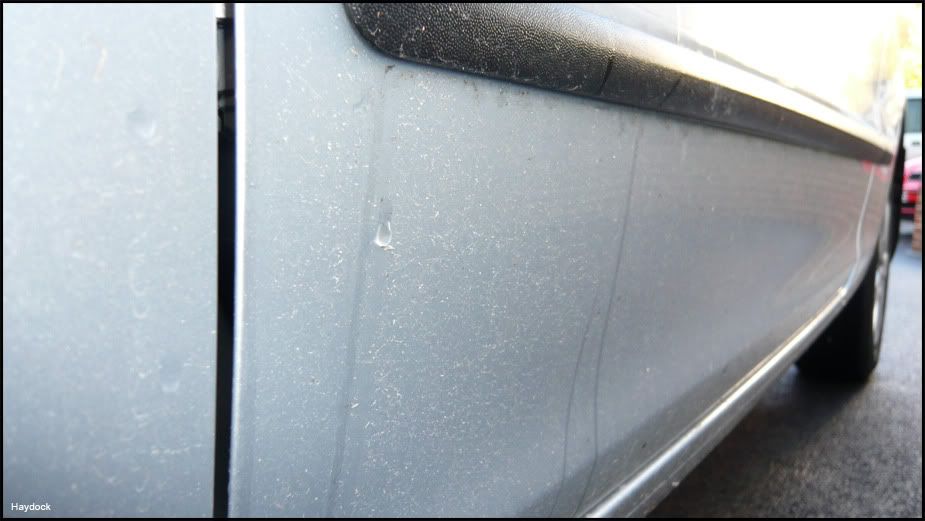
Just to prove it was dirty:
So here was my process spread over 2 weekends with the 1st being the Engine Bay, Wheels and Arches.
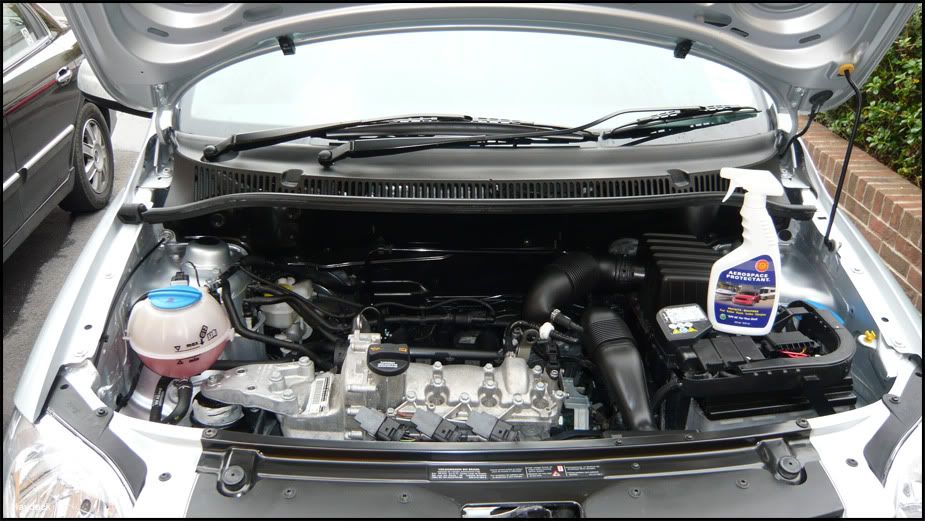
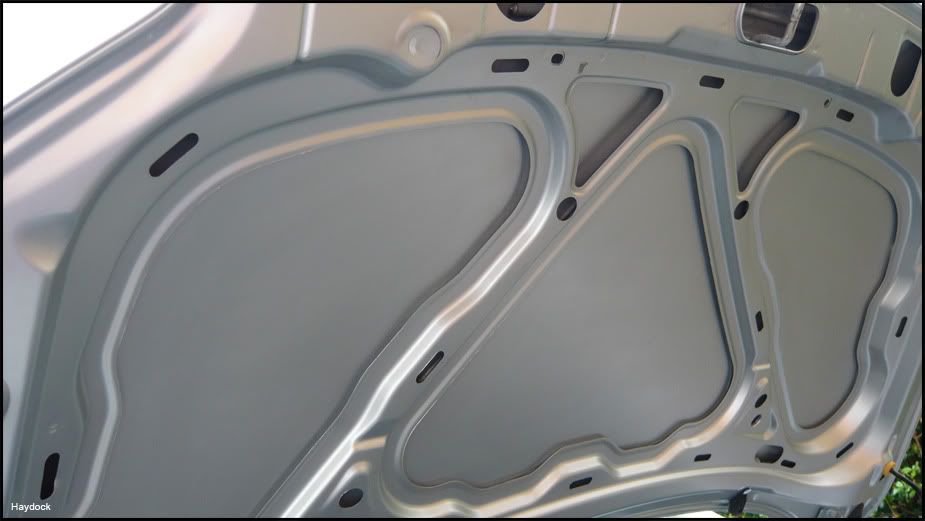
1. Soak the Engine Bay in R222 Autowash then agitate with a variety of brushes and cloths followed by a careful rinse with the hose. I then used a MF and some 303 Aerospace Protectant to dress the majority of the bay:
Before:
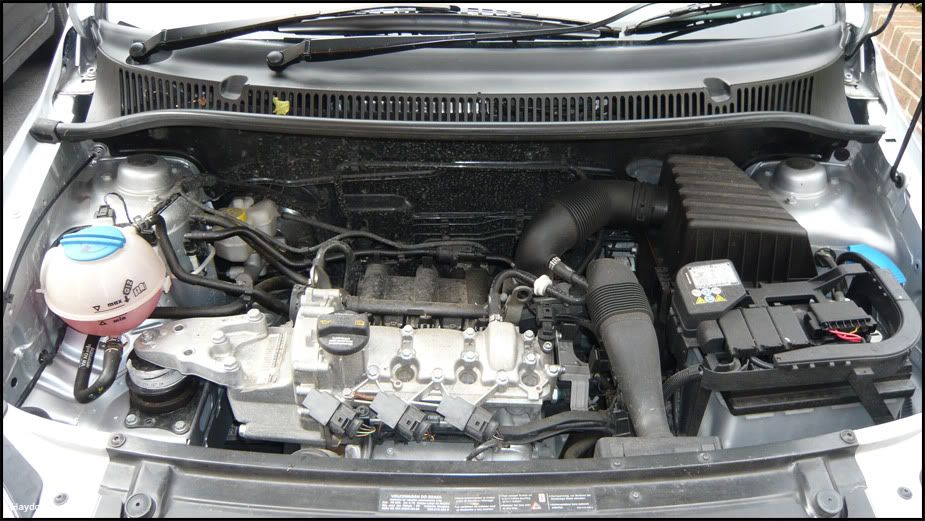
During:
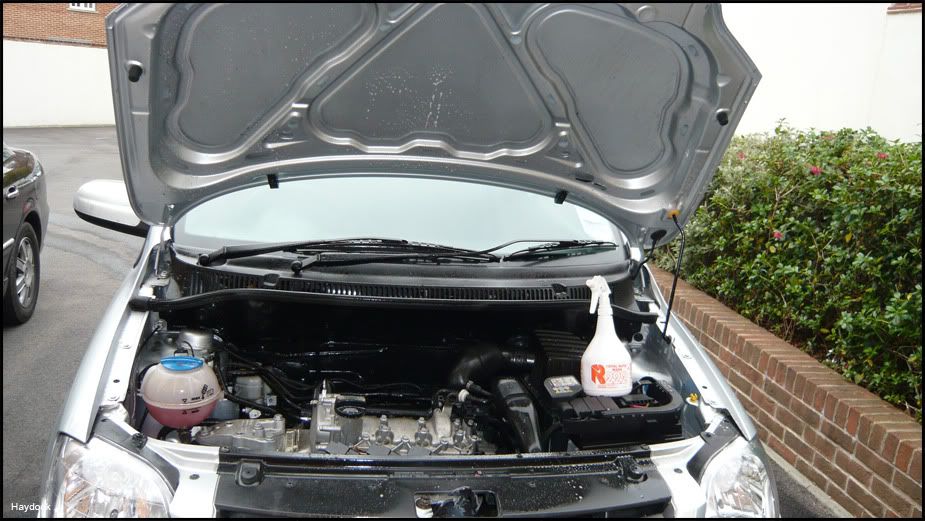
After:
Before:
After:
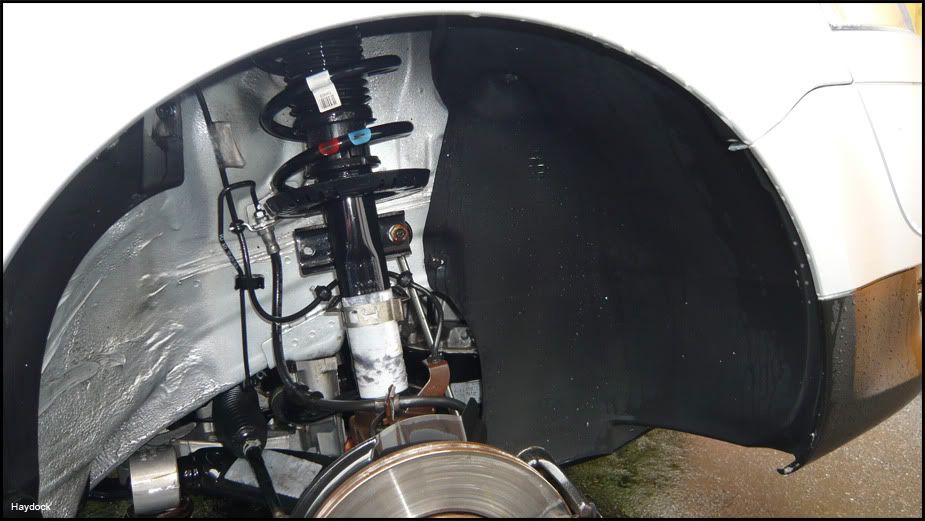
2. The arches got a soak in Megs APC 4:1, then agitated with a brush before being blasted with the pressure washer:
Before:
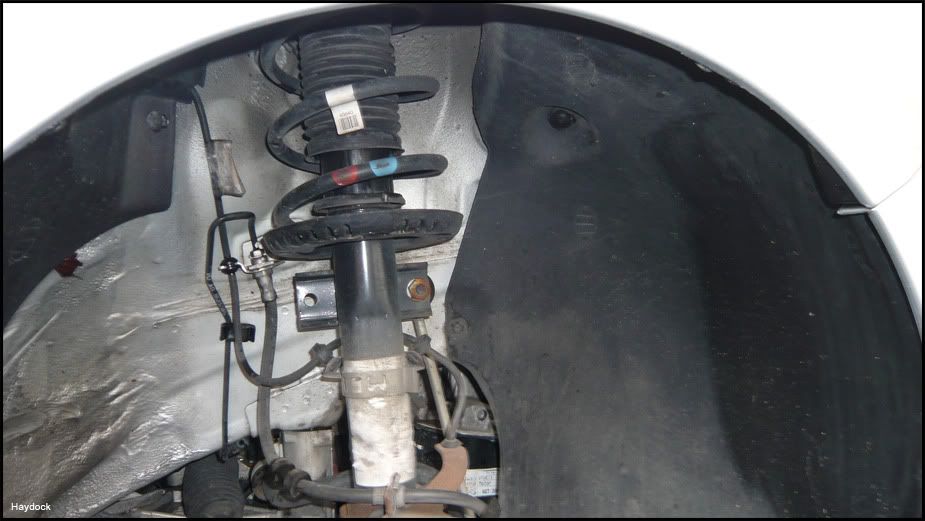
During:
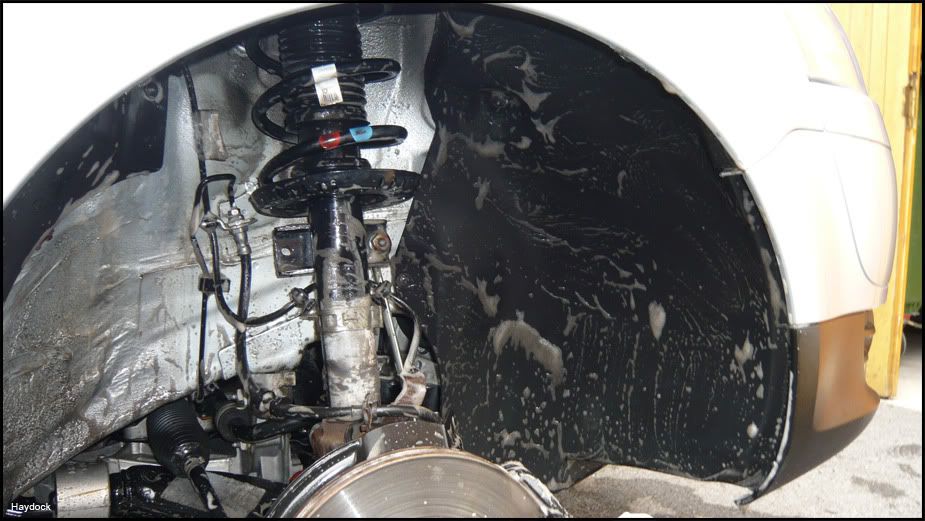
After:
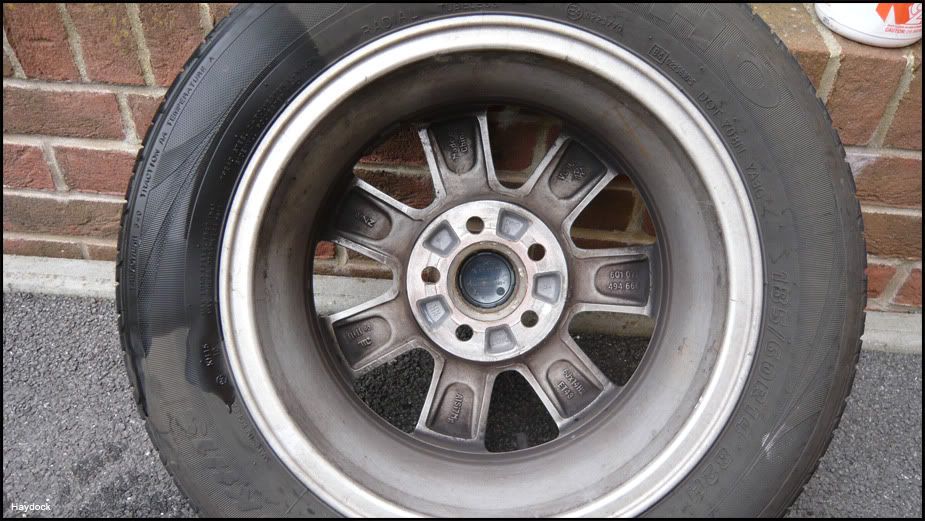
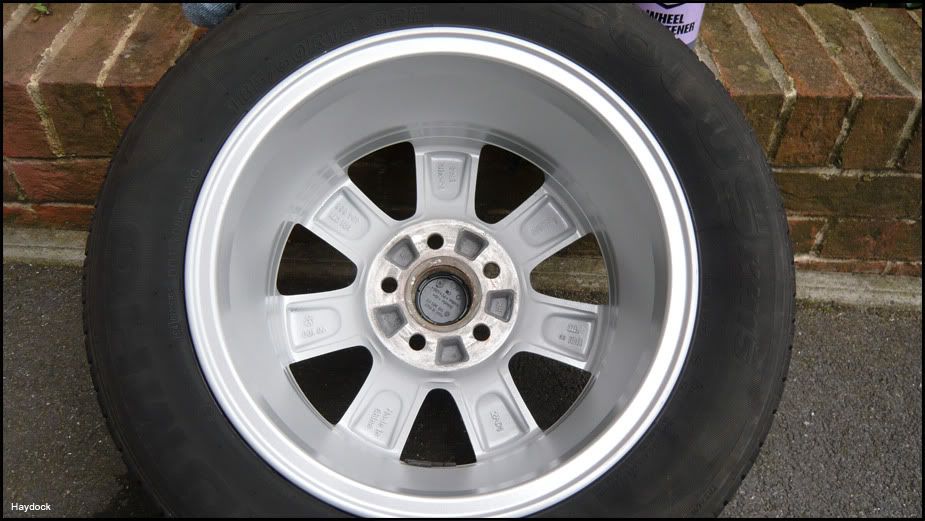
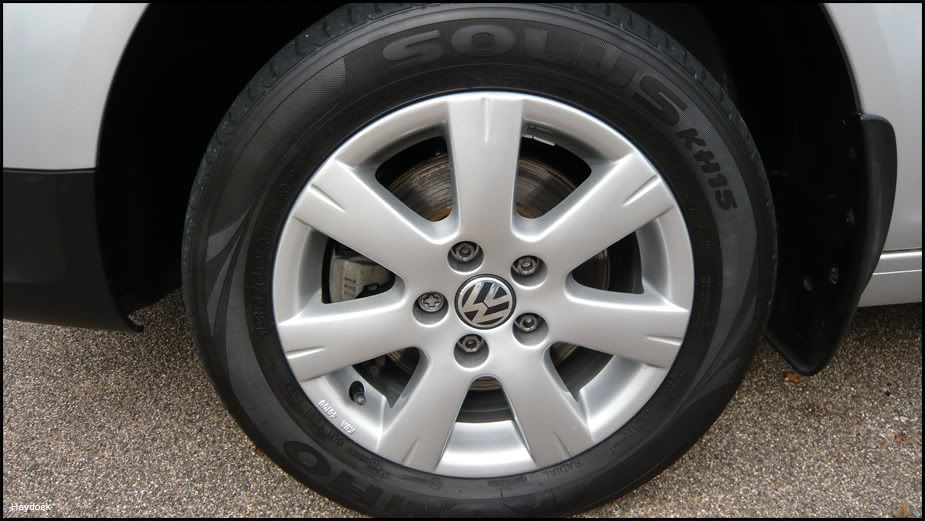
3. The wheels got a soak in Megs Wheel Brightener before being blasted with the pressure washer then cleaned with some DG901. Once washed they were also clayed and then each wheel got 2x layers of a different Wheel Sealant as part of a small test I am doing which you can read here.
Wheel Before:
Wheel After:
4. The car was then soaked in APC with my AB Foam Lance and left to dwell, before a good rinse and wash with DG901.
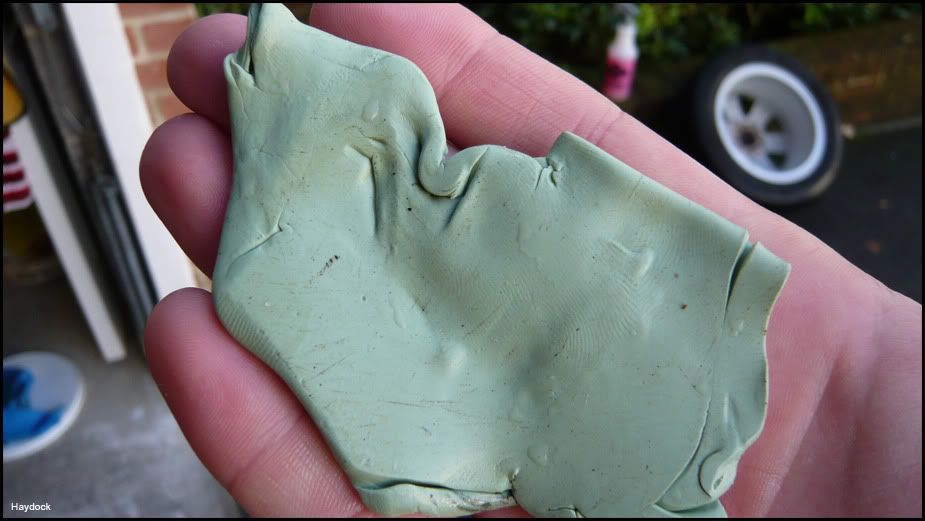
5. Once clean I then proceeded to clay the car using Sonus Green and Megs LT as the lube. As to be expected the clay wasn’t too bad:
6. The car was then rinsed with the pressure washer before a dry using Megs LT and my Sonus Der Wunder.
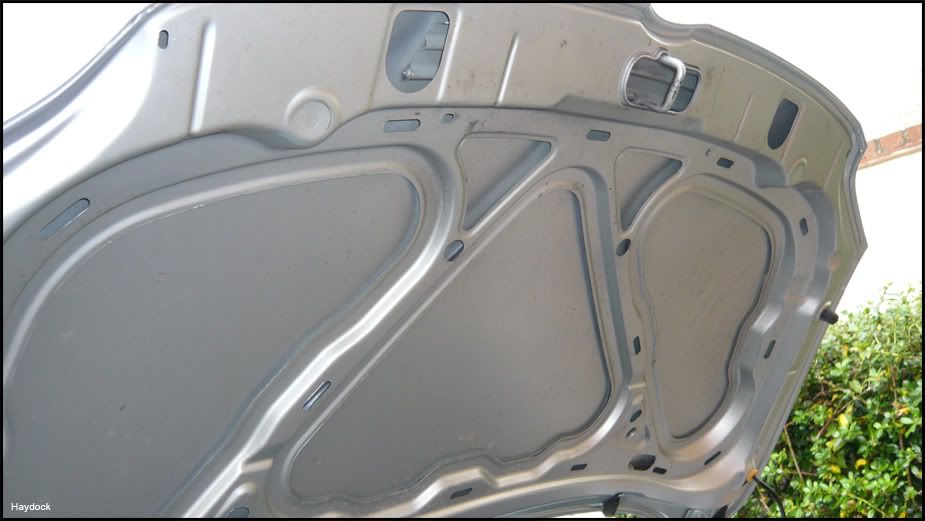
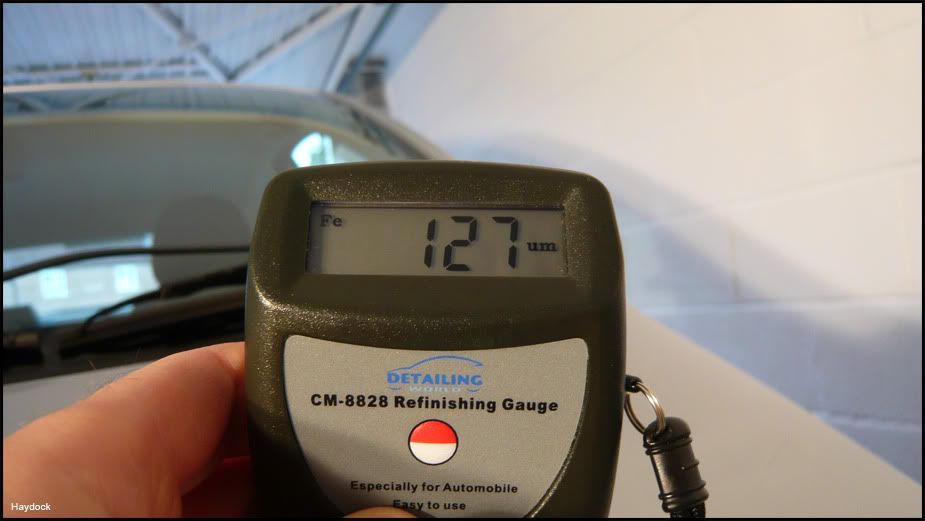
7. With the car all clean I then moved it into the Garage where I taped up the plastics with 3M 3434 tape. A quick check of paint thickness revealed all is OK:
8. I then set to machine polish the whole car using Megs #205 via my G220 using a Megs Polishing Pad. The results were very pleasing with it taking care of most swirls and marring.
A couple of shots showing the defect free paint (sorry the 50/50’s were useless as you couldn’t really tell what side was what):
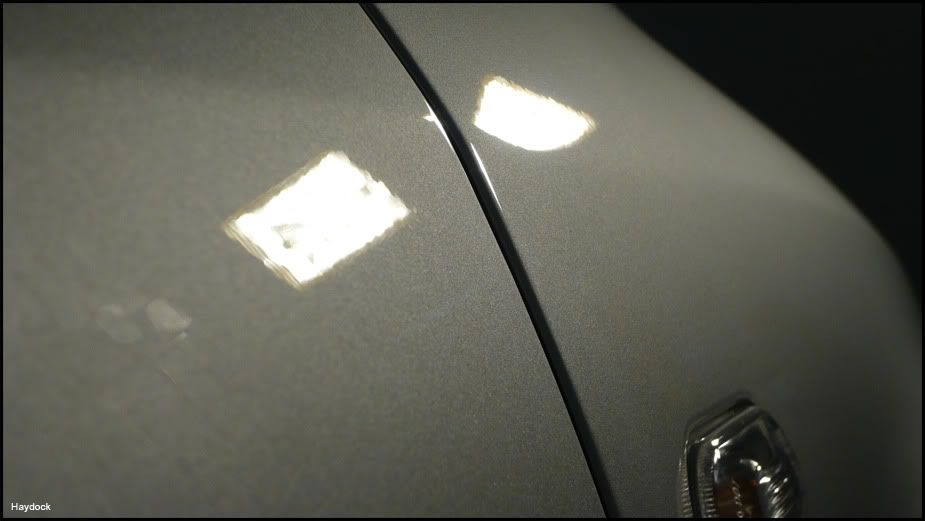
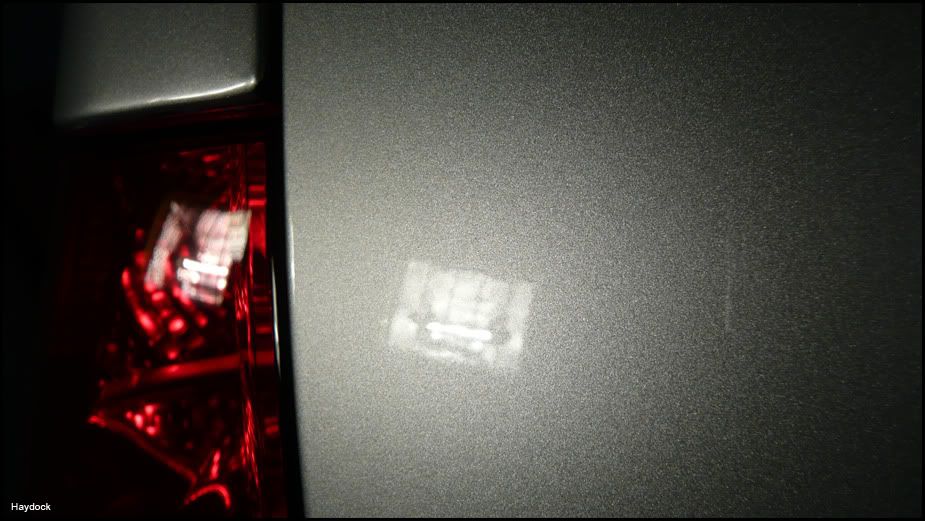
The front bumper has a few deeper RDS that the Megs #205 handled pretty well. Under the Halogens you can just make out one of them still, however with them off I struggled to see it so I decided just to leave it there rather than taking off more than really needed:-
Bumper Before:
Bumper After:
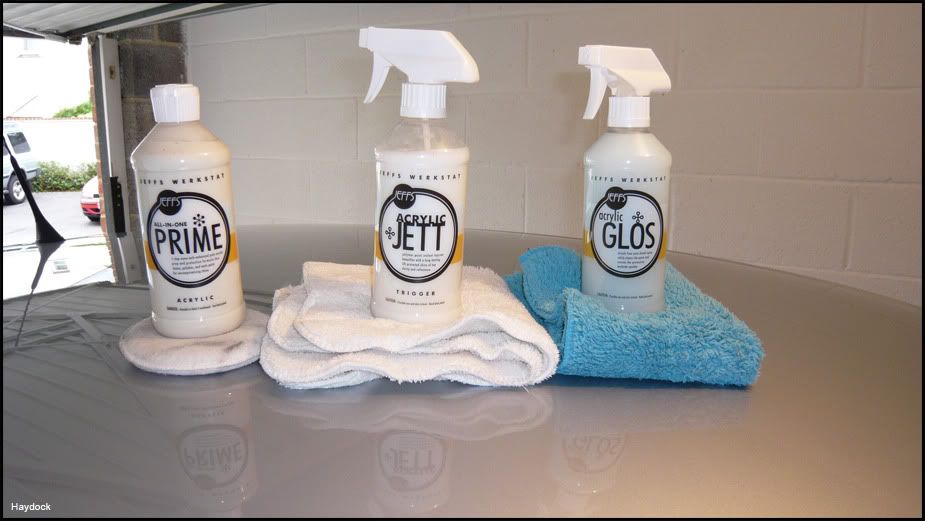
9. I then used Jeffs Werkstat Prime on a MF Applicator to prep the paint, windows and shuts for the LSP.
10. Now time to layer up some Jeffs Werkstat Acrylic Jett Trigger (AJT). I built up about 6-7 layers IIRC leaving 20-30 minutes between each one. This was simply sprayed onto the panel in question, wiped with a plush MF and then buffed by turning the MF over. The AJT was also applied to all Glass (except the Front), Trim and Shuts.
11. I cleaned the interior glass and windscreen with Megs Glass Cleaner which also got 2x layers of Rain-X.
12. The tyres were dressed with Blackfire Long Lasting Tyre Gel.
13. The exhaust had a quick polish with AG Metal Polish.
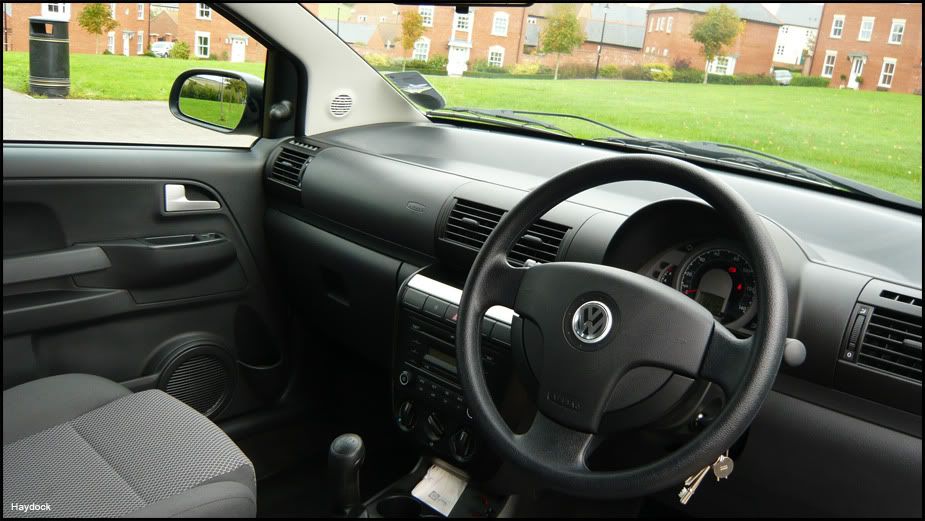
14. The interior plastics were cleaned with Megs APC 10:1 before being dressed with 303 Aerospace Protectant. The mats vacuumed with my Dyson and Dyson Car Kit.

15. Then I gave the car one final wipe-down with Jeffs Werkstat Acrylic Glos.
All in all I was very pleased with the results and loved the Jeffs as it was easy to use, left great looks and so far proving very durable – I can’t wait to get it on the TT when it arrives. The thing I loved the most was the ease of use of the AJT and the fact it worked great on Glass on Trim!
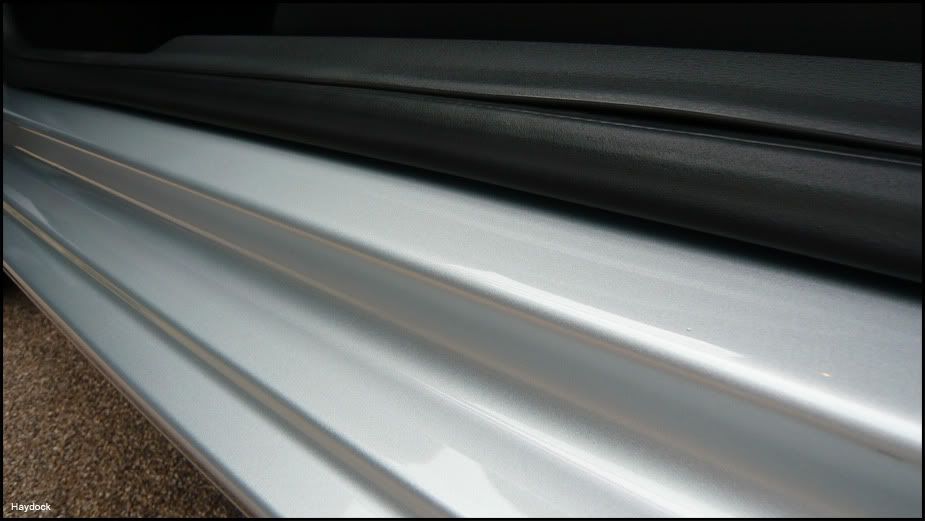
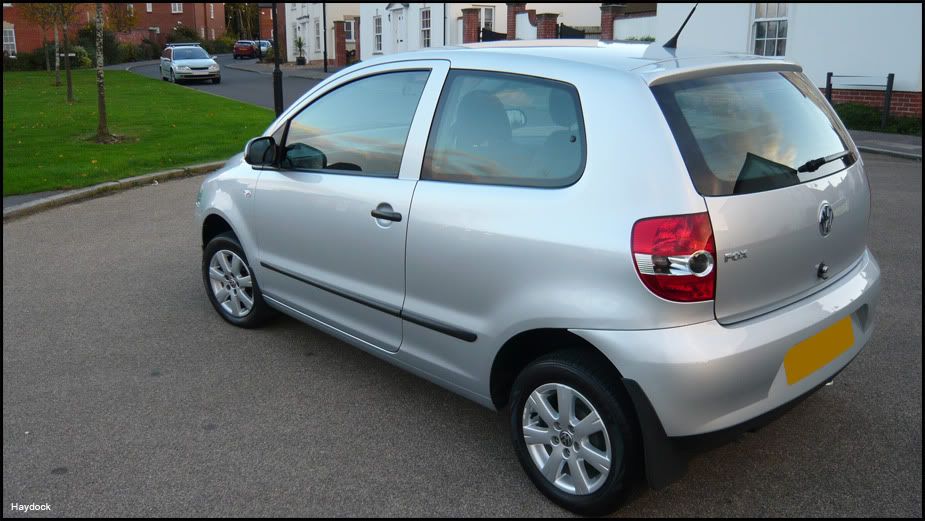
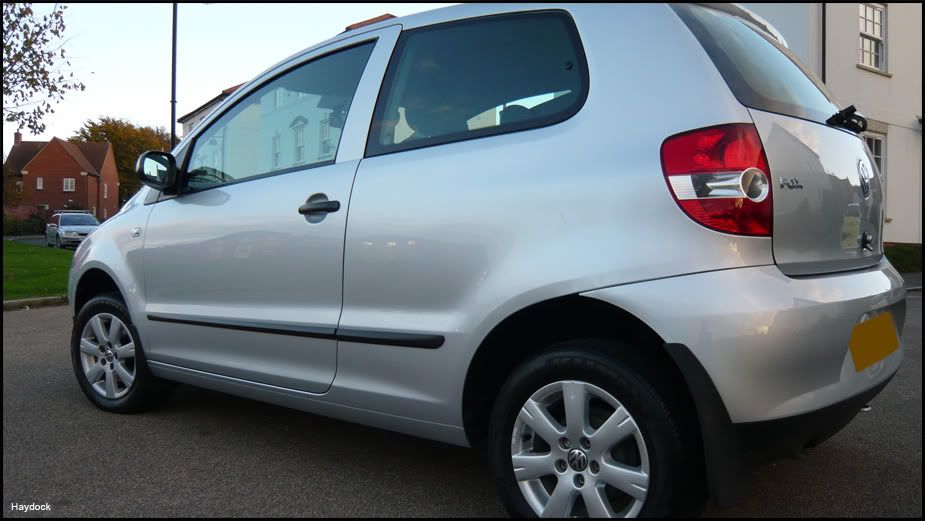
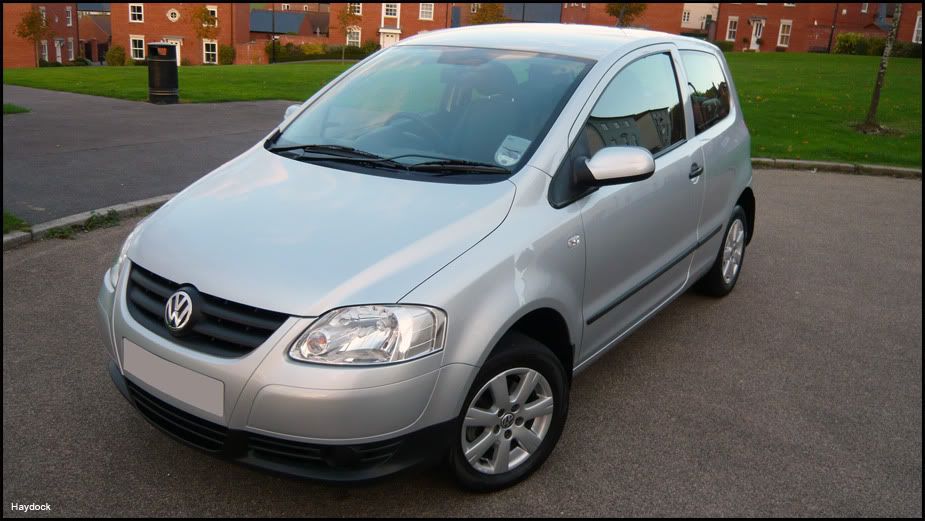
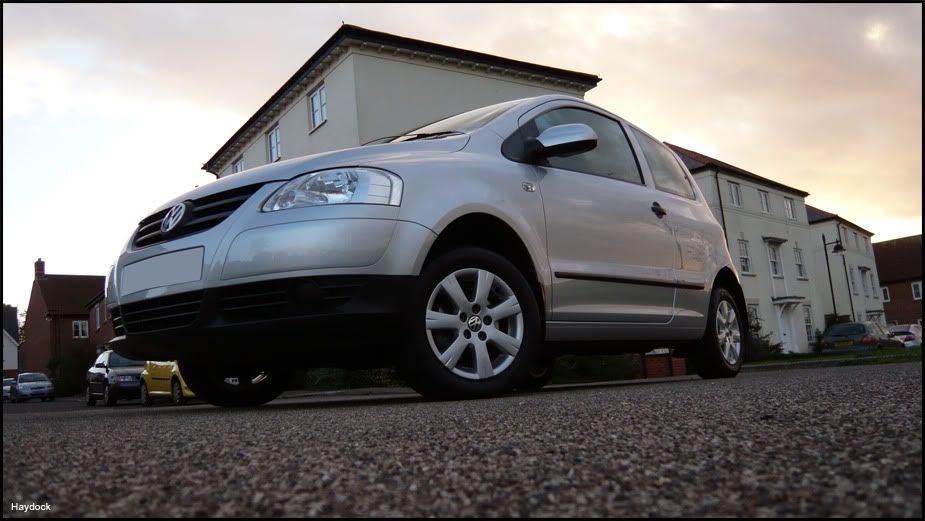
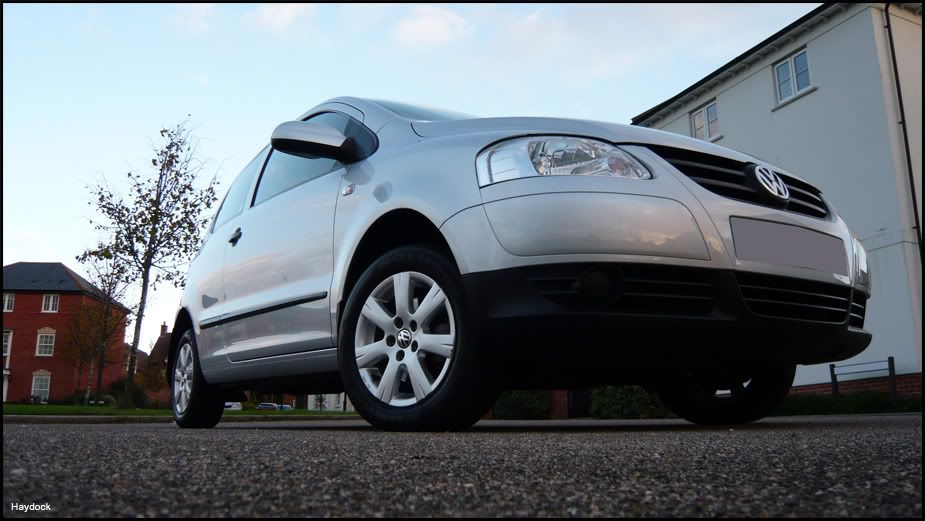
Here are the end results:
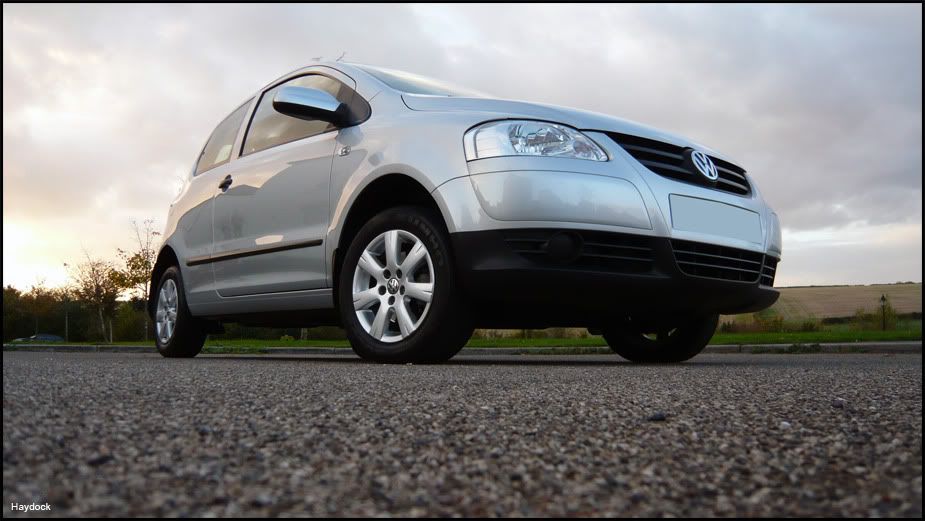
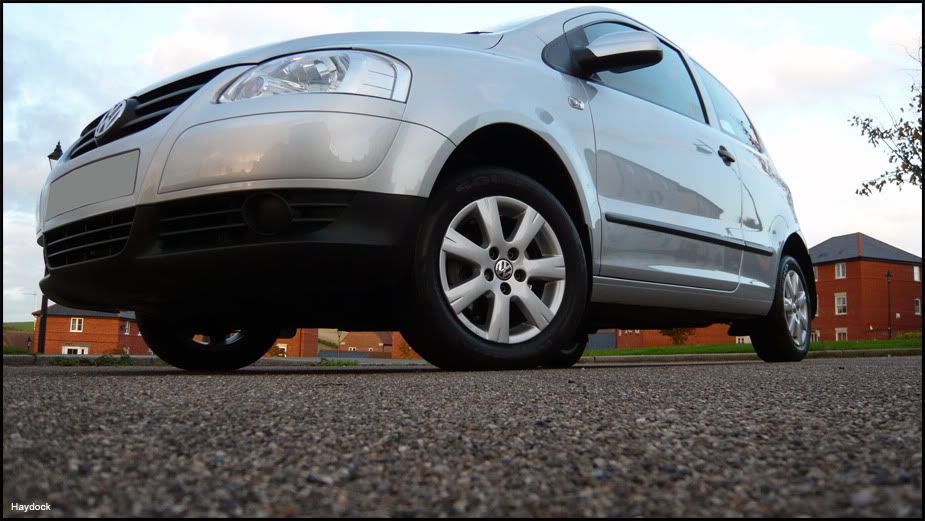
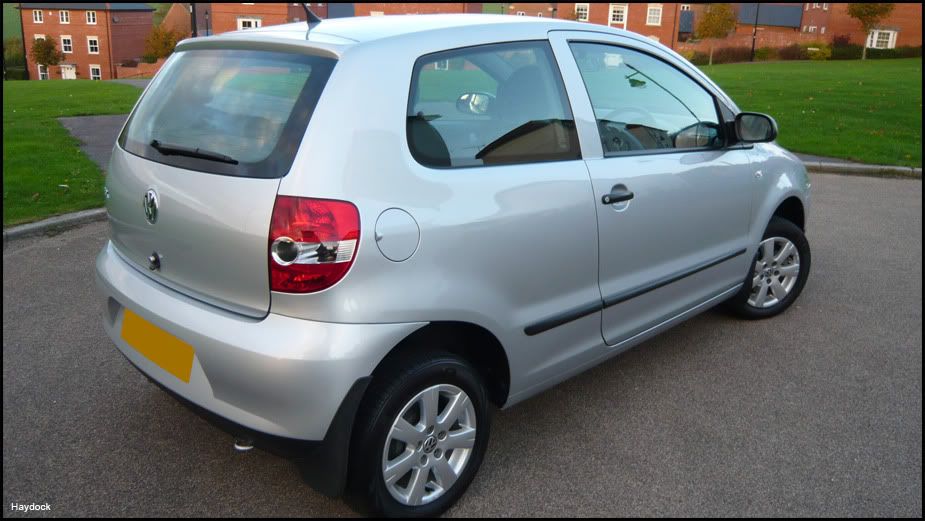
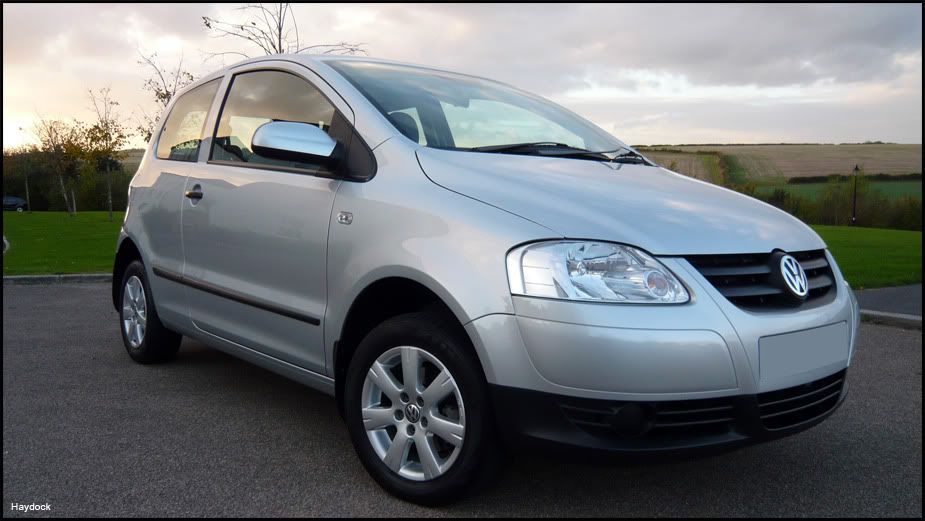
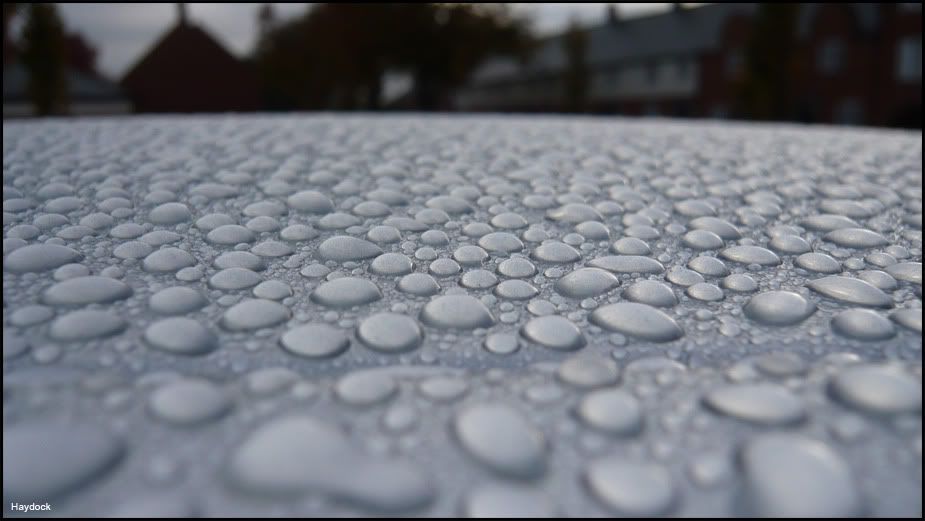
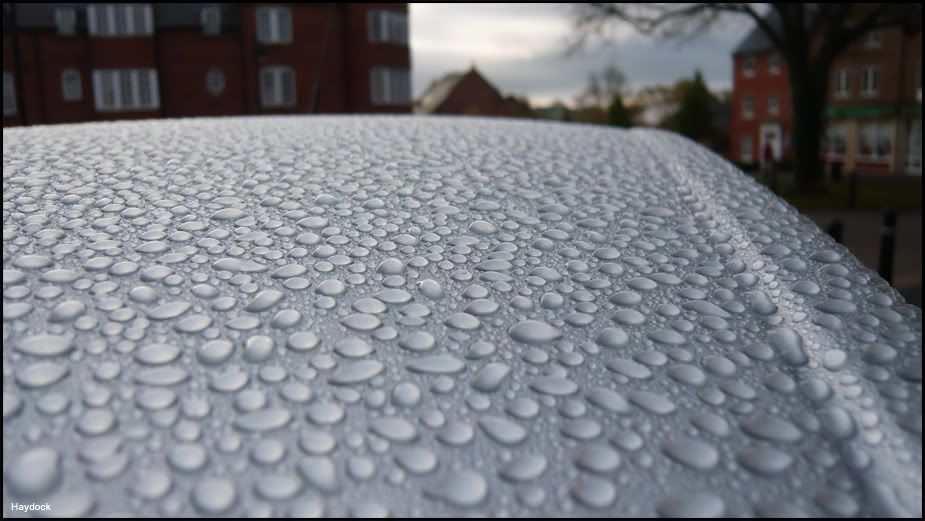
Beading:
So here are a few befores (not that dirty I know) and afters. You will have to forgive the N/S wheel as I had the spare fitted whilst the Alloy was having a refurb.
Before:
After:
Before:
After:
Before:
After:
Before:
After:
Just to prove it was dirty:
So here was my process spread over 2 weekends with the 1st being the Engine Bay, Wheels and Arches.
1. Soak the Engine Bay in R222 Autowash then agitate with a variety of brushes and cloths followed by a careful rinse with the hose. I then used a MF and some 303 Aerospace Protectant to dress the majority of the bay:
Before:
During:
After:
Before:
After:
2. The arches got a soak in Megs APC 4:1, then agitated with a brush before being blasted with the pressure washer:
Before:
During:
After:
3. The wheels got a soak in Megs Wheel Brightener before being blasted with the pressure washer then cleaned with some DG901. Once washed they were also clayed and then each wheel got 2x layers of a different Wheel Sealant as part of a small test I am doing which you can read here.
Wheel Before:
Wheel After:
4. The car was then soaked in APC with my AB Foam Lance and left to dwell, before a good rinse and wash with DG901.
5. Once clean I then proceeded to clay the car using Sonus Green and Megs LT as the lube. As to be expected the clay wasn’t too bad:
6. The car was then rinsed with the pressure washer before a dry using Megs LT and my Sonus Der Wunder.
7. With the car all clean I then moved it into the Garage where I taped up the plastics with 3M 3434 tape. A quick check of paint thickness revealed all is OK:
8. I then set to machine polish the whole car using Megs #205 via my G220 using a Megs Polishing Pad. The results were very pleasing with it taking care of most swirls and marring.
A couple of shots showing the defect free paint (sorry the 50/50’s were useless as you couldn’t really tell what side was what):
The front bumper has a few deeper RDS that the Megs #205 handled pretty well. Under the Halogens you can just make out one of them still, however with them off I struggled to see it so I decided just to leave it there rather than taking off more than really needed:-
Bumper Before:
Bumper After:
9. I then used Jeffs Werkstat Prime on a MF Applicator to prep the paint, windows and shuts for the LSP.
10. Now time to layer up some Jeffs Werkstat Acrylic Jett Trigger (AJT). I built up about 6-7 layers IIRC leaving 20-30 minutes between each one. This was simply sprayed onto the panel in question, wiped with a plush MF and then buffed by turning the MF over. The AJT was also applied to all Glass (except the Front), Trim and Shuts.
11. I cleaned the interior glass and windscreen with Megs Glass Cleaner which also got 2x layers of Rain-X.
12. The tyres were dressed with Blackfire Long Lasting Tyre Gel.
13. The exhaust had a quick polish with AG Metal Polish.
14. The interior plastics were cleaned with Megs APC 10:1 before being dressed with 303 Aerospace Protectant. The mats vacuumed with my Dyson and Dyson Car Kit.
15. Then I gave the car one final wipe-down with Jeffs Werkstat Acrylic Glos.
All in all I was very pleased with the results and loved the Jeffs as it was easy to use, left great looks and so far proving very durable – I can’t wait to get it on the TT when it arrives. The thing I loved the most was the ease of use of the AJT and the fact it worked great on Glass on Trim!
Here are the end results:
Beading:
'About Car' 카테고리의 다른 글
| Lamborghini Murcielago Roadster... (4) | 2009.11.28 |
|---|---|
| Polished Bliss: My Impreza WR1... (2) | 2009.11.28 |
| Detailer's Domain: Porsche Cayenne Turbo S - Polish - PPF Installation (3) | 2009.11.25 |
| Detailer's Domain: Mini Cooper Nightmare (1) | 2009.11.25 |
| Detailer's Domain: Bentley Flying Spur - Massive Paint Correction (3) | 2009.11.25 |