다른건 별다른거 없는데 스톤칩 제거하는데 스크레퍼를 잘 사용했네요, 특이하게도... 아이디어가 매우 좋은거 같습니다.
한번씩 도전해볼만 하네요. 훨복원은 보긴쉬운데 직접하기 상당히 고난위 작업인거같구요 ...
어차피 디테일링이란게 저런 세세한걸 얼마나 세심하고 효율적으로 다루느냐가 아닐까요 ?
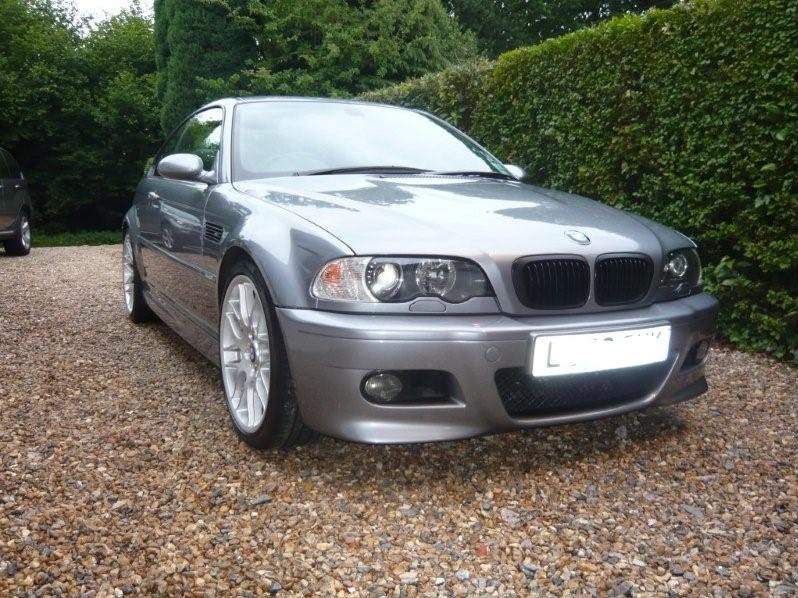
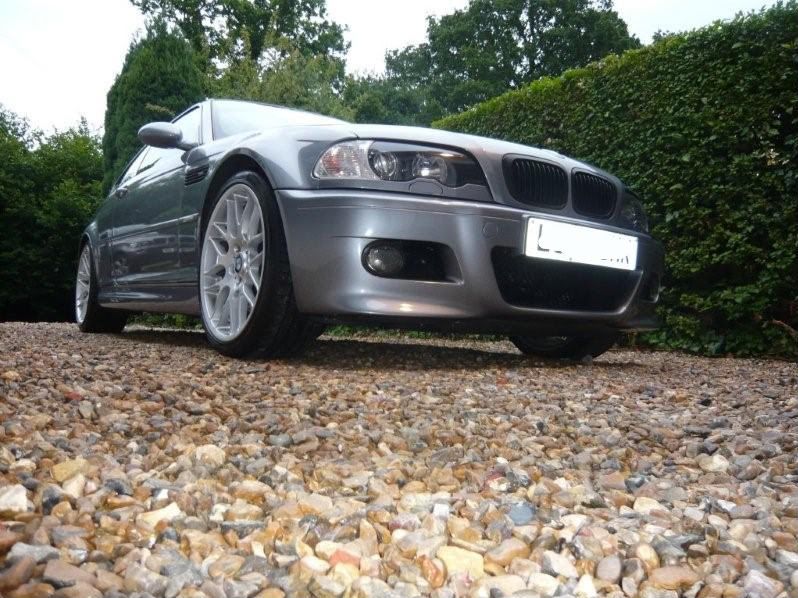
I have pretty much come to the end of my detail on my E46 M3, I have always taken care of the car by hand and probably like most, have learnt new techniques as I go. I started washing by hand, then bought the Megs 3 step process bottles and used them with some NXT. This was fine for a while but then finding this site led me to embark on an altogether bigger project. The car get's used a lot for the daily commute, spirited driving and a yearly trip to the Nurburgring and this has taken it's toll after 3 years of ownership. I compiled a list of all the things I thought that needed to be done to bring it back to the best condition I could for a 6 year old 60,000 mile car. Main areas of concern were,
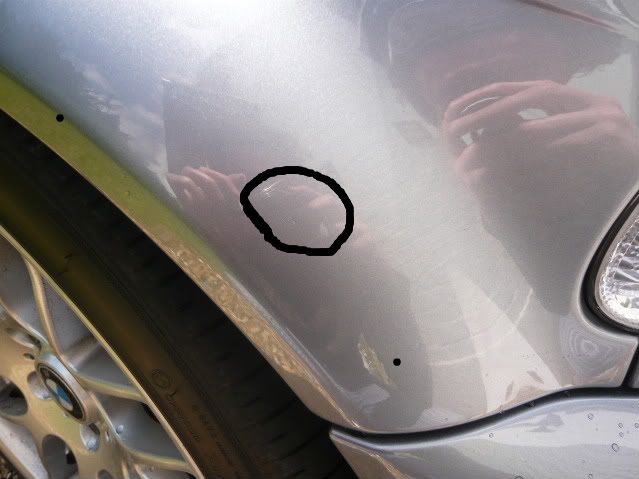
plethora of stone chips........ eg.
Kerbed wheels on all 4 corners ...... eg.
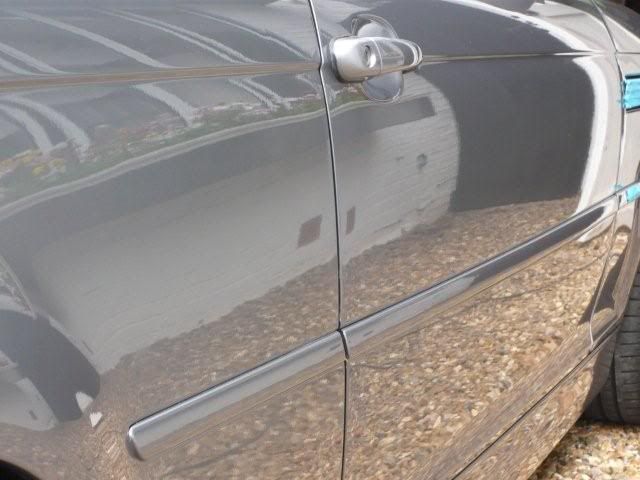
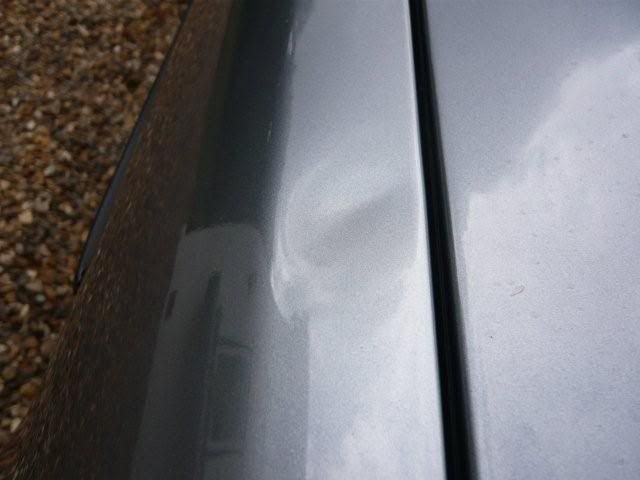
door dent......
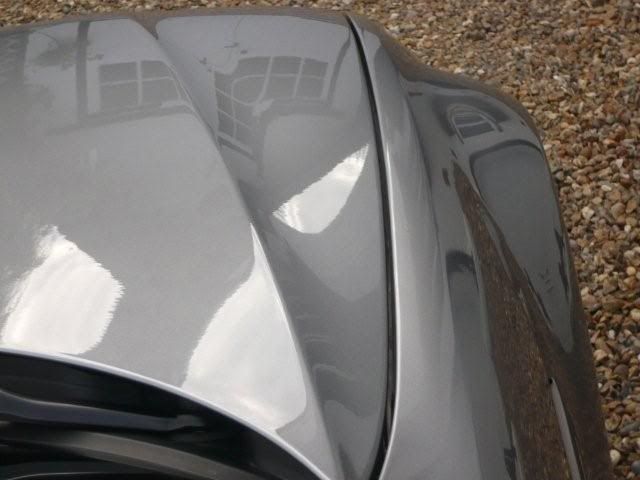
The paint work was ok due to plenty of hand care with minimal swirls and not much in the way of surface scratching, but I wanted that proper mirror finish that a good machine polish would give. So I ammassed the following list of products and set to work over many weeks of effort.
Gilmour Foamaster 2
Elite Snowfoam
AG Shampoo
AG Tar Remover
Sonus Green Clay
AG Vinyl and Rubber
AG Engine and Machine Degreaser
AG Instant Tyre Dressing
Autosol Metal Polish
Turtle Wax Trim Restorer
Poorboys White Diamond Show Glaze for Light Vehicles
Colinite 476s wax
Dod Red Mist
CG QD
and for the machine polishing......
G220 Polisher
Menz 80mm compound pad
Elite Coolfoam 6" Orange Light Cut Waffle
Menz 80mm and 150mm finishing pads
Megs #80 Polish
Menz Power Finish Polish
and for the alloy wheels and stone chip repairs
Megs 2500 unigrit paper
paints4u.com stone chip repair paint
paints4u.com VW silbersee LY7W spray paint (apparently the brightest Silver metallic paint available)
Halfords Filler Primer
Loctite Chip and Dent Repair (filler)
assorted wet and dry from previous projects.
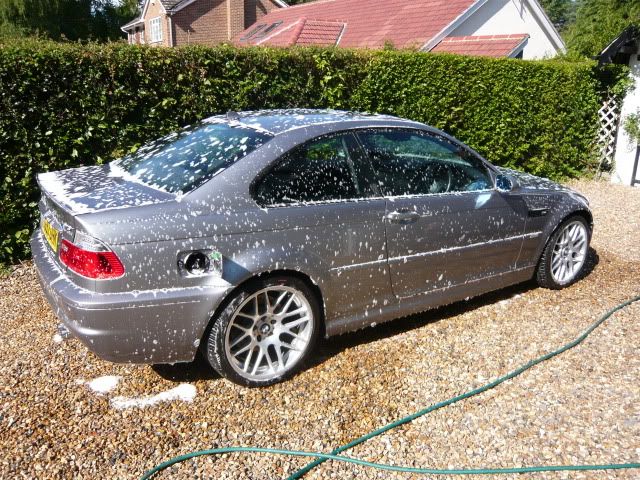
First step wash the car with Gilmour Foammaster and Swiss Vax Detailing brush for all the dadges, shuts, trims, edges etc.
I then had to use the AG Degreaser for some of the more stubburn areas where the build up of polish residue from hand polishing sat, this was worked in with a combo of MF cloth, cotton bud and cocktail stick. This is the join of the rear spoiler to the boot lid.

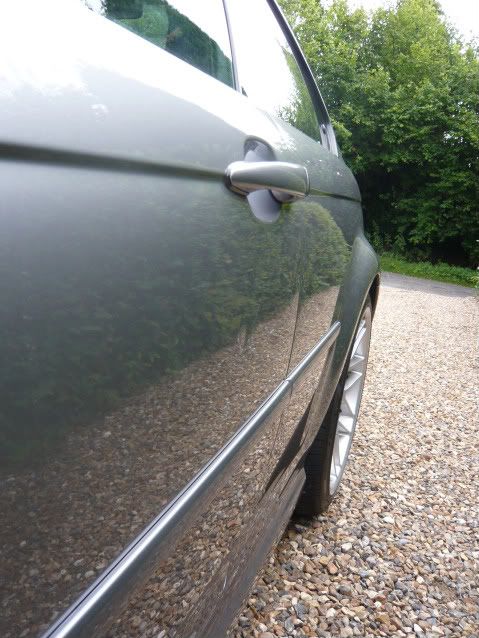
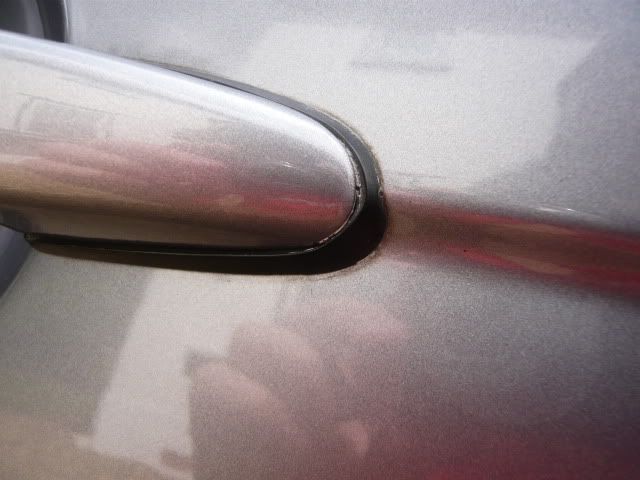
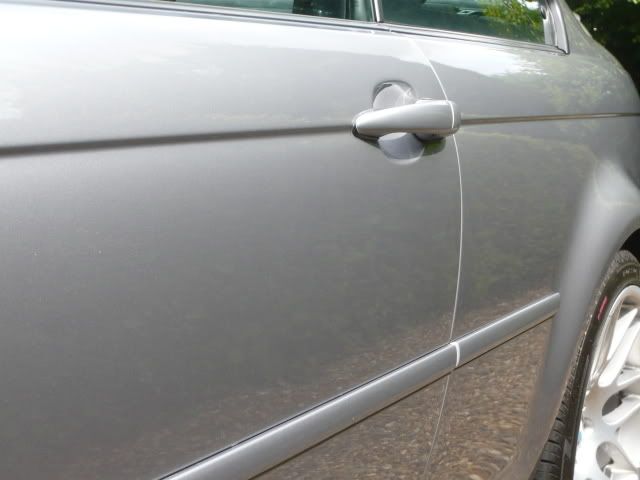
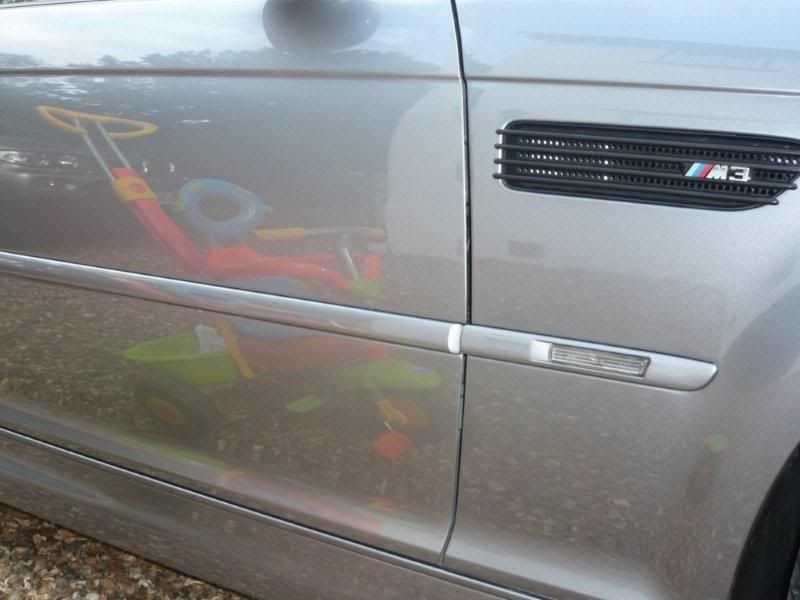
This is some ingrained dirt around the door handle area.
I then got rid of all the tar spots with AG tar remover (great product) and then after a good going over with Sonus Green Clay it left the paintwork nice and smooth and ready to do the chips......
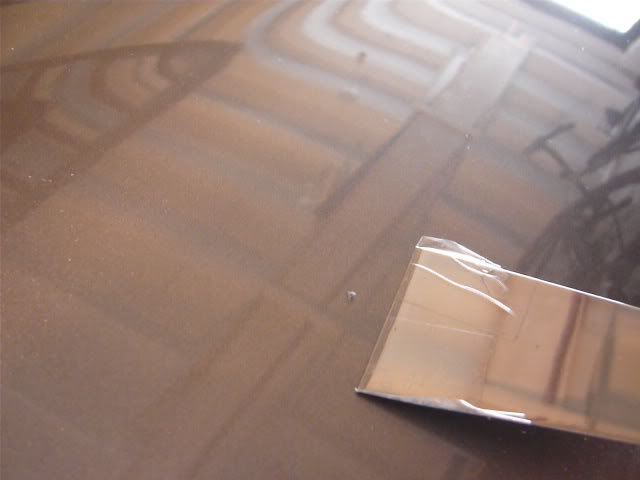
Now I'd seen the articles on here about people repairing stone chips and wetsanding back so I thought I would give it a go. In hindsight I didn't prep the existing chips enough and clean and flatten the edges down enough, oh and I filled them with far too much paint ! This was by far the worst problem I encountered on my detail and found these blobs of paint would not cut back down with 2500 wet and dry or with something like AG Paint Renovator and I was worried about damaging the clear coat around the chips. I sought advice on here and decided to scrape the chips down.......
I bought a razor edged scraper from Wickes which has a single sided blade and covered all but a small section in sellotape (I tried 3m blue masking first but it was too thick to remove enough paint) this enabled the tool to pass over the paint surface and just scraped the top off the chips to level them out.
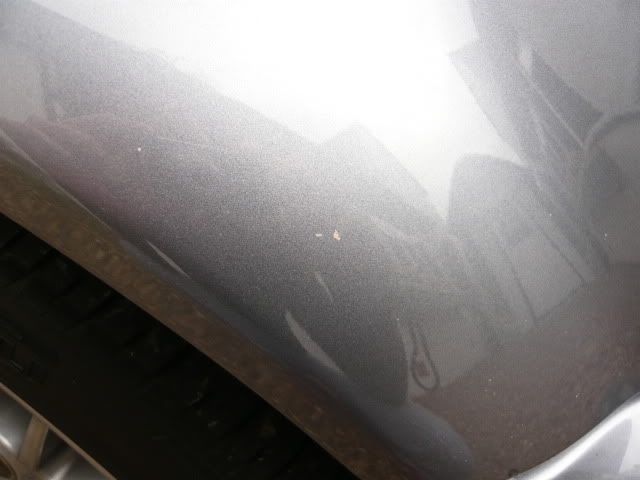
In this pic you can see the tool and hopefully how blobby the chip fill is.
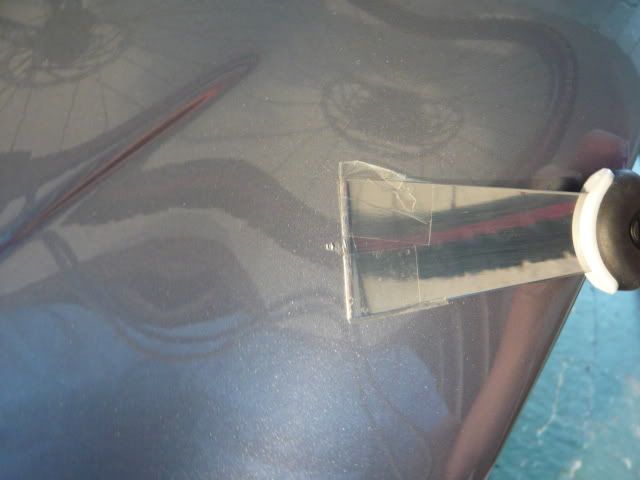
Here it is after scraping away.
Much time later, after doing about 30 chips, I then wetsanded them flat with Megs 2500 unigrit.
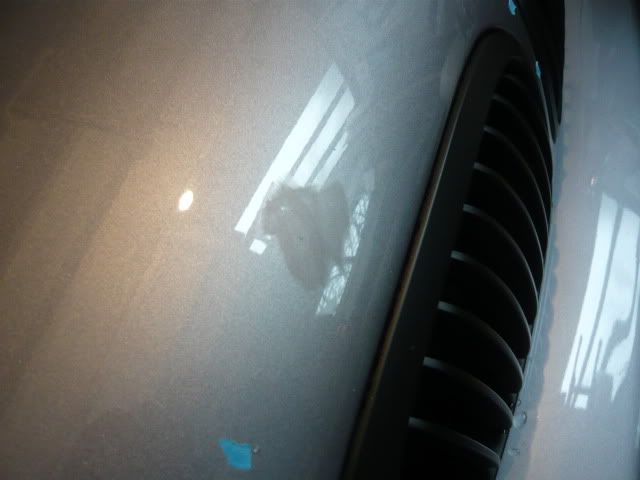
And then polished them up with the Menz and the 80mm compounding pad. (this was refined with Megs #80 in the pic below) As I said before finish wasn't too bad, not perfect but much better than before, here is one as an example.
Before.....
After.... (please ignore the black spots they appeared after the edit !)
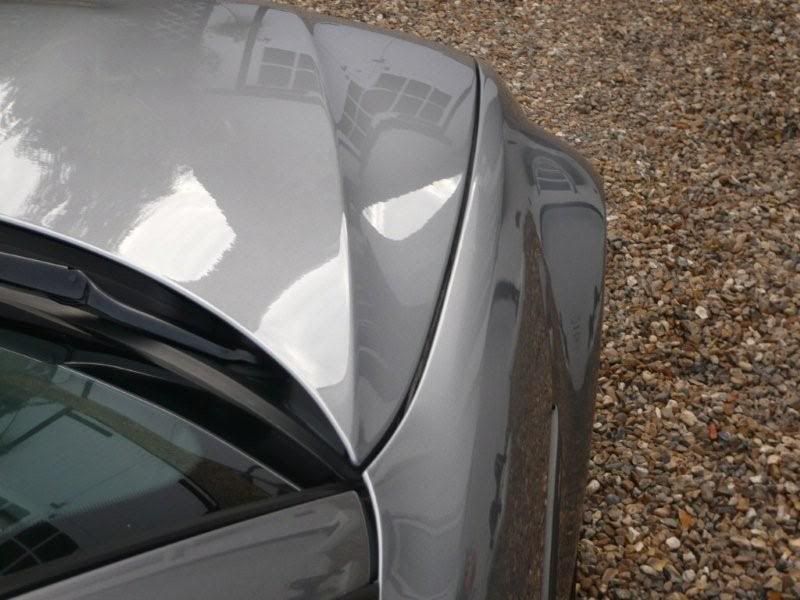
For the machine polish I taped up with Blue 3M and then did the whole car with the light cut pad and Megs #80. I did some test passes with the polish and did not really like the results, posted on here and was told that it was all in the work time, it needed 1 min or so at number 2 on the G220 to spread and prime the pad and then another 3-4 mins to really break it all down and come up with the finish I was looking for. The greater work time really made a difference to the finish. After that I applied a coat of the PB Glaze with finishing pads and was left with this finish which I was really pleased with.
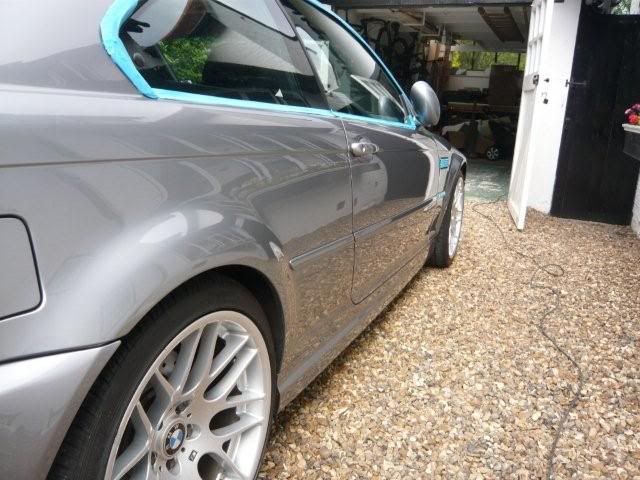
A coat of Colinite 476s was then added for the LSP which gave good beading and longlasting protection hopefully.......
I then put the car away and over night the G220 fell off the shelf and left this lasting impression......... Gutted was a pretty big understatement.......
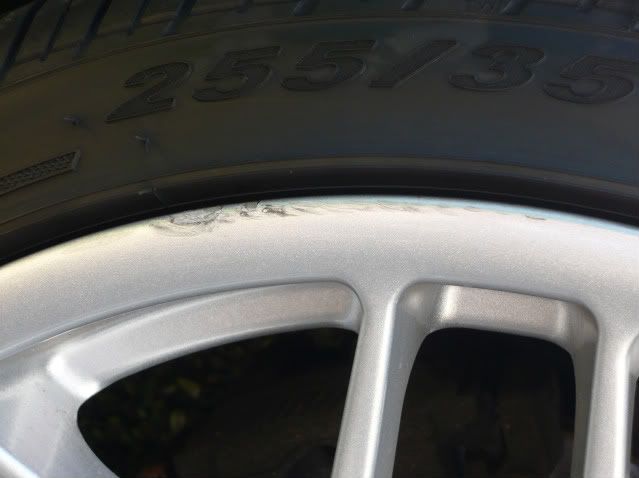
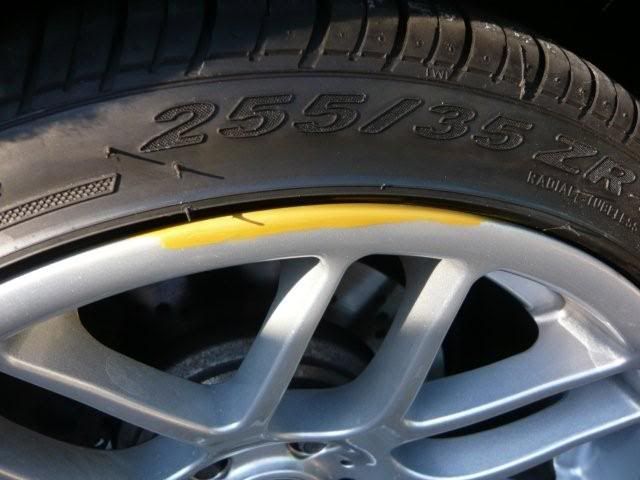
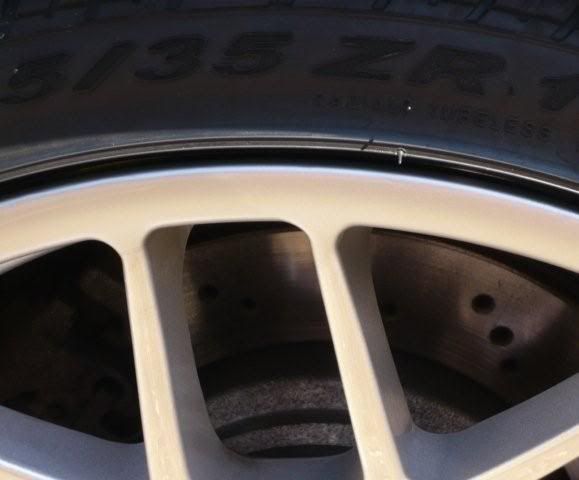
Now for the wheels....... I cleaned the kerbing marks with Thinners and flattened the edges with 800 and 1200 grit wet and dry. I then filled the damage with the Stone Chip Repair filler, I learnt a lot as I went here but would say that the best thing to do is to apply thin layers of this and then scrape as much away level again with a bladed scraper (very carefully) as anything much under 2000 grit you can not polish back out the damage to the lacquer. I then masked up again and sprayed in the Primer Filler and wet sanded this back flat, left that 48hrs to harden and then sprayed the colour. To start with, I masked up way too much leaving defined lines so had to sand this back and start again, I gradually learnt just to blow in the wheel to give a better finish. All 4 wheels were repaired. Some pics of the process.
Add the filler....

add the primer....
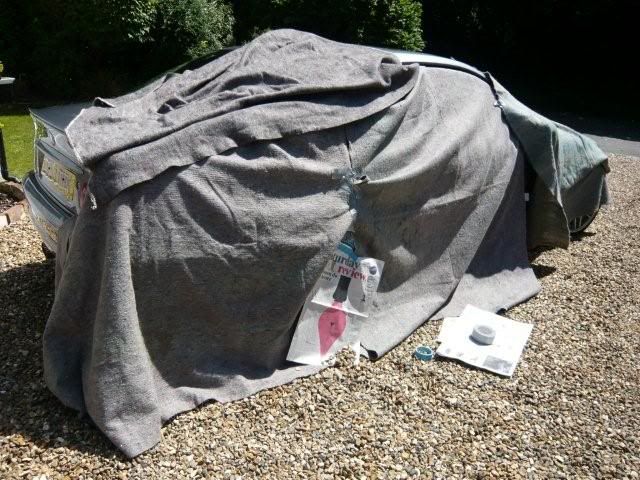
Mask up the whole car when using the metallic paint as the flakes fly everywhere.
This is after a good few coats of the silver paint....... To be honest up really close you can see the slight variance in colour but it's a damn site better than it was.
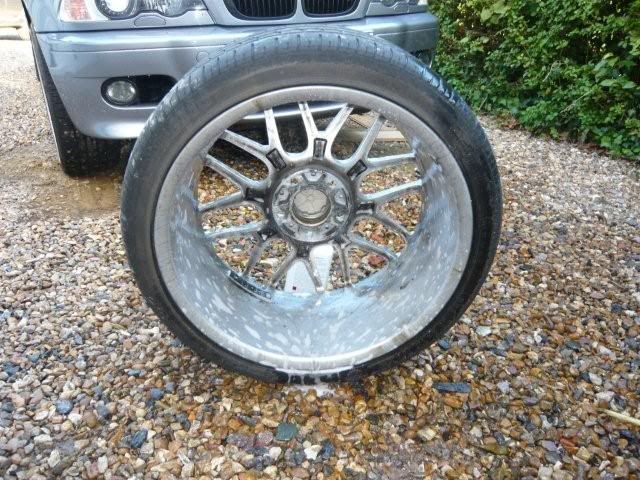
My mate then said I should take the wheels off to clean them properley, ideally I should have done this when doing the repairs but you live and learn, so some axle stands and a trolley jack later I got them off and sorted them out.
Before....

Cleaned with AG Clean Wheels.....

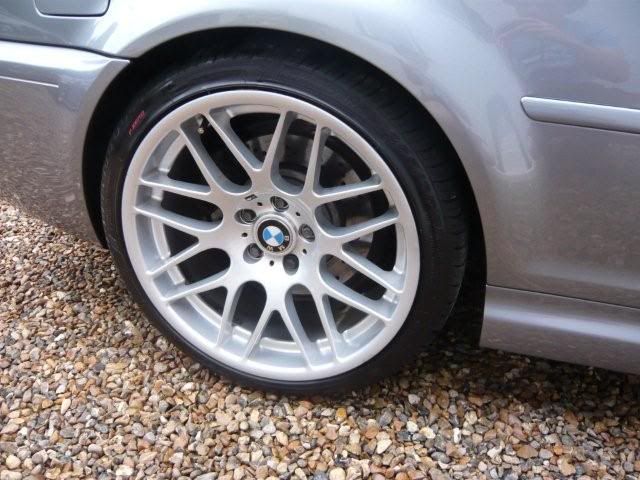
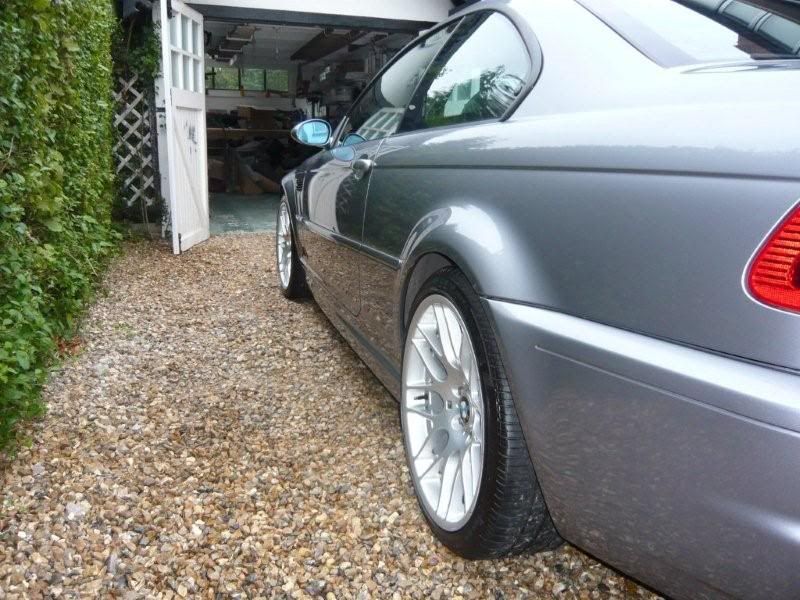
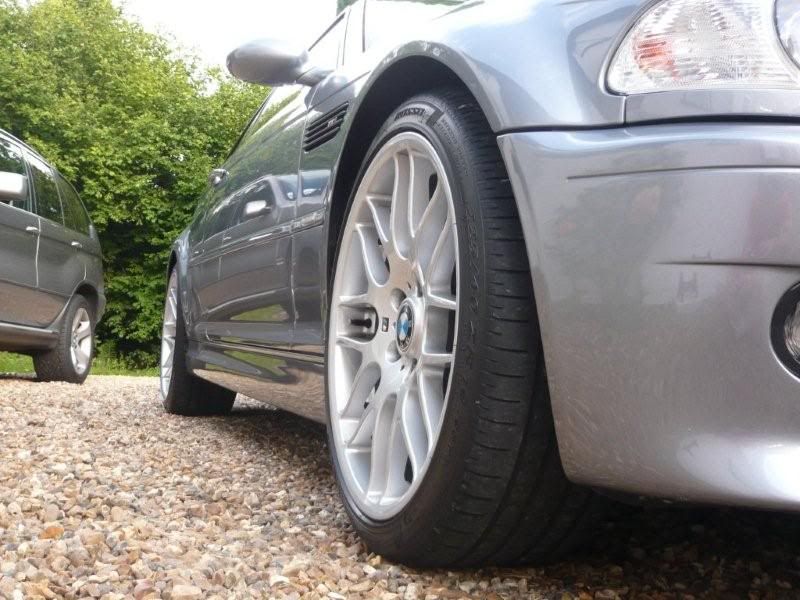
I then de-tarred them with AG Tar remover and clayed them with Sonus Green and finished with 2 coats of Colinite 476s.


Finished article having dressed the tyres with AG Instant Tyre Dressing.
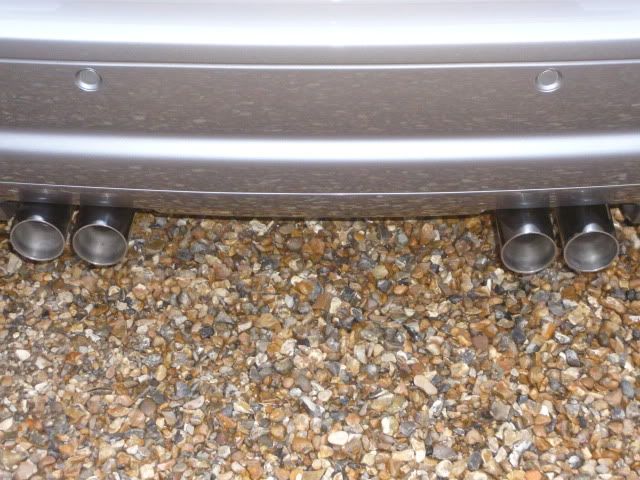
I then cleaned the Exhausts cleaned with Autosol and wire wool.
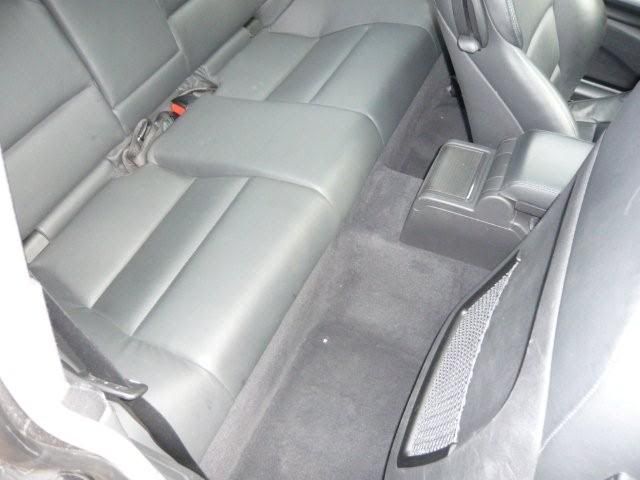
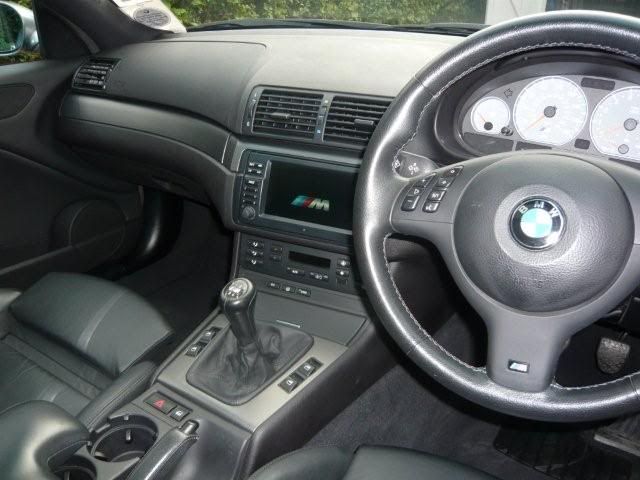
The interior had a good hoover out and all vents, nooks and crannies swept out with detailing brush, (floor mats are currently out having a wash.)
Then the dents got fixed. Great guy who did these very impressive especially the repair to the self created wing one.
wing dent before ......
wing dent after ......
door dent before ......
door dent after ......
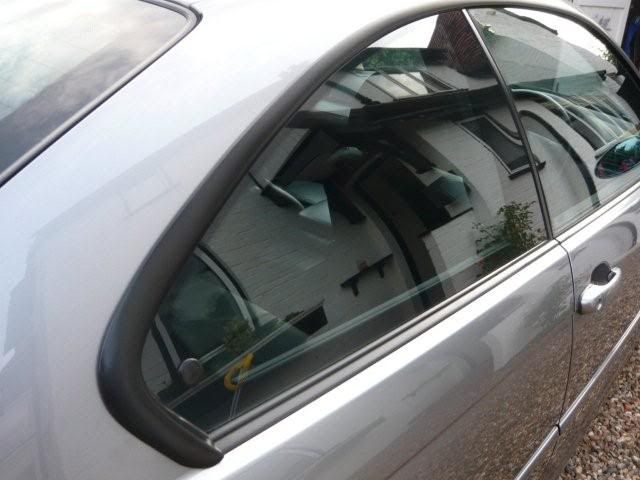
So then the last few jobs were to do all the window surrounds and trim with the AG Vinyl and Rubber product .........
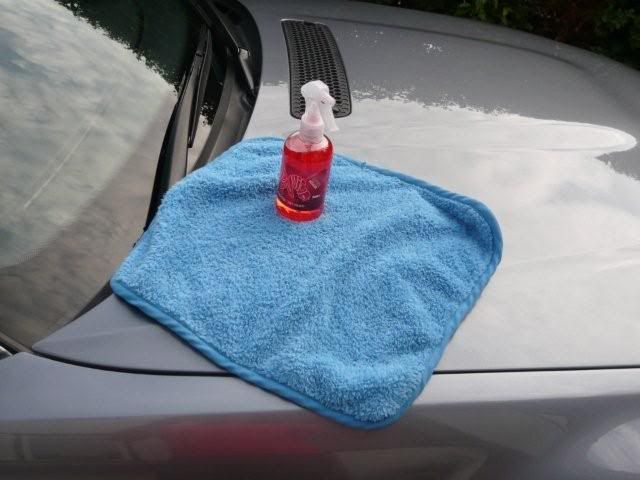
Then a wipe down with CG QD and then a nice coat of Dodo Red Mist.
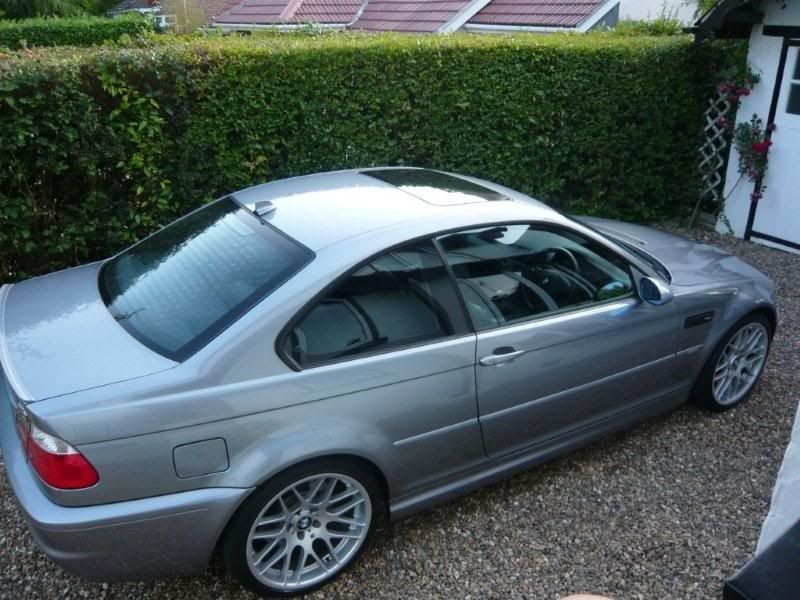
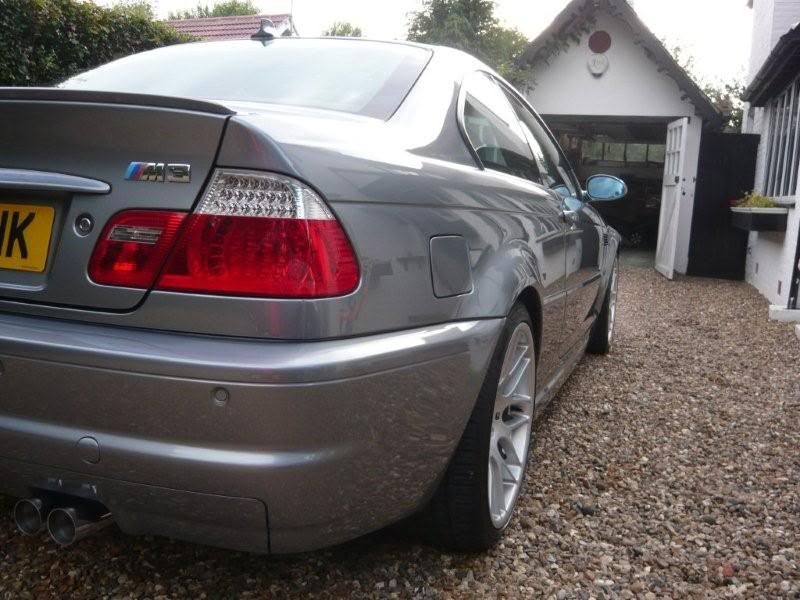
And that just leaves the final pics.........
Remember that dirty grime and polish encrusted handle.....

'About Car' 카테고리의 다른 글
| Detailer's Domain: 993 Turbo - Ext/Int (0) | 2009.11.25 |
|---|---|
| BMW M3 Jerez Black (4) | 2009.11.25 |
| Dave KG의 The Big Wax Test - Final Teaser Pics (10) | 2009.11.18 |
| Dave KG의 The Big Wax Test Day 3 - Pictures - The Prep Ends! (1) | 2009.11.18 |
| Dave KG의 The Big Wax Test - Day 2 Pictures (0) | 2009.11.18 |