The 599 GTB is the latest grand touring from Ferrari that dates back to such classics as the 250GT and the 275GTB, and it replaces the 575M Maranello.
With a an incredible 620hp motor that was derived from the Enzo, it is the most powerful V12 production car ever built by Ferrari. Not only is it extremely powerful, but it’s also very fast…how about 0-60 times in about 3.2 seconds? When this beast is fired up, it sends an immediate message through it’s exhaust note that it means serious business.
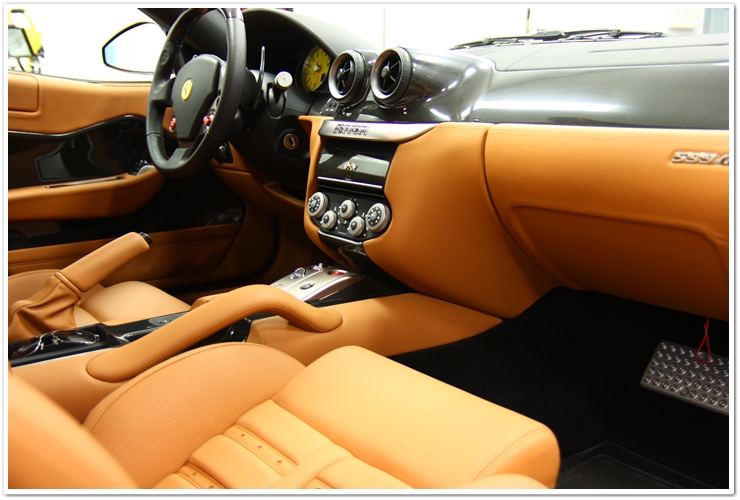
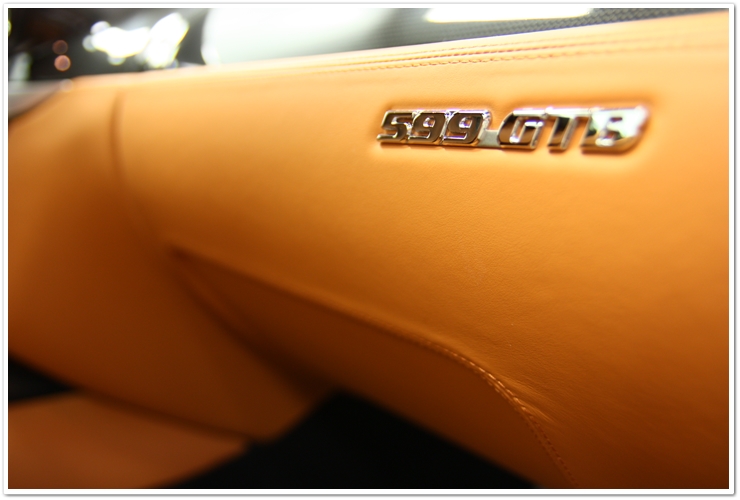
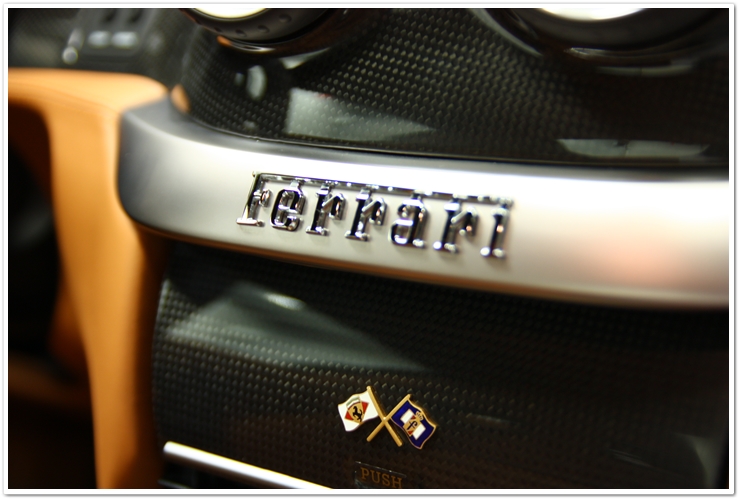
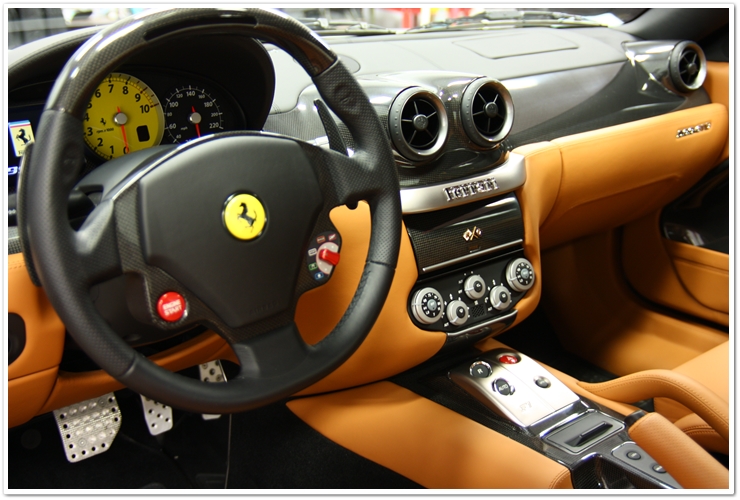
Unlike some of Ferrari’s supercars that were race cars disguised as street legal machines (the F40 comes to mind!), the 599 is generously appointed with luxurious amenities. Practically everything in the interior of the car is crafted from top grain leather, and despite the “race-ready” buttons and knobs it really feels like a fine luxury car on the inside. And on the outside the car is an absolute beauty!
Most people would think that for the price, a Ferrari would come out of the factory with the most immaculate paint job. The reality however is that they usually are in need of a lot of work to bring them to their true potential. This 599 was no exception, and had plenty of clusters of scratches, sanding marks, and other general defects that kept it from looking its best. The scratches and sanding marks are much more challenging to deal with than run of the mill swirls, and the fact that modern Ferraris use (hard) ceramic clear coats, it only makes the job of correcting them even more difficult.
As with any other job, I fully inspected every square inch of this beauty to find all of the defects and develop a plan of attack. This helps for gathering specific polishes, pads, and machines to make the workflow go more efficiently. I calculated a plan of attack, gathered my things, and began to bring the 599 up to a level that it deserves.
First up on the agenda was to treat all of the new leather on the interior with Leatherique. Even brand new vehicles benefit from the deep conditioning that Leatherique provides, and this car had plenty of leather! First I brushed Rejuvenator Oil on all leather surfaces with a foam brush, and then went back and massaged it all in by hand. The key to Leatherique is time, and I typically allow Rejuvenator Oil to soak into the leather for a minimum of 24 hours before using Prestine Clean (the 2nd part of the system).
Here I am applying Rejuvenator Oil:

Leather soaking in the Leatherique Renuvenator Oil:

If a Leatherique treatment is on the menu, I always try to do it first so that I can maximize the amount of time that it has to work. While Leatherique is performing its magic, I am working on other areas of the car. I find this to be an efficient use of time to keep the workflow going smoothly.
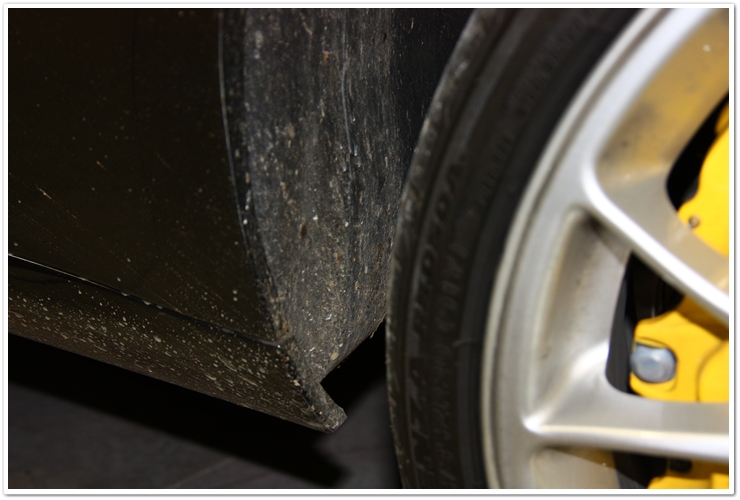
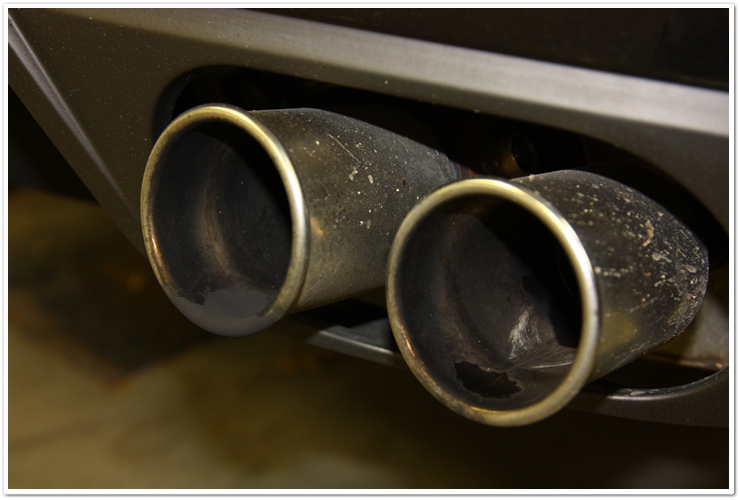
Now it’s time to move to the outside of the car. As you can see, the car has seen some driving time and needs a bit of cleaning prior to polishing.
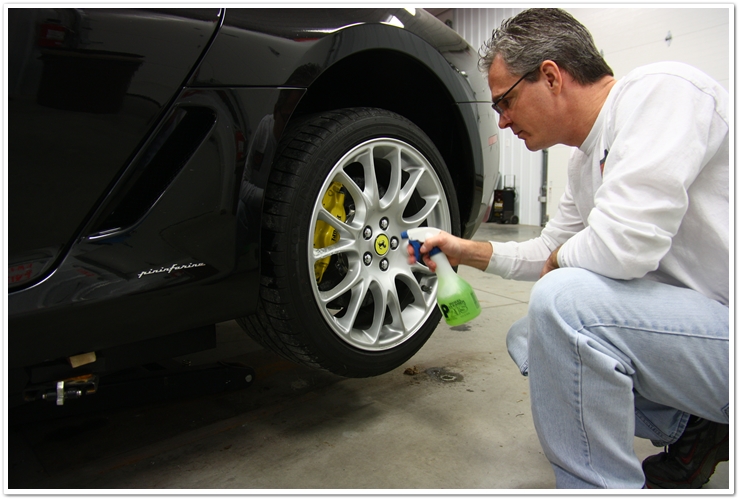
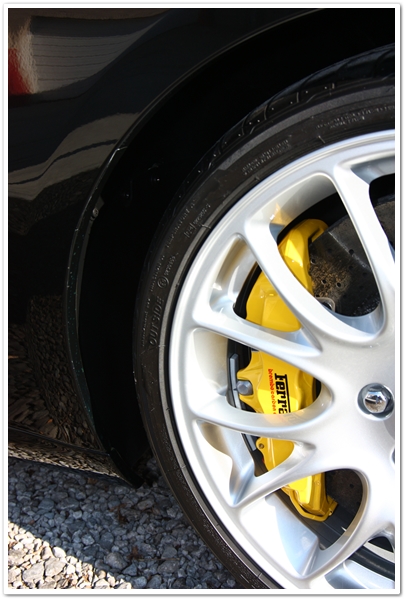
First up were the wheels. Since this model has Brembo carbon rotors (very expensive and delicate!), the simple choice for wheel cleaners was P21S Wheel Gel. It is extremely mild, and safe for all wheel and brake types including carbon.
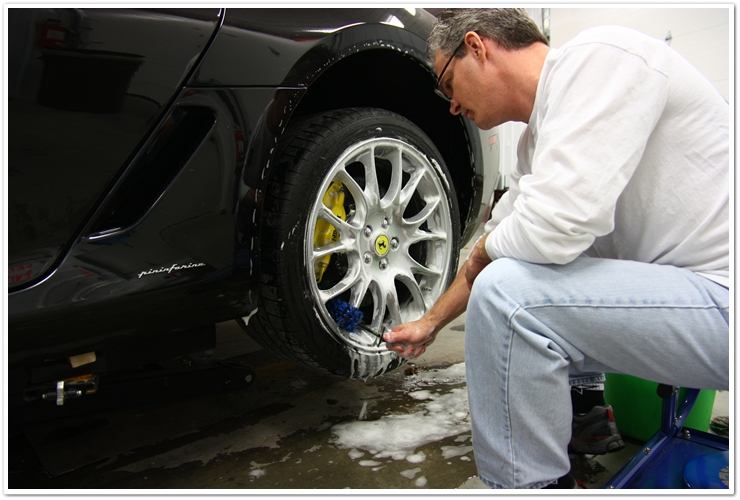
After allowing it to dwell for a few minutes, I agitated the brake dust and road grime with my EZ Detail brush. For the wheel wells and tires I used Meguiars All Purpose Cleaner Plus mixed at 4:1.
Once the wheels were completed, I used the Grit Guard 2×4 method to wash the car using Chemical Guys Citrus Wash & Clear at paint prep ratio. Since the vehicle had a fresh coat of wax and/or sealant on it (the water was beading very well), I also sprayed a little P21S TAW on each panel prior to washing to completely strip the surface. After washing, I clayed where necessary using DI fine grade clay and Dodo Juice Born Slippy clay lube.
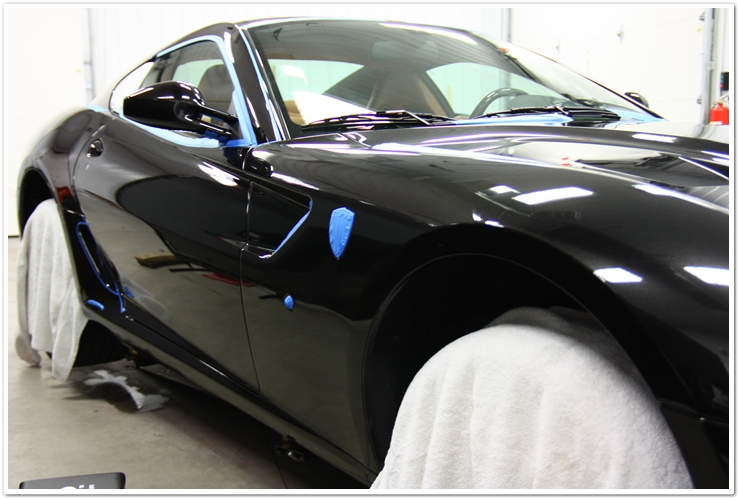
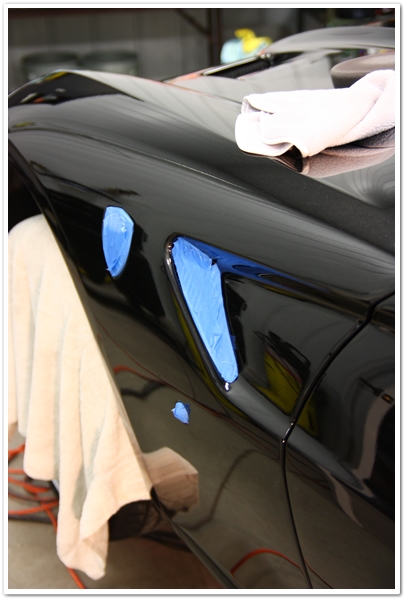
After washing, I carefully taped up any emblems, rubber trim, or corners/edges that could potentially get damaged by the polisher or stained by polish. On exotic vehicles in particular, there are a lot of angles and edges that you must be very careful with. The 599 wasn’t that bad in comparison to some older Ferraris, but it’s better safe than sorry! For rubber seals between panels, I use a 1/4″ tape. This ensures that I protect the seals and the edges, but maximize my polishing surface area.
Here you can see that trim and emblems are protected, and wheels are covered to prevent them from getting polishing residue or dust on them (so you don’t have to go back and clean them again!).
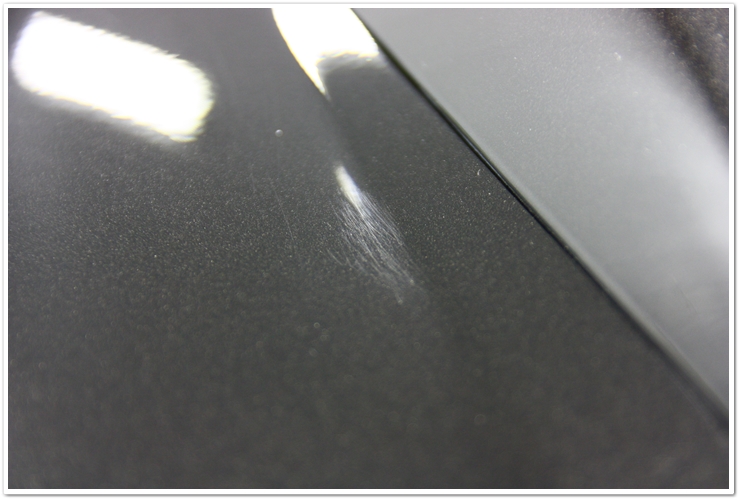
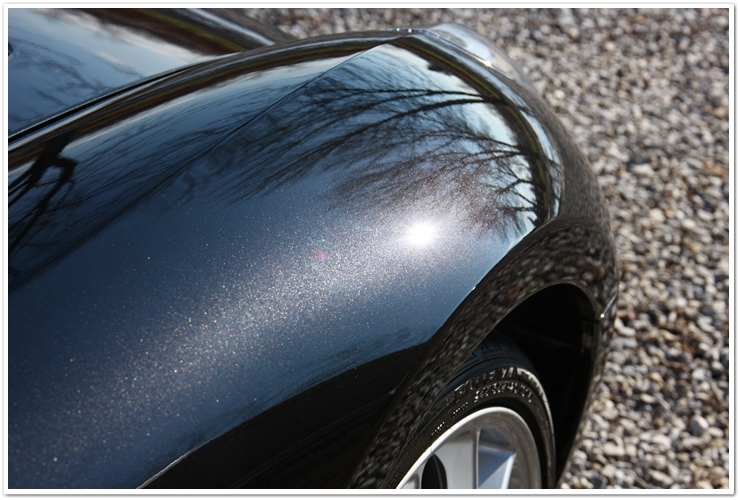
Here you can see a cluster of scratches that most likely came from the factory. You’ll typically find defects like this all over a brand new Ferrari, and they always require a lot of work to correct them.
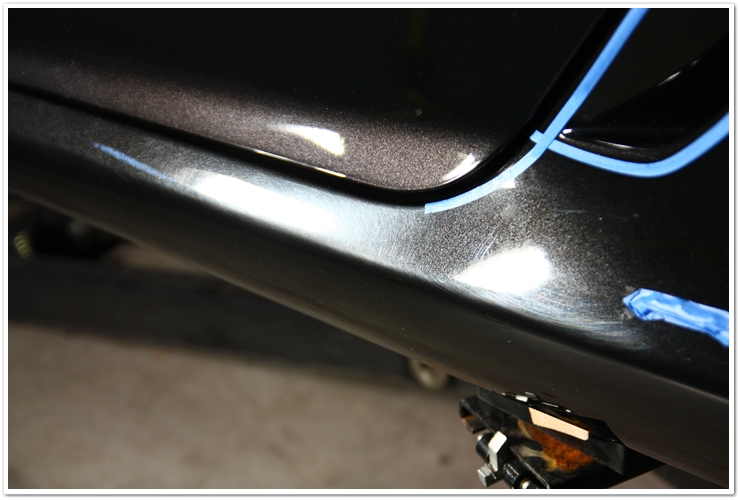
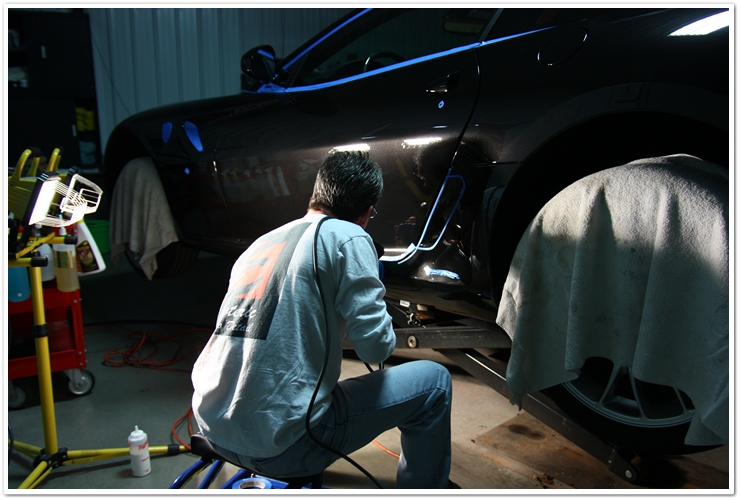
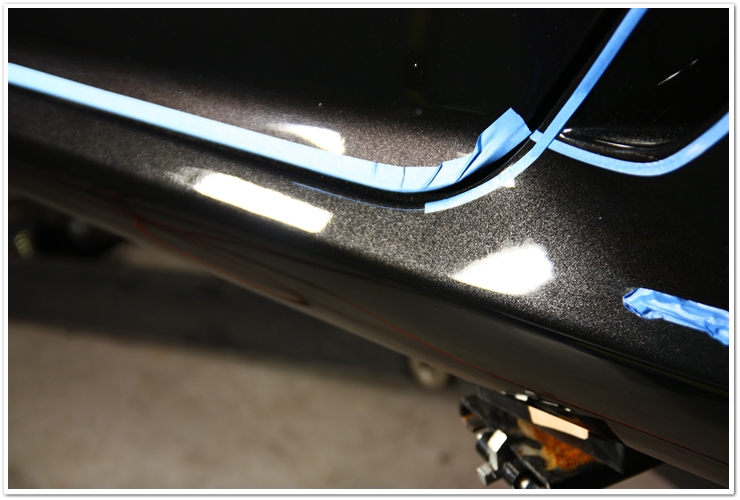
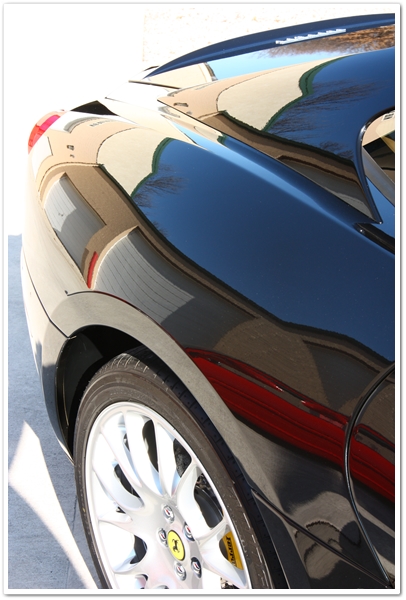
With low sports cars in particular, you’ll generally find a lot of scratches and marring on the lower rockers just below the doors. It’s very difficult to get in and out of these cars without your leg rubbing against them, and that’s all it takes to scratch them up like this! You can tell that there’s very little reflection in the center.
For correcting these heavy defects, and most other scratches on the car, my combo of choice was Meguiars M105 compound with a Cyan Lake Country 4″ Hydro-Tech spot pad, and my Makita rotary polisher. Even for such an aggressive combination it finishes down very nicely on the hard Ferrari paint. Here’s the area being worked (and yes…a lift IS very handy for cars like these!).
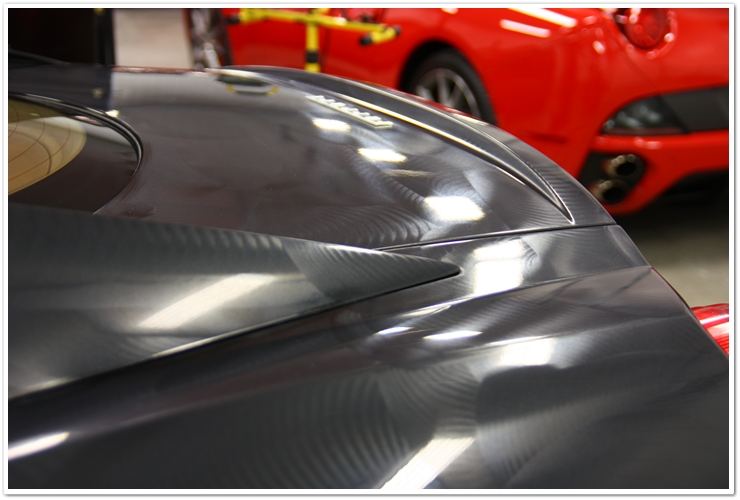
And here’s after a couple of passes with M105/Cyan…no final polishing yet!
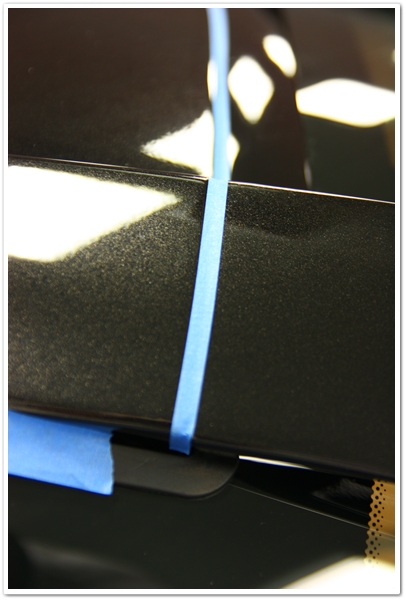
Now these next couple of photos are a little dark, but I thought they were important to include. When polishing one surface, you need to be aware of and careful around adjacent surfaces. Here where the two surfaces meet, it’s almost a 90 degree angle, leaving a “wall” so to speak right beside where you’re polishing. If you don’t protect it, and your backing plate were to touch the adjacent surface, you could potentially do some serious damage (especially if using a rotary). When I work on these, I will tape up the surface that I’m not working on, and when I move to the other surface I will move the tape accordingly. Look at where the tape is located relative to where I am polishing. Here I am using my Porter Cable 7424XP D/A polisher with 4″ Cyan Hydro-Tech spot pads.
Polishing the horizontal surface while protecting the vertical surface:
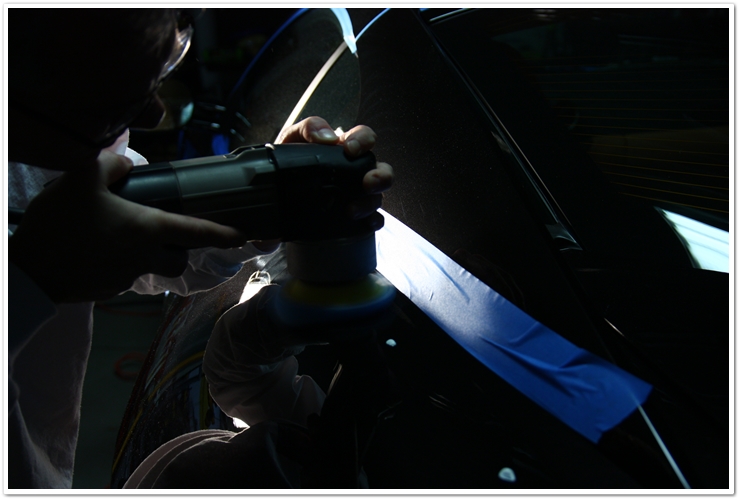
Now polishing the vertical surface while protecting the horizontal surface.

So for the polishing process, I used Megs 105 with Cyan Hydro-Tech pads for the compounding stage, and Megs 205 with Tangerine Hydro-Tech pads for the final polishing stage.
In process:
After polishing is complete, I remove all the tape, wipe down any residue using Megs M34 Final Inspection, and use compressed air to clean out polishing dust from door jambs, cracks, seems, and the hood and trunk areas before moving on.
For the next step I used Chemical Guys EZ Creme Glaze to amp up the gloss a bit and to further clean the surface from any remaining polishing oils. This shot was also a perfect opportunity for some blatant self-promotion too! ![]()

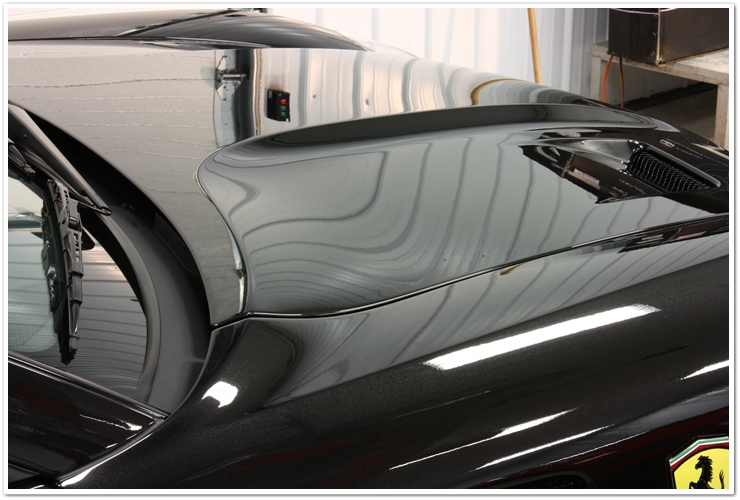
The final step for the painted surfaces was to apply a coat of Blackfire Wet Diamond, which is a durable sealant that looks tremendous on black! Note the stunning Ferrari California lurking in the background and waiting for its turn at the spa!
While the Blackfire Wet Diamond was curing, I polished up the exhaust tips with Optimum Metal Polish.

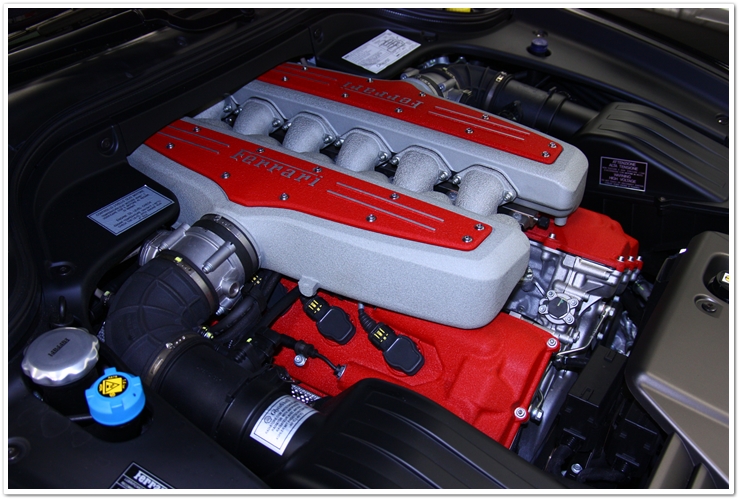
And cleaned up the engine bay with Optimum No Rinse that I keep in a spray bottle. Plastic components were treated with 303 Aerospace Protectant. I don’t know if you feel the same way I do, but I see this as pure testosterone under the hood of the 599!

Now the sealant is wiped down with my DI Great White towels, the glass is cleaned with Stoner’s Invisible Glass, and the tires were dressed with Optimum Tire Gel for a matte finish, it was time to move to the interior.
Here I am hand polishing the carbon fiber trim with Dodo Juice Lime Prime Pre-Wax Cleaner to remove the slight haze.
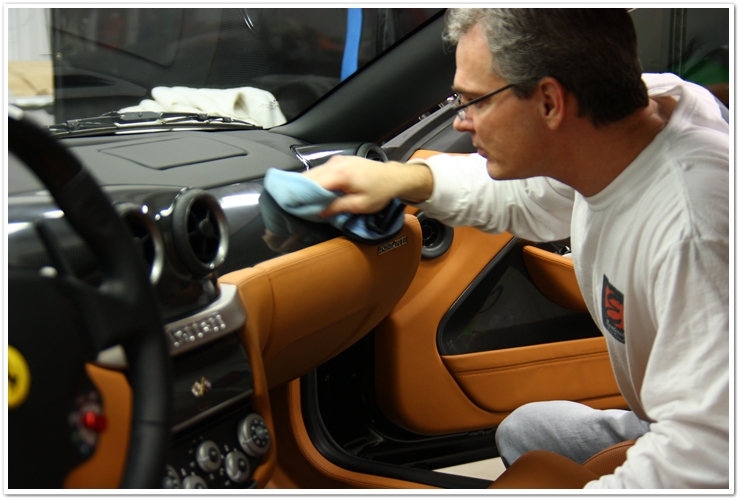
On the rest of the controls and gauges I used Meguiars Quik Interior Detailer, and then I finished the Leatherique application by using Prestine Clean (by this time 24 hours had passed).
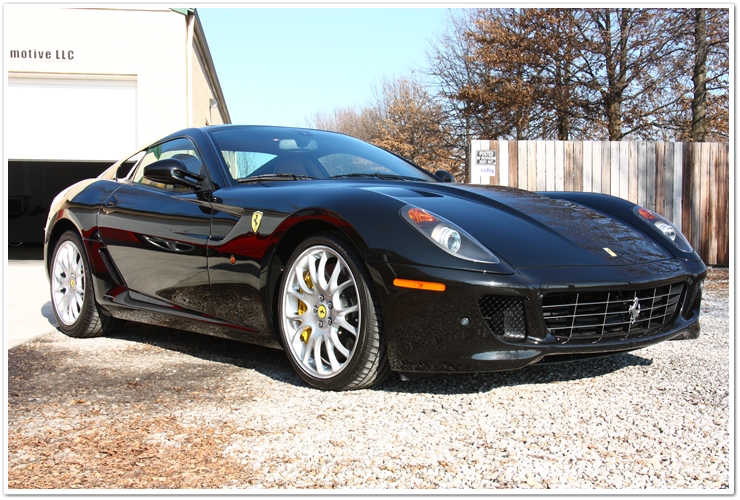
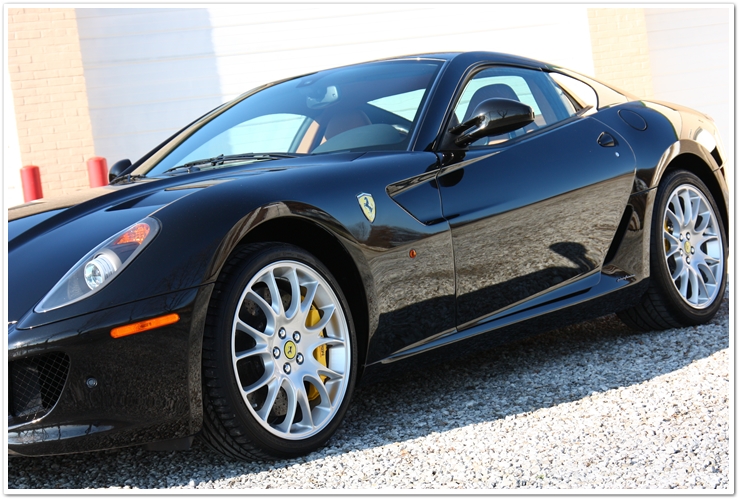
Are you ready for some “after” shots? Fortunately the sun came out and it wasn’t snowing yet here in Ohio so I had the chance to pull the car outside for a few photos as well. In the end the car turned out absolutely beautiful, and the owner was very happy with the results (as was I).
And in the background on this one is an F355 waiting for major surgery!

You can tell it was cold out…notice the exhaust steaming up the back of the vehicle!
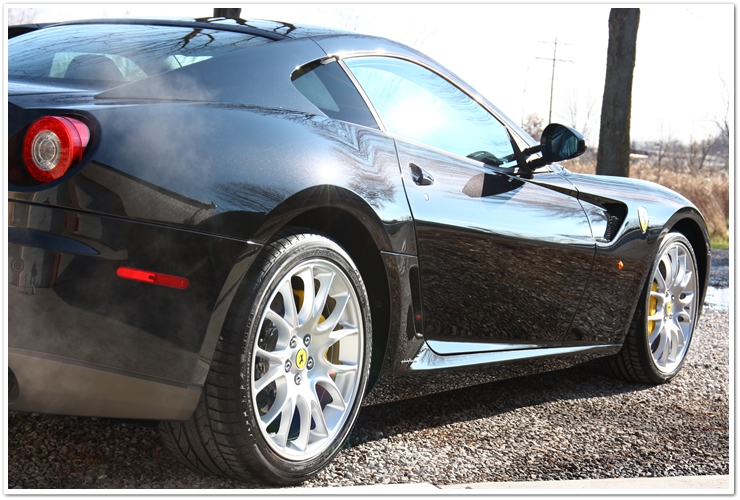
Big, powerful, carbon Brembo brakes!
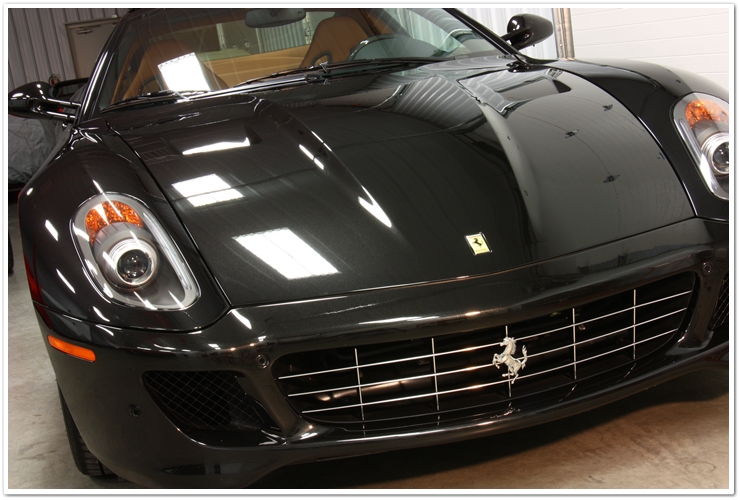
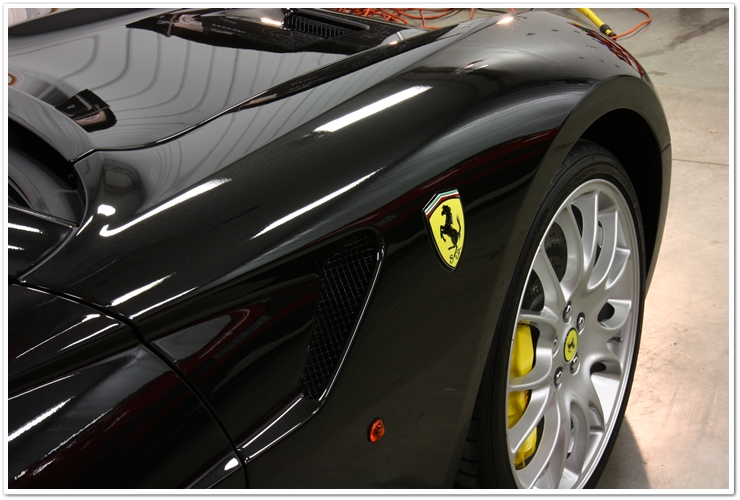
How about THAT gloss?!

The end!
Thanks for taking the time to review my work, and I hope you enjoyed! If you have any comments or questions about this article, please submit them in the comment box below.
LC Hydro-Tech pads 두종은 어떤지... 최근 DI에서 요거 무지 미는듯한데...
번역은 나중에 시간있을때... ㅎㅎㅎ
'About Car' 카테고리의 다른 글
| SONUS SFX ULTRA-FINE DETAILING CLAY (1) | 2010.02.21 |
|---|---|
| FOUR STAR ULTIMATE DETAILING CLAY Fine Grade (1) | 2010.02.21 |
| Aston Martin x 2 - Ultimate Shine (2) | 2010.02.12 |
| TVR gets a makeover - Gleaming Kleen (0) | 2010.02.12 |
| Smart Brabus - Magic (0) | 2010.02.12 |

